
Hardwood floors add beauty and warmth to any kitchen. Their natural look can make cooking spaces feel inviting and stylish. But the kitchen is also a place of spills, scratches, and heavy foot traffic. Grease, water, dropped utensils, and moving chairs can all damage wood flooring over time.
Some people even avoid hardwood in kitchens because they worry about maintenance. But with the right strategies, you can enjoy the charm of wood floors in your kitchen for many years.
This guide explains how to protect hardwood floors in the kitchen. You’ll learn the best habits, materials, cleaning routines, and design choices to keep your floor looking great. Whether your kitchen is busy with children, pets, or many guests, you’ll find tips that help.
You’ll also discover common mistakes people make, as well as two or three less obvious ways to boost protection. If you want your wood floor to last, read on for practical, step-by-step advice.
Why Kitchen Hardwood Floors Need Extra Protection
Kitchens are tough on any floor, but especially wood. Moisture is the main problem. Water from the sink, dishwasher, or refrigerator can seep between floorboards. Over time, this causes swelling, warping, or stains. Food spills are another danger. Oil, sauces, and acidic foods like lemon juice can damage the wood’s finish and cause discoloration.
Foot traffic is heavy in most kitchens. Shoes drag in dirt and grit, which act like sandpaper on your floor. Chairs and stools are often pulled in and out, scratching or denting the surface. Pets add extra risk with claws and accidents.
Unlike tile or vinyl, wood is not waterproof. Even the toughest finishes can wear down, especially in busy spots. Without good habits, hardwood can lose its shine and structural strength faster than you expect.
Choosing The Right Hardwood And Finish
Before you even think about protection, the type of wood and finish you choose matters a lot. Some woods and finishes are more resistant to kitchen hazards.
Best Wood Species For Kitchens
Not all hardwoods are equal. Dense, tight-grained woods are best for kitchens because they resist dents and scratches.
| Wood Species | Durability (Janka Hardness) | Water Resistance |
|---|---|---|
| White Oak | 1360 | Good |
| Maple | 1450 | Good |
| Hickory | 1820 | Very Good |
| Brazilian Cherry | 2350 | Excellent |
| Walnut | 1010 | Moderate |
White oak and maple are popular choices for kitchens. They are hard and less likely to show scratches. Hickory is even tougher, but has a more rustic look. Softer woods like pine or fir are not ideal for kitchens.
Best Finishes For Kitchen Hardwood
The finish is your wood’s main shield. A strong finish stops water and stains from soaking into the wood.
- Polyurethane (oil-based): Extremely tough. Good for high-traffic kitchens. Slightly amber color.
- Polyurethane (water-based): Clear, dries faster, less odor. Still very protective.
- Aluminum oxide: Used in factory-finished floors. Very durable, but hard to refinish.
- Wax or oil finishes: Classic look, but need more care and are less water-resistant.
For most kitchens, a high-quality polyurethane or factory-applied aluminum oxide finish is best. If you love the look of oil or wax, be ready for more frequent maintenance.
Pro Tip: Some manufacturers now offer engineered hardwoods with waterproof cores. These can be a good option for kitchens, combining real wood with extra resistance to spills.
Preventing Water Damage
Water is the biggest risk in a kitchen. Even small spills, if left too long, can cause stains or swelling. Here’s how to keep moisture from ruining your floors.
Quick Clean-up Habits
Don’t let water sit. Wipe up spills as soon as they happen, even if it’s just a few drops. Pay extra attention around the sink, dishwasher, and refrigerator. These spots see the most leaks.
Less obvious tip: After mopping, always dry your floor with a towel or dry mop. Even a little leftover water can seep into seams.
Using Mats And Rugs
Strategically placed mats are one of the simplest ways to protect hardwood.
- Put a water-absorbent mat in front of the sink.
- Use a runner near the stove and dishwasher.
- Choose rugs with non-slip, breathable backings to avoid trapping moisture.
Do not use rubber-backed mats. They can trap moisture underneath and discolor the wood.
Seal Gaps And Edges
The seams and edges of your floor are weak points. If water gets between boards, trouble starts.
- Use a high-quality sealant along the perimeter, especially near cabinets and appliances.
- If your floor has visible gaps, consult a professional about filling them.
Appliance Maintenance
Dishwashers, fridges, and ice makers can all leak. Check hoses and connections every few months. If you see moisture or hear dripping, fix it right away.
Advanced tip: Install a water leak detector under the sink or near appliances. These small devices sound an alarm if they sense water, giving you an early warning.
Guarding Against Scratches And Dents
A kitchen floor gets more wear than almost any other room. Chairs, dropped pans, pet claws, and gritty shoes can all leave marks.
Furniture Pads And Glides
Always use felt pads or soft glides under the legs of chairs, stools, and tables. Replace them every few months as they wear down or collect grit.
- For heavy items like refrigerators or islands, use larger pads or sliders made for appliances.
Rugs In High-traffic Areas
Besides water, rugs also help reduce scratching. Place them where people stand the most, such as in front of sinks, stoves, and prep areas.
Non-obvious insight: Rotate your rugs every few months. This helps the floor age evenly and avoids color changes from sunlight.
Take Off Shoes
Shoes, especially with hard soles or tiny stones stuck in treads, scratch floors quickly. Encourage a no-shoes policy in your kitchen. If that’s not practical, consider keeping a soft doormat at the entrance.
Pet Care
Keep your pets’ nails trimmed. Even small dogs can leave scratches over time. Place a washable mat under pet bowls to catch spills and crumbs.
Choose The Right Kitchen Tools
Avoid using metal or ceramic step stools in the kitchen, which can chip or dent wood if dropped. Opt for wood or plastic stools with rubber feet.
Cleaning Hardwood Kitchen Floors Safely
Cleaning is important, but some methods can do more harm than good. Here’s how to keep your floors spotless without damaging them.
Dry Cleaning Methods
- Use a microfiber mop or soft broom daily to collect dust and grit. These tools attract particles without scratching.
- Vacuum weekly with a soft-bristle floor attachment. Avoid beater bars or rotating brushes, which can scratch wood.
Damp Mopping
- Mop with a slightly damp (not wet) mop once a week or as needed.
- Use a hardwood floor cleaner or a few drops of pH-neutral soap in water.
- Dry the floor right away with a clean towel.
Never use: Steam mops, vinegar, ammonia, or harsh chemicals. These can strip the finish or soak into the wood.
Spot Cleaning
For sticky spots or dried spills, use a damp cloth and gentle cleaner. Don’t let liquid sit on the surface. Buff dry immediately.
Deep Cleaning
Every few months, use a special hardwood floor cleaner following the manufacturer’s instructions. If the floor looks dull even after cleaning, it may be time to re-coat the finish.
Expert insight: Even when using “safe” products, always test a new cleaner in a hidden spot first.
Preventing Sun And Heat Damage
Sunlight and heat can fade and dry out wood floors, especially near windows or under skylights.
Window Treatments
Use curtains, blinds, or UV-filtering film on kitchen windows. This protects your floor from fading and keeps the room cooler.
Move Rugs And Furniture
Shift rugs and furniture every few months to allow even light exposure. This avoids noticeable color changes over time.
Keep Humidity Stable
Wood expands and contracts with humidity. Use a humidifier in winter and a dehumidifier in summer if needed. The ideal indoor humidity for wood floors is between 35% and 55%.

Credit: www.vidaspace.co.nz
Smart Design Choices That Protect Floors
Sometimes, the way you design or remodel your kitchen can help your floors last longer.
Island And Cabinet Placement
If you’re installing a new kitchen, consider placing islands or heavy cabinets on top of the subfloor, not the hardwood. This allows the wood to expand and contract naturally and makes repairs easier in the future.
Toe-kick Drawers And Kick Plates
Install toe-kick drawers or stainless steel kick plates under cabinets. These protect the wood from scuffs caused by shoes and vacuum cleaners.
Raised Mats For Wet Zones
A raised or slatted mat near the sink or dishwasher allows water to drip through and air to circulate underneath, reducing the risk of trapped moisture.
Integrated Drainage
In some high-end designs, a shallow drainage system is built into the floor near sinks or dishwashers. This is rare but can offer extra protection in busy kitchens.
Refinishing And Repair: When And How
Even with the best habits, your kitchen floor will eventually show signs of wear. Knowing when and how to refinish or repair can extend its life by decades.
How Often To Refinish
Most hardwood floors need refinishing every 7–10 years, depending on use and finish type. In busy kitchens, you may need to refinish sooner.
Signs It’s Time To Refinish
- The finish looks dull or worn, especially in high-traffic areas
- Scratches or dents can’t be cleaned or buffed out
- Water soaks in rather than beading on the surface
Diy Vs. Professional Refinishing
Light buffing and re-coating can sometimes be done as a DIY project. Full sanding and refinishing is best left to professionals, especially in kitchens with built-in islands and appliances.
Spot Repairs
For small scratches or dents, use a wood repair kit or color-matched filler. For deeper damage, replace individual boards if possible.
Color Change And Staining
If your floor has faded or you want a new look, refinishing is a good time to consider a new stain color. Remember, darker stains can hide some damage but may show dust more easily.

Credit: mymatterly.com
Common Mistakes To Avoid
Many homeowners make simple mistakes that shorten the life of their hardwood kitchen floors. Here are a few to watch out for:
- Leaving spills too long. Even small spills can cause big problems if not cleaned up right away.
- Using the wrong cleaning products. Vinegar and ammonia can damage the finish.
- Skipping furniture pads. Heavy chairs and tables can scratch the surface quickly.
- Over-mopping. Too much water can seep into seams and cause warping.
- Ignoring humidity. Allowing your kitchen to get too dry or too humid can lead to cracks or cupping.
- Trapping moisture under rugs. Rubber or vinyl-backed rugs can cause discoloration.
- Letting pets run wild. Untrimmed pet nails are a hidden risk.
- Neglecting appliance leaks. Slow leaks from fridges or dishwashers often go unnoticed until real damage is done.
Comparing Hardwood To Other Kitchen Floor Options
If you’re still deciding whether hardwood is right for your kitchen, it helps to compare it to other flooring types.
| Flooring Type | Durability | Water Resistance | Comfort | Maintenance |
|---|---|---|---|---|
| Hardwood | High (with care) | Moderate | Warm, soft underfoot | Regular cleaning, refinishing |
| Tile | Very high | Excellent | Hard, cold | Easy, but grout can stain |
| Vinyl/LVT | Good | Excellent | Softer than tile | Very low |
| Laminates | Moderate | Good (waterproof types) | Moderate | Easy |
| Stone | Very high | Excellent | Very hard, cold | Can stain, needs sealing |
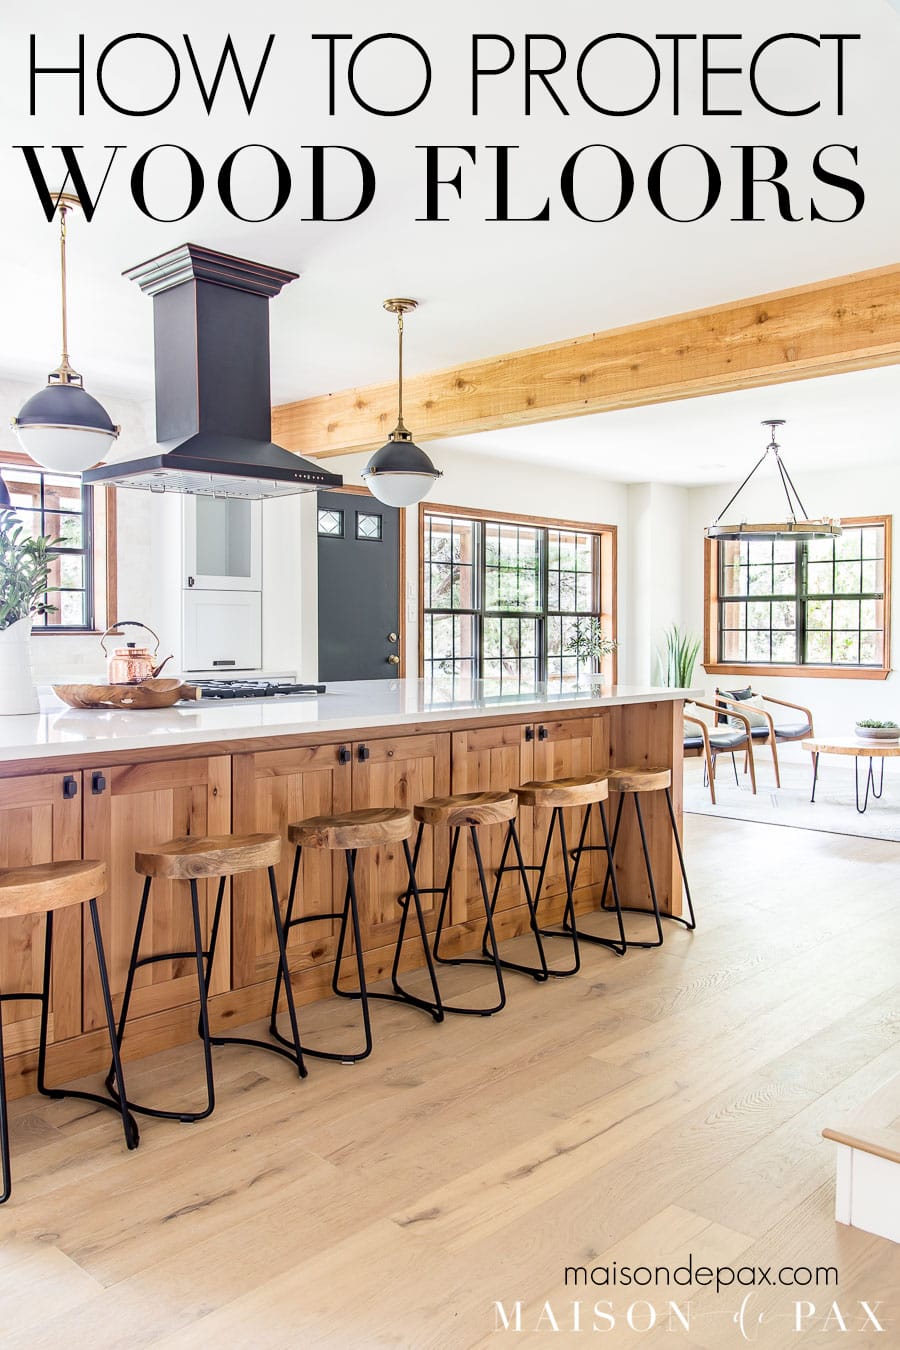
Hardwood stands out for its natural beauty and comfort. But it does need more attention than tile or vinyl. If you love the look of wood but want less worry, consider engineered hardwood with a waterproof core.
Credit: www.maisondepax.com
A Year-round Protection Checklist
Protecting your kitchen hardwood is about small, steady habits. Here’s a simple checklist to follow throughout the year:
- Wipe up all spills right away
- Sweep or vacuum daily
- Damp mop weekly with a wood-safe cleaner
- Use mats at all entrances and water zones
- Check furniture pads and replace as needed
- Trim pet nails regularly
- Inspect appliances for leaks every few months
- Adjust humidity for the season
- Move rugs and furniture to allow even sunlight
- Re-coat or refinish when the floor looks worn
Following these steps can add decades to the life of your kitchen floor.
Two Non-obvious Insights For Kitchen Hardwood Protection
1. Use Entryway “Double Mats”: Place one mat outside the kitchen entrance and another just inside. This double layer traps dirt and moisture before it ever reaches your wood floor. Most people only use one mat and miss out on this extra protection.
2. Keep a Small “Spill Kit” in the Kitchen: Store paper towels, a soft cloth, and a gentle wood cleaner under the sink. When a spill happens, you can react instantly. Many people lose time searching for the right supplies, and that delay can let water soak in.
Frequently Asked Questions
How Do I Remove Stains From Hardwood Kitchen Floors?
For most stains, gently rub with a damp cloth and a small amount of hardwood floor cleaner. For stubborn spots, try a mix of baking soda and water on a soft cloth. Never use abrasive pads or harsh chemicals. If the stain is deep, you may need to lightly sand and refinish the area.
Can I Use A Steam Mop On Hardwood Floors In My Kitchen?
No, steam mops are not safe for hardwood. The heat and water can force moisture into the wood, causing swelling and finish damage. Stick to a barely damp mop and always dry the floor immediately after cleaning.
What Kind Of Rugs Are Safe For Hardwood Kitchen Floors?
Choose rugs with natural, breathable backings like felt or jute. Avoid rubber or vinyl backings, which can trap moisture and stain the wood. Look for mats labeled “safe for hardwood” and always keep them clean and dry.
How Often Should I Reseal Or Refinish My Kitchen Hardwood Floor?
Most kitchen hardwood floors need to be resealed every 3–5 years and fully refinished every 7–10 years, depending on use. If you notice the finish wearing thin, water not beading up, or deep scratches, it’s time to schedule maintenance sooner.
What Should I Do If My Dishwasher Leaks Onto The Hardwood Floor?
Act fast. Turn off the appliance and blot up as much water as possible right away. Use fans to dry the area. Remove any mats or rugs to let the wood breathe. If the floor starts to cup or buckle, call a professional.
Quick action can prevent long-term damage.
For more details on hardwood flooring care, visit The American Hardwood Information Center.
Hardwood floors bring natural beauty to your kitchen, but they do need extra care. With good habits, smart choices, and the right products, you can enjoy a stunning wood floor in your kitchen for many years. The key is to act quickly with spills, clean gently, and stay alert to small changes.
Protect your investment, and your kitchen will remain the heart of your home—warm, welcoming, and worry-free.