
Removing a sliding garbage drawer might sound simple, but many people find themselves stuck halfway, unsure what to do next. Maybe your trash can slides out on tracks under the kitchen counter, or perhaps it’s built into a cabinet. Over time, these drawers can become dirty, jammed, or the tracks might break.
In some cases, you need to remove the drawer to clean it, replace the bin, or fix a broken part. Whatever your reason, knowing how to remove a sliding garbage drawer safely and efficiently will save you time and stress.
This guide will walk you through each step, from understanding your drawer’s mechanism to avoiding common mistakes. Whether you’re a first-time DIYer or someone with a bit of experience, you’ll find clear instructions, practical tips, and insights that most guides miss.
By the end, you’ll feel confident tackling your sliding garbage drawer, keeping your kitchen running smoothly.
Understanding Sliding Garbage Drawers
Not all sliding garbage drawers are the same. Some use side-mounted rails, while others have undermount tracks. The way you remove the drawer depends on its mechanism. Let’s look at the most common types:
Side-mounted Rails
These are visible when you pull the drawer out. You’ll see metal rails or runners on each side. They usually have levers or clips that you press to release the drawer.
Undermount Tracks
Here, the sliding mechanism is hidden under the drawer. The rails attach to the bottom, making them less visible but sometimes trickier to access.
Soft-close Vs. Standard
Some drawers have a soft-close feature, which uses a damper to slow the drawer as it closes. Removing these might require extra care to avoid damaging the soft-close mechanism.
Custom Cabinet Systems
High-end kitchens may have custom solutions. These could include double bins, tilt-out features, or integrated recycling. Always check the manufacturer’s instructions if you can find them.
Knowing your type of sliding garbage drawer helps you plan the removal process and prevents accidental damage.
Tools And Materials Needed
Before you start, gather the right tools. Having them ready prevents delays and makes the job easier. Here’s what you might need:
- Screwdriver set (flathead and Phillips)
- Needle-nose pliers
- Flashlight
- Work gloves
- Vacuum or dustpan
- Replacement parts (if you plan to repair)
- Lubricant spray (for stuck rails)
- Small container (to hold screws)
- Step stool (for high cabinets)
- Protective eyewear (optional, but useful in dusty spaces)
You may not need every tool, but it’s good to have them ready. Don’t forget to check for any special screws, like Torx or Allen, which might need specific bits.
Preparation Steps
Jumping straight to removal can cause problems. Preparation is key for both safety and efficiency.
- Empty the Trash Drawer: Remove the garbage bin and any trash. This makes the drawer lighter and easier to handle.
- Clean Around the Area: Wipe the visible parts and vacuum debris. Dirt can fall into the rails and make removal harder.
- Inspect the Rails and Tracks: Look for screws, levers, or clips. Use a flashlight to see underneath or behind the drawer.
- Protect Your Kitchen Floor: Place a towel or cardboard on the floor. Drawers can be heavy or dirty.
- Take Photos: If you’re unsure how the drawer fits, take pictures before you start. These will help when reinstalling.
A few minutes of preparation make the whole process smoother and safer.
Step-by-step Removal Instructions
Removing a sliding garbage drawer is not one-size-fits-all. Below are step-by-step methods for the most common drawer types.
For Side-mounted Rail Drawers
- Open the Drawer Fully: Pull the drawer out as far as it will go. You should see the metal rails on each side.
- Locate the Release Mechanisms: Most side-mounted rails have levers or clips near the end of the rail. They can be on the top, bottom, or side.
- Press the Levers: Usually, you press down on both levers at the same time (sometimes one up, one down). This releases the drawer from the track.
- Lift and Pull Out: While holding the levers, gently pull the drawer straight out. If it resists, check for missed screws or clips.
- Set Drawer Aside: Place it on a protected surface. Inspect rails for wear or damage.
Practical Tip
Some older drawers have a screw or locking tab instead of a lever. Remove or unlock these before pulling the drawer.
For Undermount Track Drawers
- Extend the Drawer: Pull it out to the furthest point. You may not see the release right away.
- Look Underneath: Use a flashlight to find release clips or tabs at the bottom front of the drawer.
- Release the Drawer: Squeeze or press the clips, then gently lift the drawer up and forward.
- Support the Drawer: These drawers can drop suddenly. Support the front with one hand as you release the clips.
- Remove Completely: Lift out and set aside.
Non-obvious Insight
Some undermount systems have metal pegs fitting into holes. You may need to lift the drawer slightly to unhook these before pulling.
For Soft-close Drawers
- Open the Drawer: As with others, fully extend it.
- Find Release Mechanism: Soft-close drawers use similar releases but can have a damper that catches as you pull.
- Release and Pull Slowly: After pressing the levers or clips, pull the drawer out slowly to avoid damaging the soft-close damper.
- Check for Hidden Screws: Sometimes, a small screw holds the damper arm. Remove this before pulling the drawer out.
- Support the Weight: These drawers are often heavier due to extra hardware.
For Custom Or Integrated Drawers
Follow the above steps but be ready for surprises. Custom systems can have extra latches, screws, or hidden features. Always check for a user manual or look up the brand online.
Pro Tip
If you feel strong resistance, stop and recheck for missed fasteners or hidden locks. Forcing the drawer can break the mechanism.
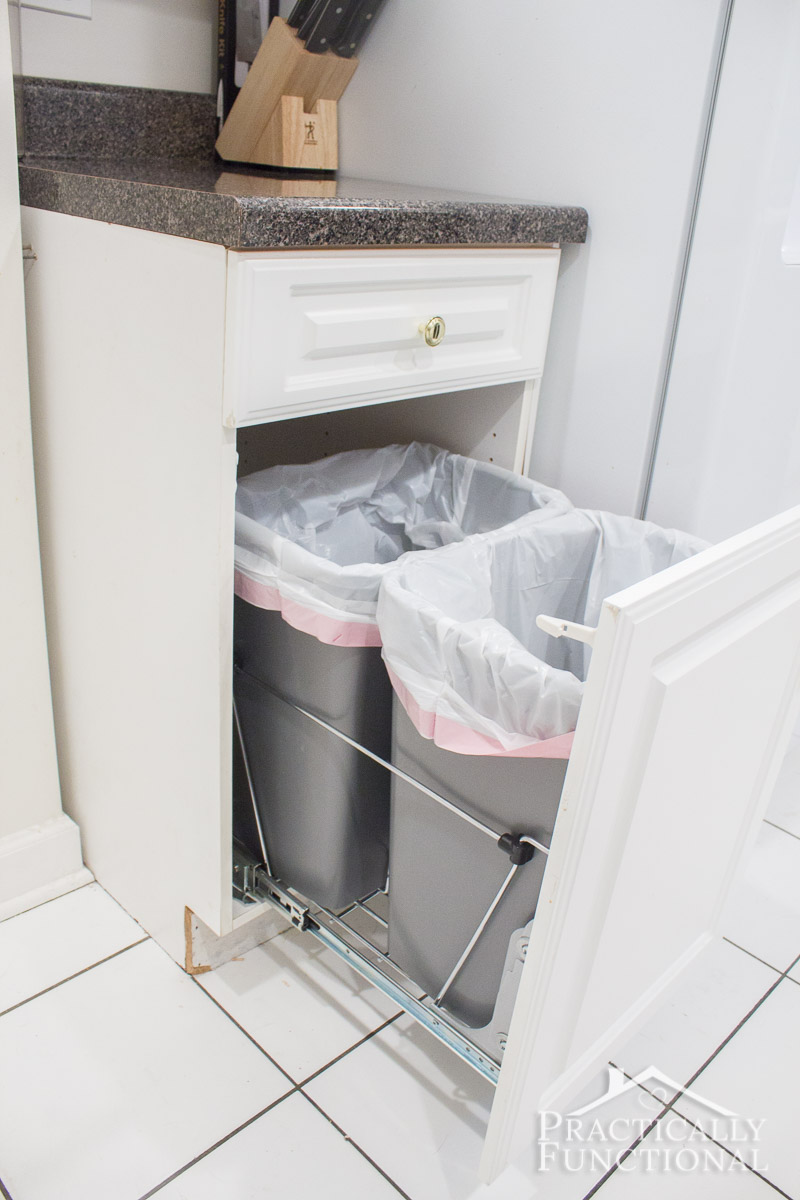
Credit: www.practicallyfunctional.com
Removing The Tracks Or Rails (if Needed)
Sometimes, you need to remove the tracks or rails after the drawer is out. Maybe they’re damaged, or you want to clean them deeply.
- Locate Fasteners: Most tracks are held with screws, usually at the front and back.
- Remove Screws: Use the appropriate screwdriver. Keep screws in a small container.
- Slide Out the Tracks: Gently slide the rails or tracks off.
- Clean the Area: Wipe inside the cabinet and vacuum any debris.
- Inspect for Damage: Check the rails for bends or worn wheels.
Common Mistake
People often skip cleaning the area after removal. Debris left behind can cause problems when reinstalling.
Cleaning And Maintenance After Removal
Now that the drawer and tracks are out, it’s the perfect time for maintenance.
- Wash the Drawer: Use mild soap and water. Dry thoroughly.
- Clean Rails/Tracks: Wipe with a damp cloth. For sticky residue, use a gentle cleaner.
- Lubricate Moving Parts: Spray a small amount of silicone lubricant on wheels or tracks. Avoid oil-based sprays which can attract dust.
- Check for Loose Parts: Tighten any screws or brackets.
- Replace Worn Parts: If you see cracks, bends, or broken wheels, consider replacing them before reinstalling.
Data Example
A 2022 survey by the National Kitchen and Bath Association found that 37% of kitchen drawer failures are due to dirty or worn tracks. Regular cleaning extends their lifespan.
Troubleshooting Stuck Or Jammed Drawers
Sometimes, the drawer won’t come out easily. Here’s how to handle common problems:
Drawer Won’t Slide Out
- Check for Obstructions: Look for items or trash wedged behind the drawer.
- Use a Flashlight: Sometimes, small objects block the tracks.
- Wiggle Gently: Don’t force. Move the drawer side-to-side to free stuck items.
Drawer Is Crooked Or One Side Stuck
- Release Each Side Separately: Sometimes, levers or clips must be pressed one at a time.
- Check for Bent Rails: If rails are bent, straighten gently with pliers.
Track Or Clip Is Broken
- Remove Drawer with Extra Care: If a clip breaks, you may need to unscrew the entire track to release the drawer.
- Order Replacement Parts: Many brands offer clips and rails for sale online.
Comparing Drawer Systems: What To Expect
Understanding your drawer system can help you know what to expect during removal. Here’s a comparison of the most common types:
| System Type | Ease of Removal | Common Release Method | Repair Difficulty |
|---|---|---|---|
| Side-Mounted Rails | Easy | Lever or clip | Low |
| Undermount Tracks | Moderate | Clip under drawer | Medium |
| Soft-Close | Moderate | Lever plus damper | High |
| Custom/Integrated | Varies | Special fasteners | High |
This shows that most home users can handle side-mounted rails, while custom and soft-close drawers may require more care.
Safety Tips During Removal
Removing a sliding garbage drawer is usually safe, but accidents can happen. Protect yourself and your kitchen with these safety tips:
- Wear Gloves: Drawers and tracks can have sharp edges.
- Use Proper Tools: Avoid using knives or makeshift tools that can slip.
- Support Heavy Drawers: Some garbage drawers are large and heavy. Get help if needed.
- Work in Good Light: Poor visibility leads to mistakes.
- Keep Children and Pets Away: Parts and tools can be hazardous.
When To Call A Professional
Most sliding garbage drawers can be removed by a homeowner. But sometimes, it’s best to hire a pro:
- Complex Custom Systems: If you see electronics, sensors, or unusual fasteners.
- Broken or Jammed Mechanisms: If you can’t free the drawer without using force.
- Risk of Damaging Expensive Cabinets: If your kitchen has high-end finishes, get expert help.
Data Insight
According to the HomeAdvisor website, professional cabinet repair costs between $100 and $400 depending on complexity. DIY saves money, but don’t risk costly damage.
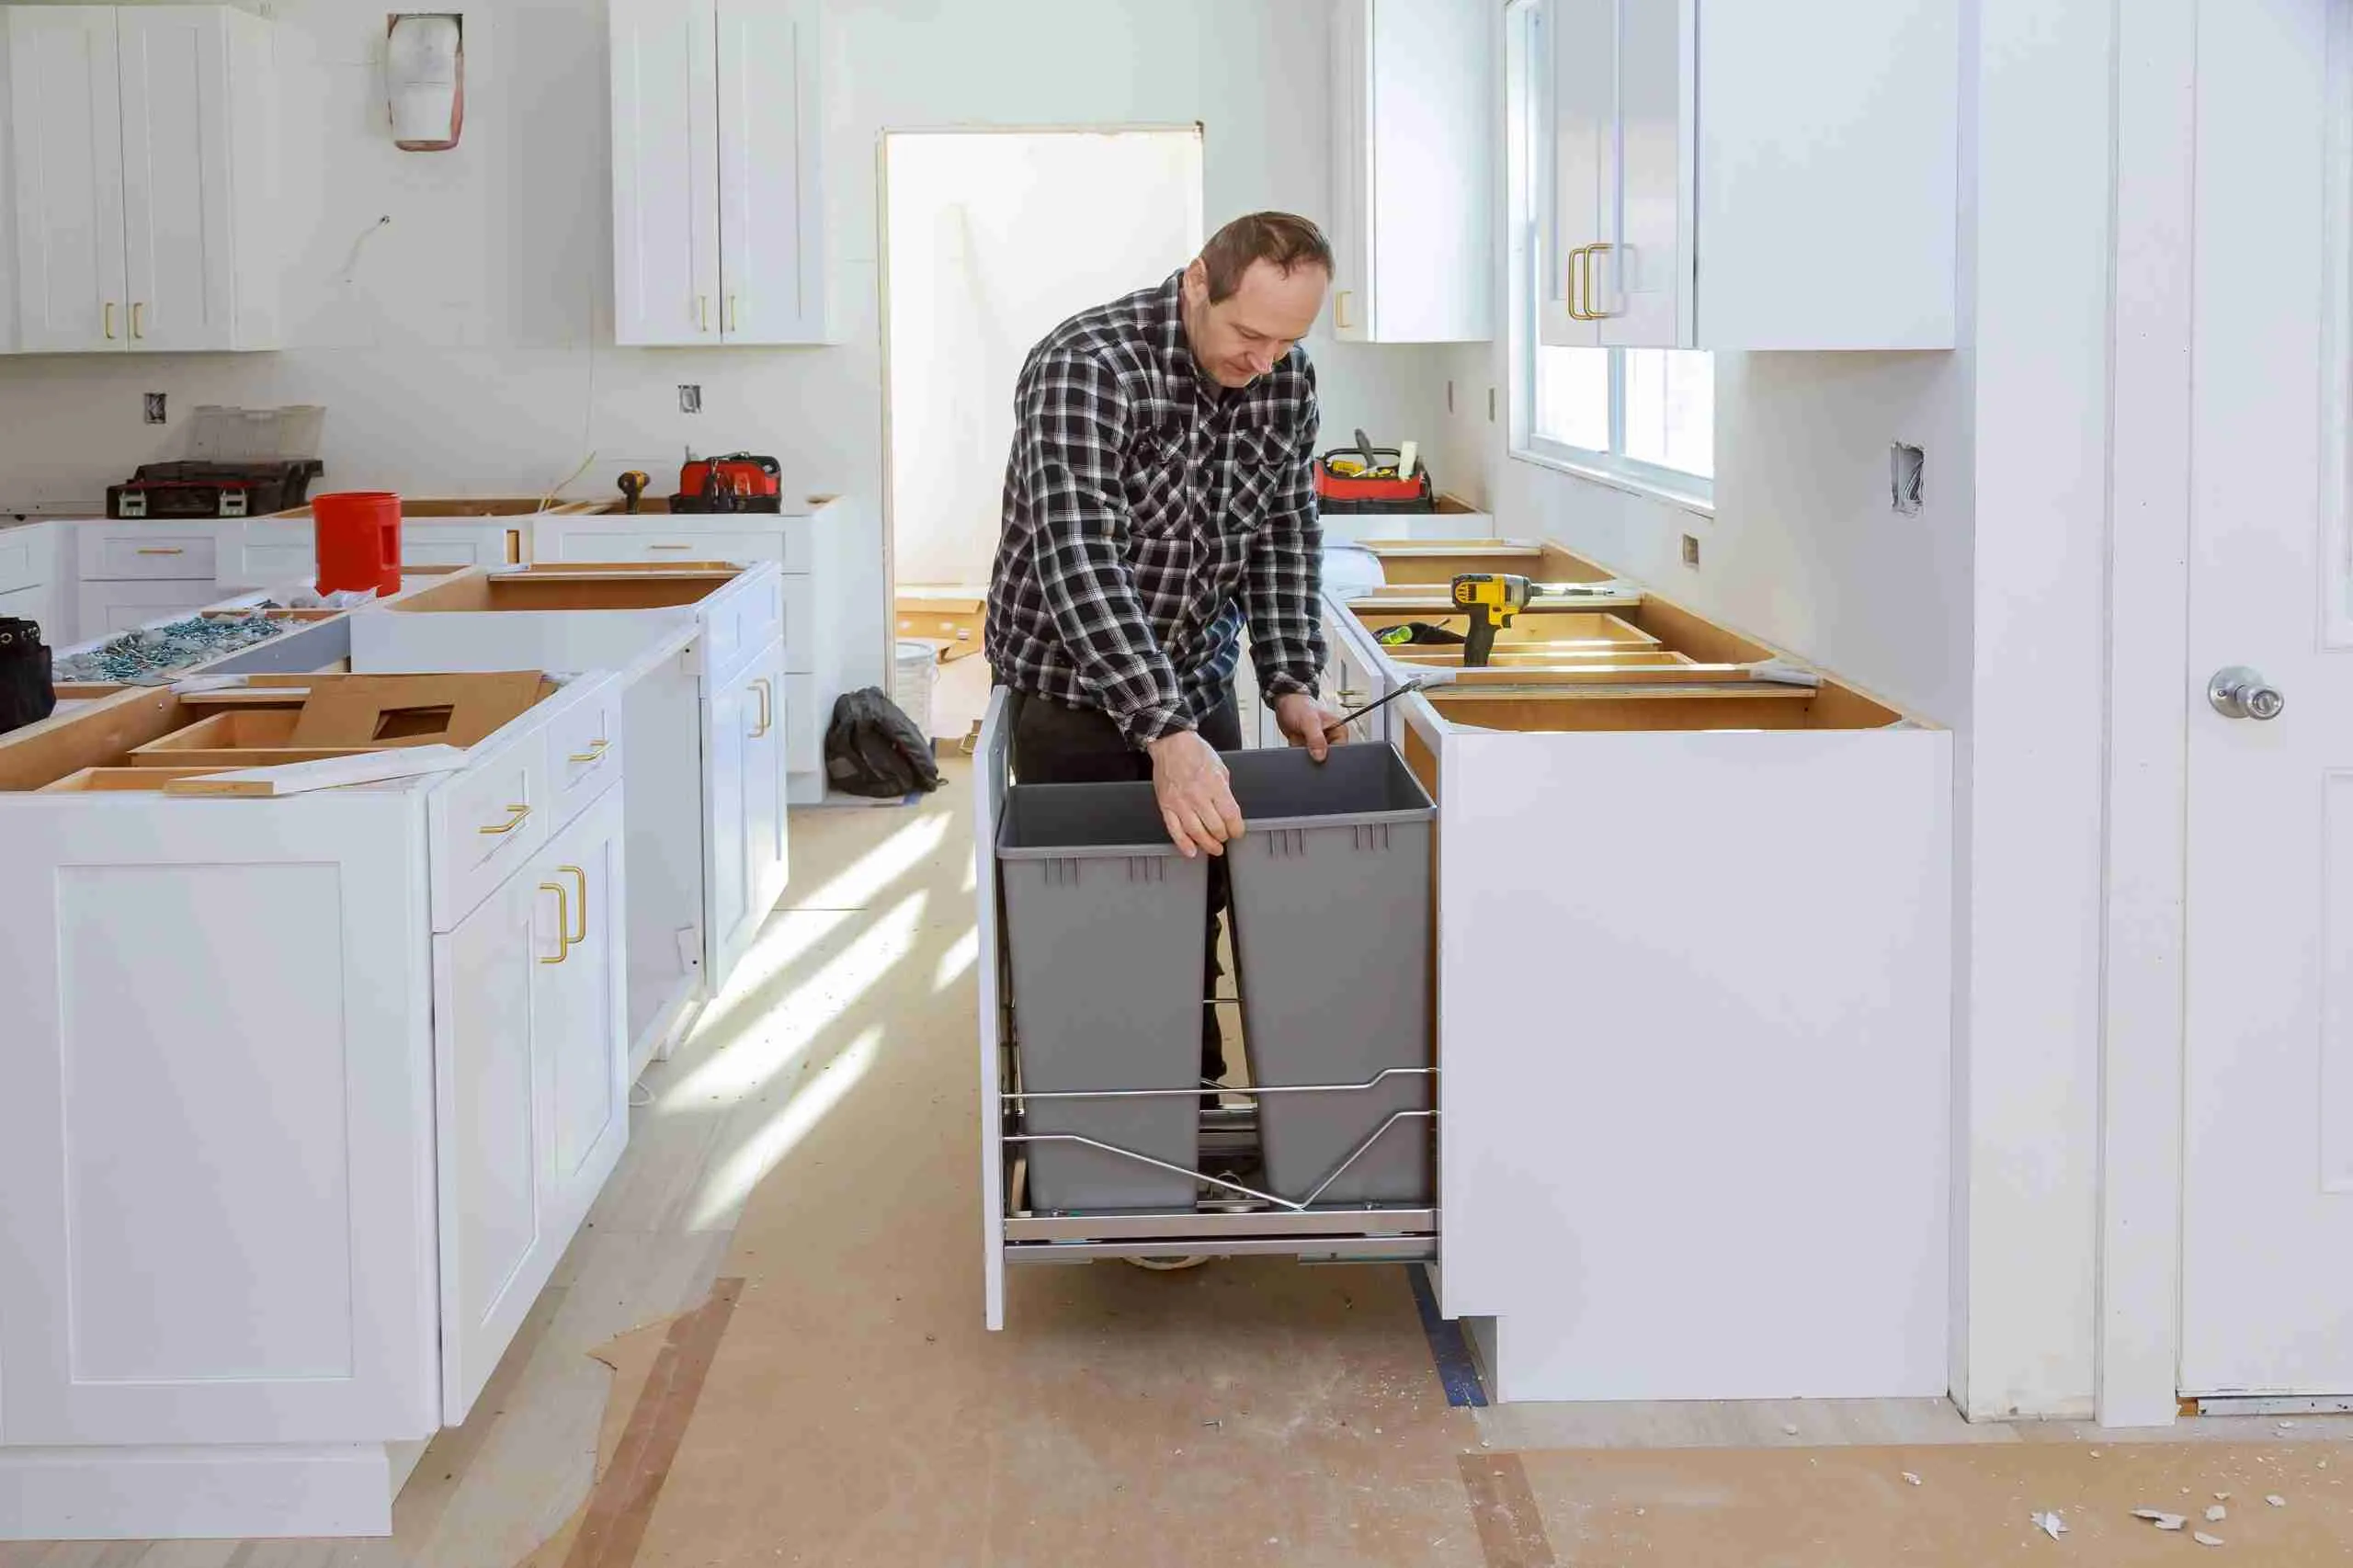
Credit: hosttools.com
Reinstalling The Sliding Garbage Drawer
After cleaning or repair, you’ll want to reinstall the drawer. Here’s how to do it right:
- Align the Drawer: Place the drawer rails with the cabinet tracks. Make sure both sides are even.
- Insert Evenly: Slide the drawer gently until you hear or feel the rails engage.
- Test the Movement: Open and close the drawer fully. Listen for unusual sounds.
- Secure Any Screws or Clips: Replace any fasteners you removed earlier.
- Check the Soft-Close (if present): Make sure the damper works smoothly.
- Replace the Bin: Put the garbage bin back and test again.
Pro Tip
If the drawer feels rough or sticks, remove and check for misalignment or debris on the tracks.
Common Mistakes To Avoid
Removing a sliding garbage drawer is simple in theory, but many people make mistakes that cause frustration or damage. Here are the most common:
- Not Identifying the Drawer Type: Forcing the wrong removal method can break the mechanism.
- Losing Small Parts: Clips, screws, and tabs are easy to lose. Use a small container.
- Skipping Cleaning: Dirt left inside causes problems when reinstalling.
- Forgetting to Take Photos: You may not remember how everything fits back together.
- Rushing the Job: Slow, steady movement prevents damage.
- Ignoring Manufacturer Instructions: If you have them, always check for brand-specific steps.
- Using the Wrong Tools: The wrong screwdriver can strip screws.
Learning from these mistakes saves you time and prevents costly repairs.
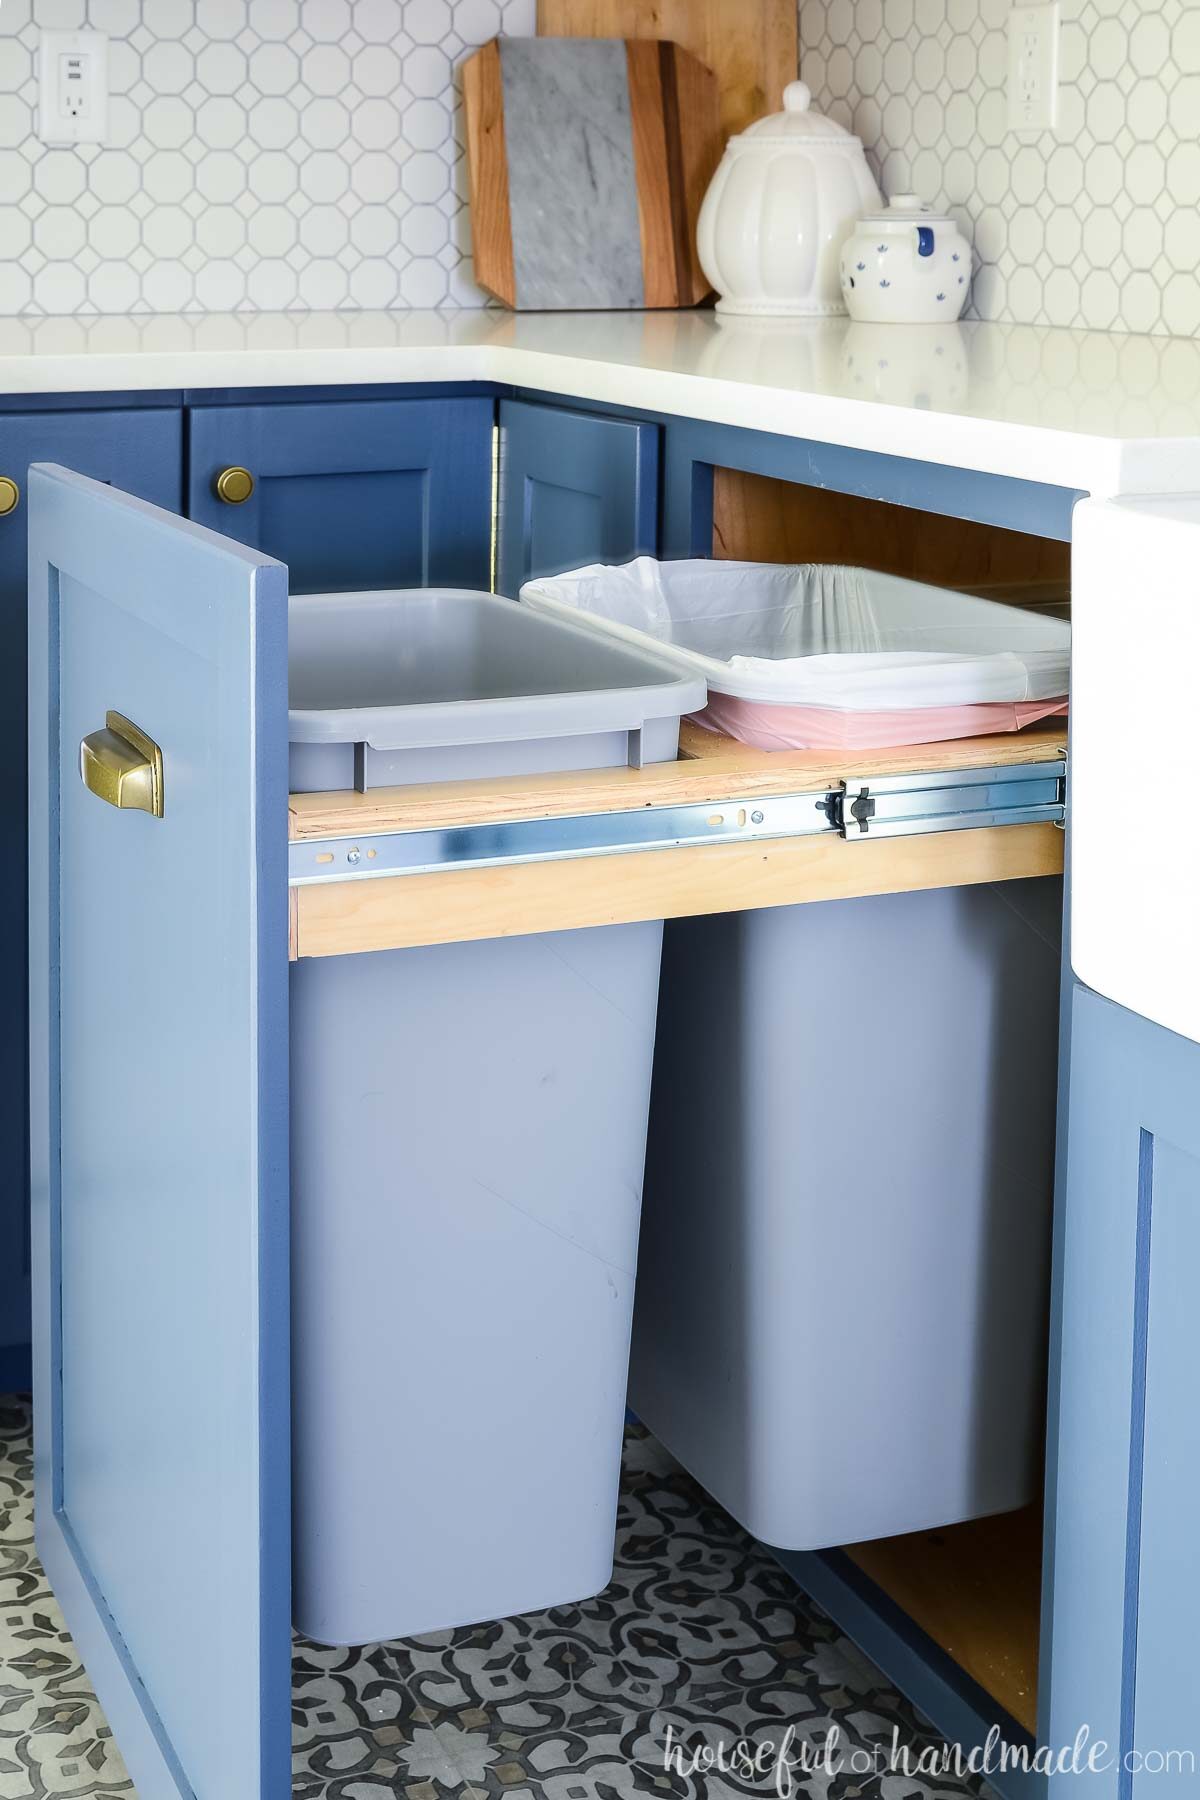
Credit: housefulofhandmade.com
Special Cases: Double Or Tilt-out Garbage Drawers
Some kitchens have double garbage bins or tilt-out mechanisms. These often use different systems:
- Double Drawers: Usually wider and heavier, sometimes with central locking clips.
- Tilt-Out Drawers: Often use a hinge at the bottom and a stop at the top. You may need to unscrew a top stop before lifting out.
Always inspect the mechanism before removal. Double or tilt-out systems can be more complicated but follow similar principles.
Environmental Considerations
Garbage drawers see a lot of waste. Take this opportunity to think green:
- Recycle Old Parts: Metal rails and hardware can go to recycling centers.
- Choose Eco-Friendly Cleaners: Avoid harsh chemicals when cleaning.
- Check for Leaks: If liquid has spilled, clean thoroughly to prevent mold.
A clean, well-maintained garbage drawer helps keep your kitchen eco-friendly.
Table: Quick Reference Removal Steps By Drawer Type
To make your task easier, here’s a quick reference guide:
| Drawer Type | Key Steps | Special Note |
|---|---|---|
| Side-Mounted | Press levers, pull out | Check for screws |
| Undermount | Release clips underneath | Support as you lift |
| Soft-Close | Release, pull slowly | Watch damper arm |
| Custom | Check manual | Extra locks possible |
Keep this table handy for quick checks as you work.
Real-world Example: Removing A Popular Brand Drawer
Let’s look at a real-world example. Suppose you have a Rev-A-Shelf sliding garbage drawer, popular in many homes.
- Open the Drawer: Pull it out fully.
- Find the Levers: Located on both sides near the back of the rails.
- Press Both Levers: Use thumbs to press down and pull the drawer forward.
- Support the Drawer: Rev-A-Shelf drawers are heavy.
- Clean Tracks: Wipe with a damp cloth and check for wear.
- Reinstall: Align rails and push back until you hear a click.
This method works for many brands, but always check your model for special instructions.
Preventing Future Drawer Problems
Once your drawer is out and clean, a few steps can prevent future issues:
- Regular Cleaning: Wipe down inside and around the rails monthly.
- Lubricate Twice a Year: Use silicone spray for smooth movement.
- Check for Leaks: Catch spills before they reach the tracks.
- Inspect for Wear: Replace worn parts before they fail.
A little maintenance goes a long way toward a hassle-free kitchen.
Table: Maintenance Schedule For Sliding Garbage Drawers
For best results, follow a simple maintenance schedule:
| Task | Frequency | Notes |
|---|---|---|
| Wipe Down Drawer & Tracks | Monthly | Use mild cleaner |
| Lubricate Tracks | Every 6 months | Use silicone spray |
| Inspect for Damage | Quarterly | Check wheels, clips |
| Deep Clean Area | Annually | Remove drawer fully |
Stick to this schedule for a long-lasting, smooth sliding garbage drawer.
Frequently Asked Questions
What If My Garbage Drawer Won’t Come Out At All?
If your drawer refuses to budge, first empty it and check for obstructions behind or under it. Use a flashlight to look for stuck objects or bent rails. If nothing is visible, inspect for hidden screws or tabs. Forcing a stuck drawer can break parts.
If you still can’t remove it, consider calling a professional.
How Do I Know If My Drawer Uses Side Or Undermount Rails?
Pull the drawer out and look at the sides. If you see metal rails attached to the sides, it’s a side-mounted rail. If you don’t see rails but the drawer slides smoothly, check underneath—it’s likely an undermount system. The release mechanisms differ, so identifying your type is crucial.
Is It Safe To Lubricate The Rails With Oil?
It’s better to use a silicone-based lubricant. Oils can attract dust and grime, making the tracks sticky over time. Silicone sprays are cleaner, last longer, and are less likely to cause buildup. Always clean the rails before applying lubricant.
Can I Replace Just The Rails Or Tracks If They’re Damaged?
Yes, most rails or tracks can be replaced without buying a new drawer. Take the damaged part to a hardware store or find the model number online. Many manufacturers sell replacement parts. For complex or custom systems, check the brand’s website or contact support. You can find more details on sites like Family Handyman.
Are There Any Safety Risks When Removing A Garbage Drawer?
While removing a sliding garbage drawer is generally safe, there are risks if you rush or use the wrong tools. Watch out for sharp metal edges, heavy drawers, and small parts that can be choking hazards for kids or pets.
Always wear gloves and work in a well-lit area for best results.
Removing a sliding garbage drawer is a useful skill for any homeowner. With the right tools, clear steps, and a bit of patience, you can keep your kitchen running smoothly and avoid unnecessary repair costs. Regular cleaning and a careful approach will make future removal even easier.
Whether you’re troubleshooting a stuck drawer or upgrading your kitchen, these steps ensure success and peace of mind.