If you own an Emeril Lagasse oven, you already know how versatile and efficient it can be. From crispy air-fried chicken to perfectly baked bread, Emeril’s countertop ovens are a popular choice for home cooks who want speed and quality in one device. But like any hardworking kitchen appliance, your oven needs proper cleaning and maintenance to stay in top condition. One task that sometimes confuses users is how to remove the oven door safely and efficiently.
Getting this step right is crucial for deep cleaning, removing stuck-on food, or even replacing the door if it’s damaged. Unfortunately, the process isn’t always explained clearly in user manuals, and mistakes can damage the hinges or glass. If you want your Emeril Lagasse oven to look and function like new, understanding how to remove and reinstall its door is a skill worth learning.
This guide walks you through every detail, from preparation to troubleshooting. You’ll also learn pro tips, safety warnings, and answers to the most common questions. Whether you’re a beginner or a confident DIYer, you’ll find everything needed to handle this task with care and confidence.
Why Remove The Oven Door?
Many users wonder if removing the oven door is really necessary. In most cases, you don’t need to do this for regular cleaning. However, there are clear benefits in specific situations:
- Deep Cleaning: Food splatters and grease can build up between the glass panels or along the hinges. Removing the door allows full access for a thorough clean.
- Glass Replacement: If the glass cracks or becomes cloudy, you’ll need to remove the door to replace or clean the glass safely.
- Hinge Maintenance: Hinges can get stiff or squeaky. With the door off, you can lubricate or adjust them.
- Safer Repairs: For any internal oven repairs, removing the door makes the process safer and easier.
- Moving and Storage: Detaching the door makes the oven lighter and easier to move.
Understanding why you might need to remove the door helps you decide when and how often to perform this task.
Understanding Your Emeril Lagasse Oven Model
Not all Emeril Lagasse ovens are the same. The removal process can vary a bit between models. The three main types are:
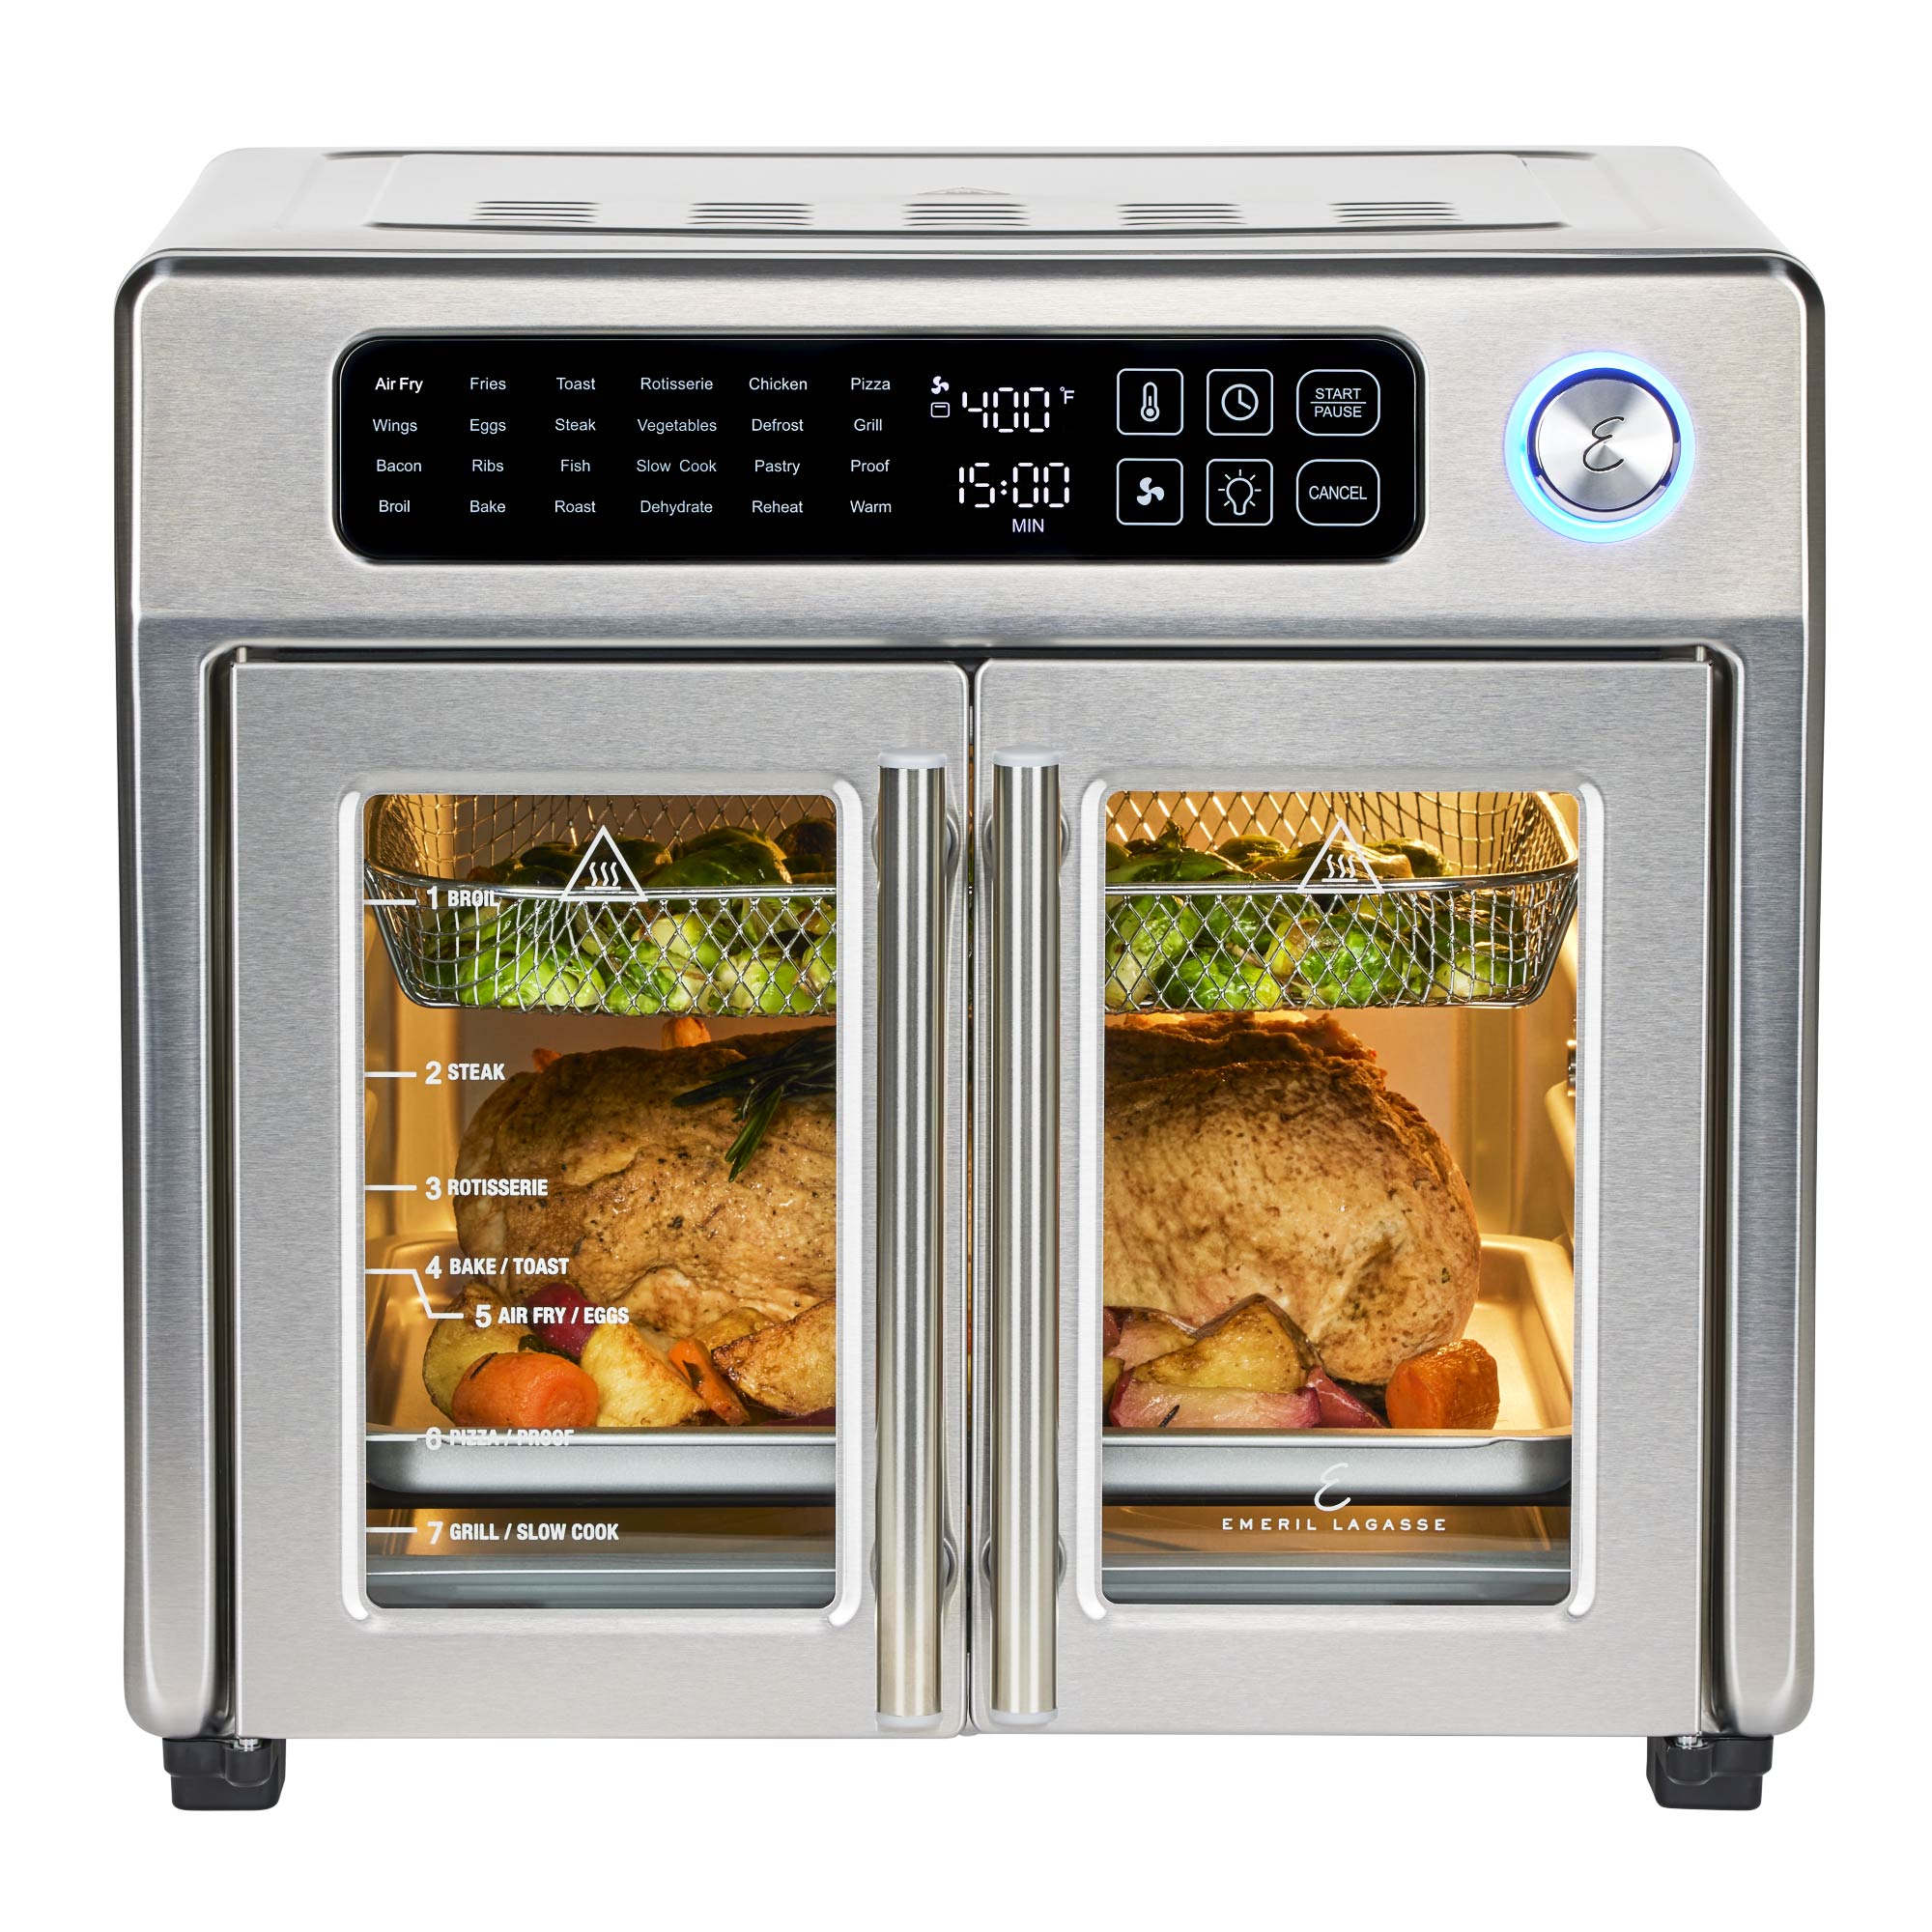
- Emeril Lagasse Power AirFryer 360
- Emeril Lagasse Power AirFryer 360 XL
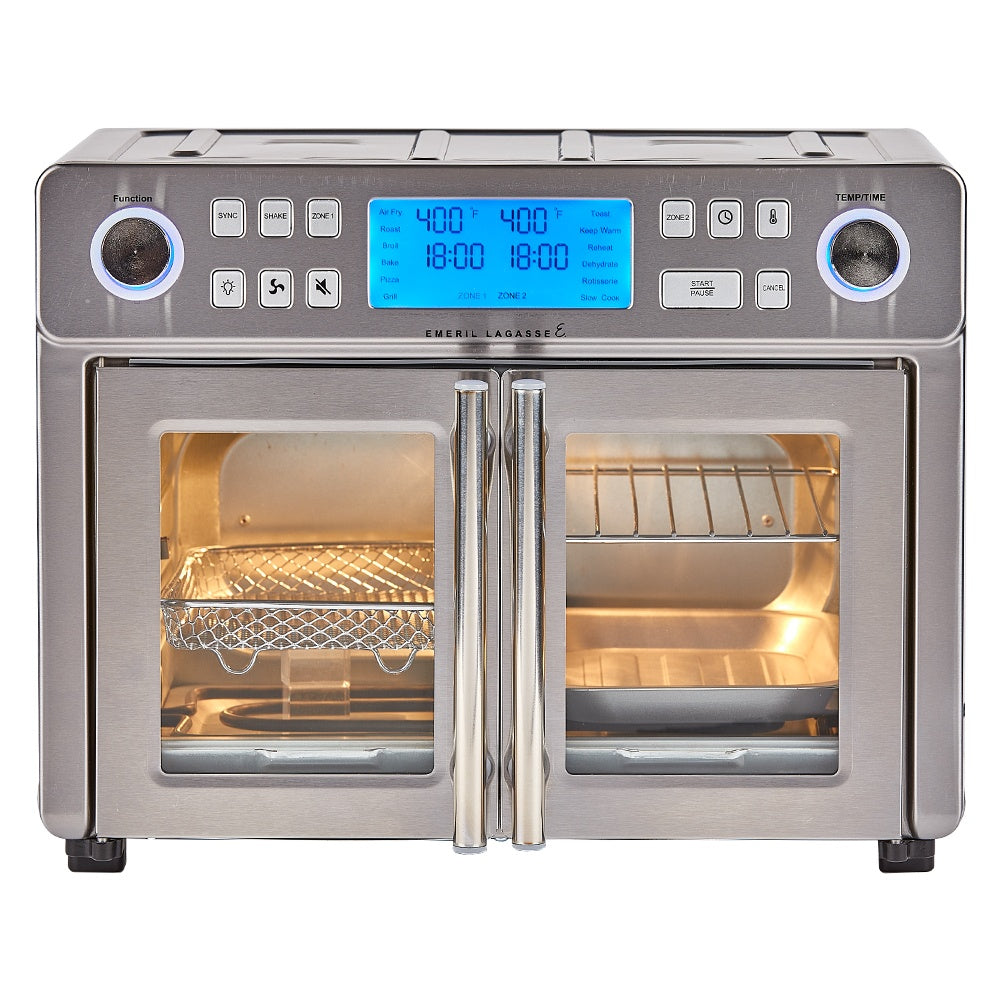
- Emeril Lagasse French Door 360
Before you begin, check your model number. You’ll usually find this on a sticker at the back or bottom of the oven. This guide covers general steps for all types, with special notes for unique features.
Key Differences In Door Design
Some models, like the French Door 360, have two doors that open from the middle, while others have a single drop-down door. Most use a hinge system with locking tabs, but the look and feel can differ.
If you have misplaced the manual, you can often find digital versions or support on the official Emeril Everyday website.
Safety First: Preparing To Remove The Oven Door
Before you touch any screws or hinges, safety is your top priority. Many accidents happen because people skip these steps.
- Unplug the Oven: Never work on any electric appliance while it’s plugged in. Unplug from the wall and wait at least 10 minutes for any heat to dissipate.
- Let the Oven Cool: Even a slightly warm oven can cause burns. Double-check that the oven and door are completely cool to the touch.
- Clear Your Workspace: Move the oven to a sturdy, flat surface. Remove anything around it that could get in the way.
- Gather Tools: You’ll usually need a Phillips screwdriver and a flathead screwdriver. Some models might require a Torx bit or a small wrench.
- Protect the Door and Floor: Place a towel or blanket on your work surface to prevent scratches to both the oven door and your countertop.
- Wear Gloves (Optional): Glass and metal edges can be sharp. If your hands are sensitive, lightweight work gloves add protection.
Step-by-step: How To Remove The Oven Door
The steps below cover the most common Emeril Lagasse oven models. If you feel resistance, do not force the door—stop and check for hidden fasteners.
1. Open The Oven Door Fully
Gently pull the door down to its lowest position. For French Door models, open both doors wide.
2. Locate The Hinge Locks
Look at the hinges, which connect the door to the oven body. Most Emeril Lagasse ovens have hinge locks—small metal tabs or levers on each side.
- For single doors: The locks are usually at the bottom corners.
- For French doors: Each door has its own hinge and lock.
3. Unlock The Hinges
Using a flathead screwdriver, gently push the hinge locks forward (away from the oven cavity) until they stop. You should feel or hear a soft click. The locks hold the hinges open, making removal safer.
Pro tip: If you can’t see the lock, shine a flashlight into the hinge area. Dust or grease can obscure the parts.
4. Partially Close The Door
Slowly begin to close the door until it stops at the “broil” position (about 1/4 open). At this angle, the door is released from the oven frame but still supported by the hinges.
5. Lift The Door Up And Out
Holding both sides of the door firmly, lift it straight up. The hinges will slide out of their slots. If the door doesn’t move, double-check that both hinge locks are open and the door is in the correct position.
- For French Door models: Remove one door at a time, supporting each with one hand while you unlock the hinge.
- For single doors: Always use both hands for even lifting.
6. Place The Door On A Safe Surface
Set the door on your padded work area, glass side up. Avoid banging or setting it on an edge, which can crack the glass.
Tips For Cleaning And Maintenance While The Door Is Off
With the door removed, you have a unique opportunity for deep cleaning and inspection. Here are some tips to maximize the results:
- Clean Between the Glass: If your door has double or triple-pane glass, crumbs and grease can get inside. Use a long, thin brush or vacuum attachment to reach between panels.
- Soak Metal Parts: Hinges and screws can be soaked in warm, soapy water to remove built-up grime.
- Check for Rust: Look for any rusty spots on the hinges or frame. Light rust can be gently scrubbed away with a baking soda paste.
- Lubricate Moving Parts: Use a food-safe lubricant on the hinge pivots. This prevents squeaking and ensures smooth door action.
- Inspect Seals and Gaskets: The rubber gasket around the door should be flexible and free from cracks. If damaged, it should be replaced to keep heat in.
How To Reinstall The Oven Door
Reattaching the oven door is just as important as removing it. An improperly seated door can cause heat leaks, poor performance, or even damage.
1. Align The Hinges
Hold the door with both hands. Insert the hinge arms into the hinge slots on the oven body at the same angle you removed them.
2. Lower The Door
Once the hinges are in their slots, slowly lower the door toward the fully open position. This ensures both hinges engage evenly.
3. Lock The Hinges Back
Push the hinge locks back into their original position using a screwdriver. You should hear or feel a click as they snap into place.
4. Test The Door
Close and open the door several times. It should move smoothly and feel secure, with no wobble or resistance. If it catches or feels loose, remove and repeat the alignment step.

Credit: www.amazon.com
Troubleshooting Common Problems
Sometimes, the process doesn’t go as planned. Here’s how to handle common issues:
Door Won’t Lift Out
- Hinge locks not fully open: Double-check both sides.
- Wrong position: The door must be at the “broil” (¼ open) position.
- Hidden screws: Some models have extra screws in the hinge area. Remove these if present.
Door Stuck After Reinstallation
- Misaligned hinges: Remove the door and try inserting the hinges at a slightly different angle.
- Hinge locks still engaged: The locks must be pushed back after installation.
Glass Panel Is Loose
- Missing screws: Some models use small screws to secure inner glass. Tighten these gently.
- Damaged clips or seals: If you see a broken part, order a replacement from the manufacturer.
Door Squeaks Or Doesn’t Close Fully
- Dry hinges: Apply a small amount of food-grade lubricant.
- Worn gasket: Replace the door gasket if it’s cracked or torn.
Special Notes For Emeril Lagasse French Door Models
If you own the French Door 360, the removal process is slightly different:
- Open both doors fully.
- Identify the hinge covers at the bottom of each door.
- Remove the hinge cover screws using a Phillips screwdriver.
- Slide the hinge covers away.
- Use a flathead screwdriver to gently lift and disengage the hinge pins from the oven frame.
- Carefully lift each door off, one at a time.
When reinstalling, reverse these steps. Make sure both doors are even for a tight seal.
Credit: www.emerileveryday.com
Comparing Emeril Lagasse Oven Models: Door Removal
To help you visualize the differences, here is a comparison of the three main Emeril Lagasse oven types related to their door design and removal process.
| Model | Door Type | Hinge Lock | Special Tools Needed | Difficulty Level |
|---|---|---|---|---|
| Power AirFryer 360 | Single drop-down | Yes | No | Easy |
| Power AirFryer 360 XL | Single drop-down | Yes | No | Easy |
| French Door 360 | Double French | Yes (per door) | Phillips screwdriver | Moderate |
What To Avoid: Common Mistakes When Removing Oven Doors
Even careful users can make small errors that cause big problems. Here’s what to watch out for:
- Forcing the Door: Never force the door if it doesn’t move easily. This can bend the hinges or crack the glass.
- Losing Small Parts: Keep track of all screws and covers. Losing even one can make reassembly difficult.
- Ignoring Hinge Locks: If you forget to engage or disengage the locks, the door can fall suddenly.
- Skipping Safety Steps: Always unplug the oven and wait for it to cool. Even a slight shock or burn can ruin your day.
- Improper Cleaning Products: Avoid harsh chemicals or steel wool on glass panels. Use only non-abrasive cleaners.
Credit: www.emerileveryday.com
Real-world Example: Removing A Stuck Door
Let’s say your Power AirFryer 360 oven door is stuck after a spill. Here’s how a user handled it:
- The owner unplugged the oven and waited until it was fully cool.
- She opened the door and found sticky syrup had glued the hinge area.
- Using a hairdryer on low, she softened the syrup, then carefully cleaned the area with warm soapy water.
- After the hinge locks were visible, she followed the removal steps above.
- The door came free without damage, and she was able to clean the glass thoroughly.
This shows the value of patience and using the right technique.
When To Call A Professional
While most people can remove and reinstall their oven door, there are times when it’s better to call for help:
- If you see broken glass, do not try to remove the door. Glass shards are dangerous.
- If the hinges are bent or don’t move, forcing them can make things worse.
- If you’re unable to reinstall the door after several tries, a technician can help.
Emeril Lagasse has a support line and authorized service centers. You can find these on their official website. Sometimes, having an expert handle the job saves time and stress.
Maintenance Schedule: How Often Should You Remove The Oven Door?
For most users, removing the oven door is only needed a few times a year:
- Deep cleaning: Every 3-6 months, depending on how often you use the oven.
- Glass inspection: Annually, or if you see streaks between the panels.
- After big spills: Anytime food or grease leaks inside the hinges or between the glass.
Regular maintenance keeps your oven in top shape and prevents stubborn stains.
Additional Tips For Oven Door Longevity
To make your oven door last as long as possible, consider these habits:
- Wipe spills quickly: Food can drip into the hinge area and cause sticking.
- Close gently: Slamming the door puts stress on the glass and frame.
- Avoid hanging towels: Don’t hang heavy items on the handle, as this strains the hinges.
- Check the gasket: Replace the door gasket if you see heat escaping or if it feels hard or cracked.
These simple steps can prevent the need for repairs and keep your Emeril Lagasse oven working smoothly.
How To Order Replacement Parts
If you notice a damaged glass panel, hinge, or gasket, you can usually order replacements. Here’s how:
- Visit the Emeril Everyday official website or call their customer service.
- Provide your model number and describe the part needed.
- Confirm the shipping and warranty details.
- Follow the manufacturer’s instructions for installation.
Never use non-Emeril parts, as the fit and safety may not be guaranteed.
Comparing Emeril Lagasse Ovens To Other Brands
How does the Emeril Lagasse oven door removal process compare to other leading countertop ovens?
| Brand | Door Removal Method | Common Tools Needed | Average Time |
|---|---|---|---|
| Emeril Lagasse | Hinge lock system | Screwdriver (sometimes) | 10-15 minutes |
| Breville | Screws and pins | Torx/Phillips screwdriver | 15-20 minutes |
| Cuisinart | Hinge slot | Flathead screwdriver | 10 minutes |
| KitchenAid | Release levers | None | 8-12 minutes |
Emeril Lagasse ovens offer one of the easiest and safest processes, especially for beginners.
Frequently Asked Questions
How Do I Know If My Oven Door Is Installed Correctly?
Check that the door opens and closes smoothly without resistance. The seal should be tight, and the oven should reach and hold temperature properly. If you hear rattling or see heat escaping, remove and reinstall the door.
Can I Clean Between The Oven Door Glass Without Removing The Door?
Some models allow partial cleaning through small slots, but for a full clean, removing the door is best. Always avoid using sharp objects that can scratch the glass.
What Should I Do If The Hinge Lock Is Broken Or Missing?
Do not use the oven until the hinge lock is repaired. Contact Emeril Lagasse support for a replacement part. Using the oven without a functioning hinge lock is unsafe.
Is It Safe To Use Generic Lubricants On Oven Hinges?
Only use food-grade lubricants. Other oils can smoke or create odors at high temperatures. If unsure, check the oven manual or ask the manufacturer.
Where Can I Find More Information Or Get Official Support?
For detailed instructions or to order official parts, visit the Emeril Everyday support page. They offer manuals, troubleshooting, and customer service.
Removing the oven door from your Emeril Lagasse oven isn’t difficult when you follow the right steps. By taking your time, using the correct tools, and following safety precautions, you can keep your oven looking and working like new for years. Regular deep cleaning and careful maintenance are the keys to great results and a longer appliance life. If you ever feel unsure, don’t hesitate to reach out for professional help—your oven is worth it.