
Sealing A Cutting Board After Wood Burning: The Complete Guide
Wood burning, or pyrography, transforms simple wooden cutting boards into beautiful, personalized kitchen tools. But after you finish your design, one important step remains: sealing the cutting board. This protects both your art and the wood, making the board safe for food and long-lasting. Many beginners focus on the creative part, but sealing is just as critical and requires care. If you want your wood-burned cutting board to be both durable and safe, you need to understand the right sealing methods, materials, and timing.
This guide will walk you through every step of the process. You’ll learn how to choose the right sealer, prepare the surface, apply the finish, and care for your board. Whether you’re making a board for yourself, as a gift, or even for sale, you’ll find everything you need here—including tips that many first-timers miss.
Let’s protect your hard work and make your design last for years.
Why Sealing Matters After Wood Burning
Sealing a cutting board after wood burning is not just about making it look nice. The sealer acts as a protective barrier between the wood and the food you prepare. It keeps out moisture, prevents stains, and stops bacteria from getting into the wood’s pores.
Wood burning creates tiny grooves on the surface. These can collect food particles and bacteria if left unsealed. A good sealer fills these grooves, making cleaning easier and maintaining food safety. Also, sealing enhances the colors and detail of your design, making them stand out more vividly.
Some people skip this step or use the wrong product. This can lead to cracking, warping, or even mold. Taking the time to seal properly saves you time, money, and disappointment later.
Choosing The Right Sealer For Food-safe Cutting Boards
Not all finishes are safe for cutting boards, especially those meant for food use. Many common wood finishes contain chemicals or toxins that can leach into food. You must select a food-safe sealer designed for surfaces that touch food.
Here are the most popular and trusted options:
1. Mineral Oil
Widely used for cutting boards, mineral oil is clear, odorless, and food-safe. It penetrates deeply and helps keep the wood hydrated.
2. Beeswax
Pure beeswax is natural and food-safe. Often mixed with mineral oil for better application.
3. Carnauba Wax
A plant-based wax, harder than beeswax, also food-safe.
4. Walnut Oil
Natural oil that cures and hardens, giving good protection. Not recommended for people with nut allergies.
5. Coconut Oil (fractionated)
Does not go rancid like regular coconut oil. It is safe if you use the refined, fractionated type.
6. Specialty Cutting Board Oils
Many brands sell blends specifically designed for cutting boards. These often combine mineral oil and wax.
Avoid using vegetable oil, olive oil, or other cooking oils—they can turn rancid and become sticky or smelly.
Quick Comparison: Common Food-safe Sealers
| Sealer | Safety | Durability | Appearance | Reapplication |
|---|---|---|---|---|
| Mineral Oil | Excellent | Moderate | Clear, natural | Monthly |
| Beeswax | Excellent | Good | Warm, slight sheen | Every 2-3 months |
| Walnut Oil | Good (allergy risk) | Good | Rich, deepens wood color | Every 2-3 months |
| Carnauba Wax | Excellent | Very good | High-gloss | Every 3-4 months |
| Specialty Blends | Excellent | Varies | Varies | As instructed |
Mineral oil is the most beginner-friendly and widely available. Beeswax and carnauba wax add extra water resistance and shine. Specialty blends often work best for long-term use.
Preparing Your Wood-burned Cutting Board For Sealing
Preparation is a step many skip, but it’s essential for a smooth, durable finish. After wood burning, your board may have soot, uneven surfaces, and residue. Cleaning and smoothing the surface helps the sealer bond well.
Cleaning
1. Remove Soot And Residue:
Use a soft brush or a dry cloth to gently brush away any loose ashes or dark burn marks.
2. Wipe Down:
Lightly dampen a cloth and wipe the surface to remove fine dust. Allow the board to fully dry before moving on.
Sanding
1. Start With Medium Grit (120-150):
Sand the entire board, focusing on the burned areas. This removes rough edges and soot, blending the design into the wood.
2. Finish With Fine Grit (220):
Sand again using a fine grit to smooth the surface. Always sand with the grain to avoid scratches.
Removing Sanding Dust
Use a tack cloth or a clean, dry microfiber towel to wipe away all dust. Any dust left behind can mix with the finish and create a rough or cloudy appearance.
Pro Tip: Many people forget to sand the sides and edges. Sealing all surfaces—including edges—prevents moisture from sneaking in and warping your board.
Step-by-step: How To Seal Cutting Board After Wood Burning
Now that your board is clean and smooth, you’re ready to seal. Each sealer type has its own best method, but the process is similar.
Step 1: Choose And Prepare Your Sealer
If you’re using oil (mineral, walnut, or coconut), pour some into a clean bowl. For waxes, gently warm them for easier spreading (but never melt to the point of liquid).
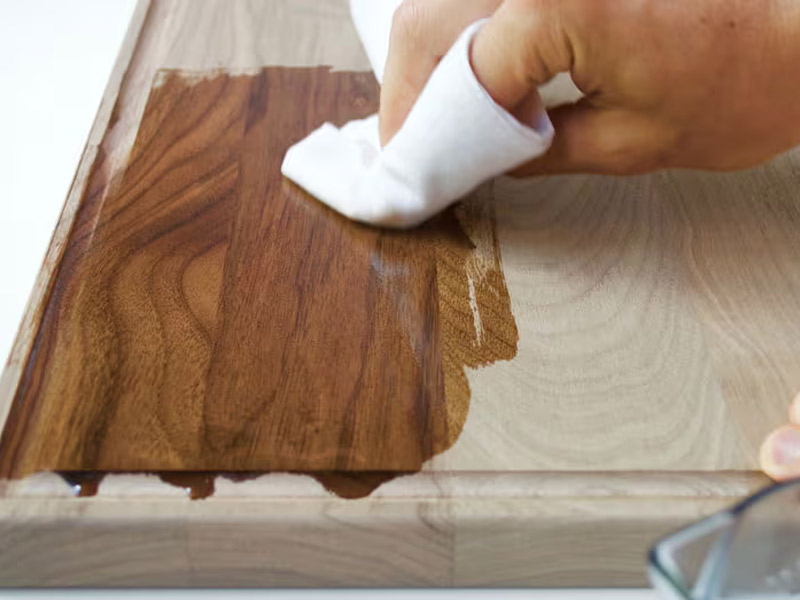
Step 2: Apply The First Coat
- Use a lint-free cloth or paper towel.
- Dip the cloth into the sealer.
- Rub the sealer into the wood, following the grain. Cover the top, bottom, sides, and all burned areas.
- Pay extra attention to the burned design. The grooves will absorb more sealer.
Step 3: Let It Soak In
Allow the board to sit for 20–30 minutes (for oils) or as directed by the wax product. The wood will absorb the sealer and may look darker.
Step 4: Wipe Off Excess
After soaking, use a clean, dry cloth to wipe away any sealer that hasn’t soaked in. This prevents stickiness.
Step 5: Repeat For Extra Protection
Most boards need at least two coats. Apply a second coat after a few hours or overnight. For very dry wood or deep burns, a third coat can help.
Step 6: Buff The Surface (for Wax Finishes)
Once your final coat is dry, buff the board with a soft, clean cloth. This brings out a gentle shine and smooth finish.
Non-obvious Insight: For best results, let the board cure at least 24 hours before using. Some oils (like walnut) may need 2–3 days to fully harden.
Specialty Finishes: Blends And Commercial Products
Many woodworkers use special blends for extra protection and shine. These often combine mineral oil and beeswax or carnauba wax.
To use a blend, follow the same steps as above. These blends are designed for easy use and often give a richer appearance. Always check the label for food-safe certification.
Some products claim to be “waterproof” or “one-step. ” For cutting boards, avoid anything not clearly labeled as food-safe. Some polyurethane or varnish products are safe after full curing, but they’re harder to apply and repair.
Table: Pros And Cons Of Diy Vs. Commercial Board Finishes
| Type | Pros | Cons |
|---|---|---|
| DIY Oil/Wax Blends | Customizable, affordable, easy to make | Needs frequent reapplication, can be messy |
| Commercial Board Oils | Convenient, reliable, often longer lasting | Higher cost, less control over ingredients |
| Hard Wax Oils | Durable, water-resistant, enhances grain | More expensive, longer curing time |
How To Test If Your Cutting Board Is Properly Sealed
After sealing, you want to make sure your board is protected. Here’s a simple way to check:
- Sprinkle a few drops of water on the board.
- Watch if the water beads up on the surface or soaks in.
If water forms beads and does not absorb, your board is sealed well. If it soaks in, you need another coat.
Extra Tip: Check both the burned and non-burned areas. Sometimes the burned parts need more oil because they are more porous.
Common Mistakes To Avoid
Even experienced wood burners sometimes make mistakes during sealing. Here are some common errors and how to avoid them:
- Using the Wrong Oil: Vegetable and olive oil go rancid and can make your board smell bad.
- Sealing Before Cleaning: Soot and dust left on the surface will get trapped under the finish.
- Applying Too Much Sealer at Once: Thick layers can stay sticky or uneven.
- Not Letting It Dry: Using the board before the finish cures can lead to stains and uneven wear.
- Forgetting the Edges and Back: Moisture can enter from any side, so seal all surfaces.
- Overlooking Allergies: Some oils, like walnut, can cause reactions. Always check before gifting or selling.
Non-obvious Insight: Some people use colored waxes to highlight their wood burning. While this can look striking, only use food-safe pigments if the board will touch food.
Caring For Your Sealed, Wood-burned Cutting Board
Once your board is sealed, proper care will keep it beautiful for years. A sealed board is easier to clean and less likely to warp, crack, or stain.
Cleaning
- Wash with warm, soapy water after each use. Avoid soaking.
- Never put the board in a dishwasher or leave it submerged.
- Wipe dry with a towel and let it air dry standing up.
Reapplying Sealer
- Reapply mineral oil or wax when the wood looks dry or water no longer beads on the surface.
- For boards used daily, this might be once a month. For display boards, every few months is enough.
Storing
- Store in a dry place, standing up if possible. This prevents moisture buildup.
- Avoid placing near heat sources, which can dry out the wood.
Refreshing The Finish
- Lightly sand and clean the board before reapplying sealer.
- For deep stains or scratches, sand them out gently before resealing.
Pro Tip: Keep a small bottle of mineral oil in your kitchen for quick touch-ups.
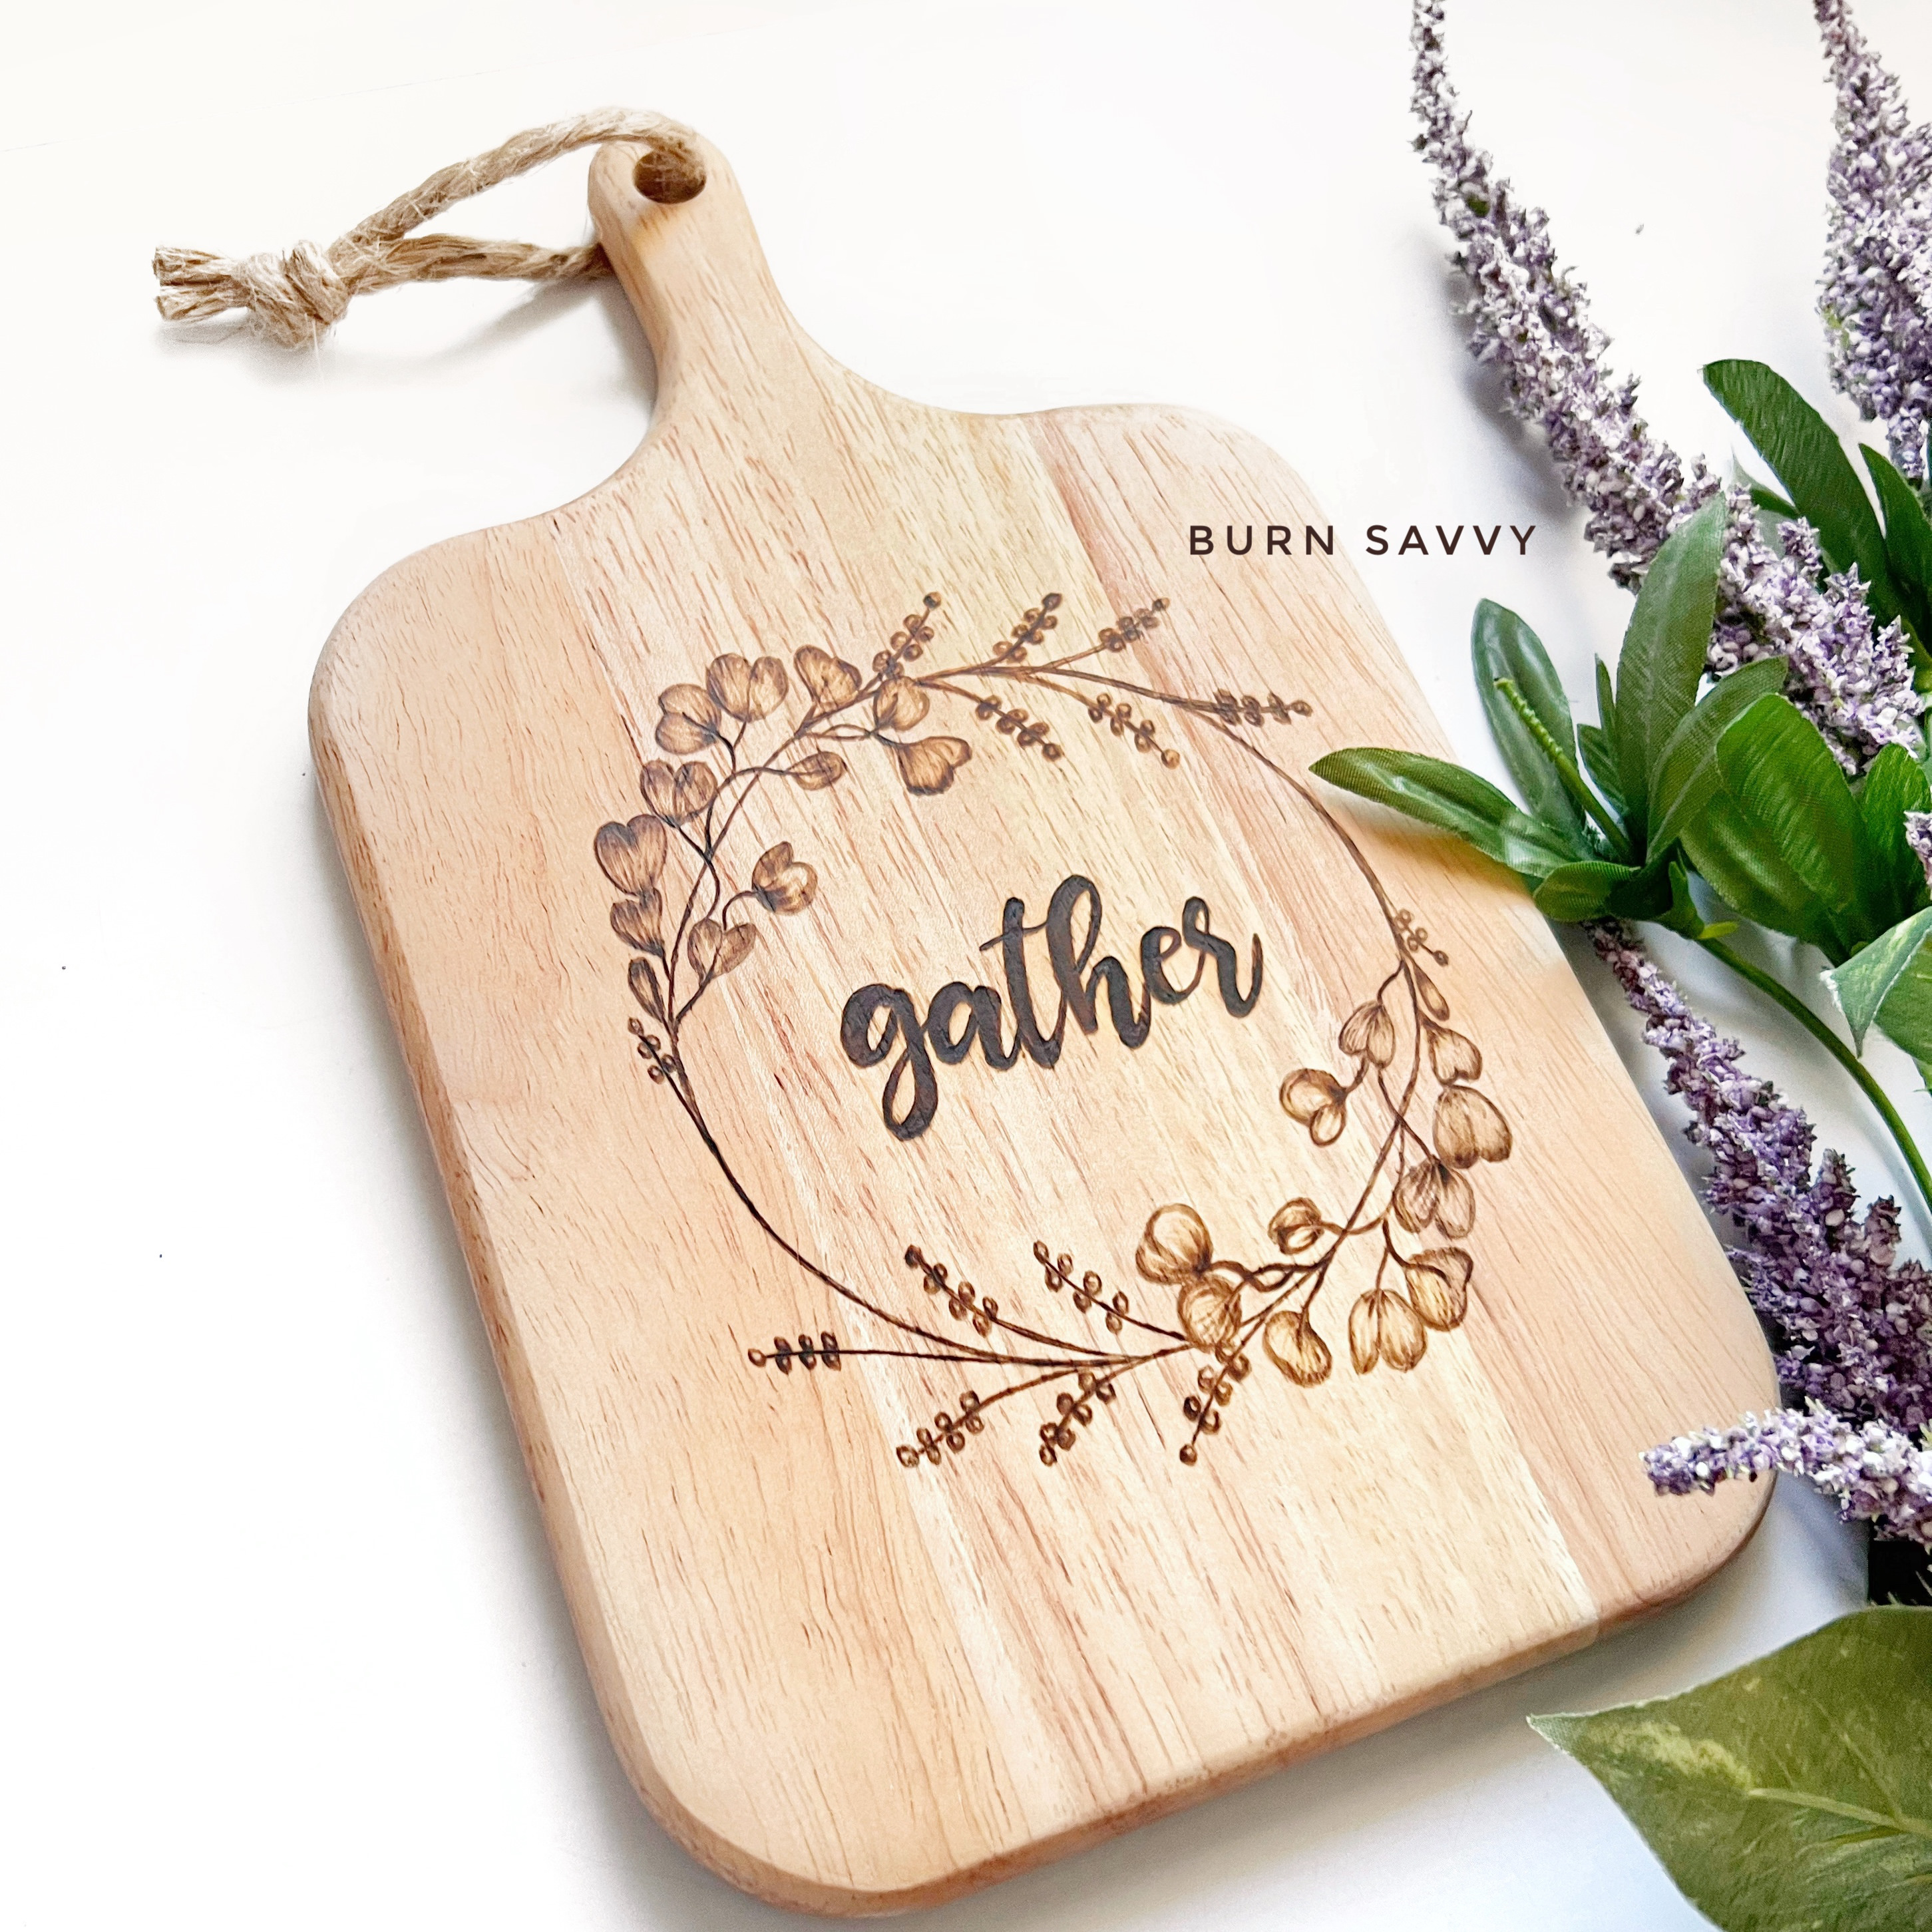
Credit: www.burnsavvy.com
Advanced Tips For Sealing Wood-burned Boards
If you want your board to stand out or last longer, here are some advanced techniques:
- Double Sealing: Start with mineral oil for penetration, then finish with a beeswax blend for surface protection.
- Color Enhancement: Some oils (like walnut) deepen the wood color, making the burned design pop.
- Personalization: Mix a drop of essential oil (like lemon) into your wax for a fresh scent (but only if you’re sure it’s food-safe).
When To Use Resin Finishes (and Why It’s Rare)
Some artists ask about using epoxy or resin to seal wood-burned boards. These finishes create a glass-like surface and can protect art well. However, they are not suitable for most cutting boards because:
- Resin surfaces are not knife-friendly—they will scratch and chip.
- Many resins are not certified food-safe.
- They can hide the texture of your wood burning.
Resin finishes are best for serving boards or display pieces, not for boards used to cut food.
If you want to learn more about food-safe finishes, check resources like the Wikipedia article on mineral oil.

Credit: www.woodburncorner.com
Sealing Different Types Of Wood
Different woods absorb sealer in different ways. Hardwoods like maple, walnut, and cherry are popular for cutting boards. Softwoods (like pine) are not recommended—they’re too porous and can be damaged by knives.
Table: Sealer Absorption By Wood Type
| Wood Type | Sealer Absorption | Best Sealer | Notes |
|---|---|---|---|
| Maple | Moderate | Mineral oil + wax | Hard, closes pores well |
| Walnut | High | Walnut oil or blends | Deepens color |
| Cherry | Moderate | Mineral oil | Reddens over time |
| Beech | Moderate | Mineral oil + beeswax | Hard, smooth grain |
If you use a softwood board for display, still seal it, but don’t use it for cutting food.
Troubleshooting: Fixing Common Problems
Sticky Finish
If your board feels sticky after sealing, you probably used too much oil or wax, or did not wipe off excess. Remove stickiness by:
- Rubbing with a dry cloth
- Lightly sanding sticky areas
- Reapplying a thin coat and buffing well
Cloudy Or Uneven Finish
Cloudiness often means dust or moisture was trapped under the sealer. To fix:
- Let the board dry fully
- Sand the surface lightly
- Clean and reapply sealer
Raised Grain After Sealing
Sometimes, wood fibers swell from moisture. Smooth the surface with fine sandpaper and reseal.
Faded Wood Burned Art
If your design fades after sealing, it may be from using too much sealer or not cleaning soot well. Touch up with your wood burner, then reseal.
Can You Use A Sealed, Wood-burned Board For Both Cutting And Serving?
Yes, but with care. Use one side for cutting, the other for display or serving. Cutting will eventually scratch the finish and the wood burned design. If you want your art to stay perfect, reserve that side for serving only.
Pro Tip: Some woodworkers burn their art only on the “serving” side, keeping the cutting side plain for long-term use.
Frequently Asked Questions
How Long Should I Wait After Sealing Before Using My Cutting Board?
Wait at least 24 hours after the last coat of sealer, and up to 72 hours for oils like walnut or blends that need time to fully cure. This lets the finish harden and prevents food smells or stains.
Is Mineral Oil Really Safe For All Types Of Wood?
Yes, food-grade mineral oil is safe for all common cutting board woods. It won’t go rancid and is odorless and tasteless. Always choose a product labeled as food-safe.
Can I Use Polyurethane Or Varnish For A Cutting Board?
No, most polyurethane and varnish finishes are not recommended for surfaces that touch food. Even if some types are labeled food-safe after curing, they are difficult to repair and can chip with knife use.
How Often Should I Reseal My Wood-burned Cutting Board?
For boards used daily, reapply sealer monthly or whenever the wood looks dry. For boards mostly used for serving, every 2–3 months is usually enough.
What If My Board Develops A Crack Or Warp After Sealing?
If your board cracks or warps, it’s often due to uneven moisture or not sealing all sides. Sand out small cracks, reseal, and store the board upright in a dry place. For large cracks, it may be safer to use the board for display only.
Sealing your cutting board after wood burning takes time, but the results are worth it. With the right sealer and a little patience, your board will stay beautiful, safe, and functional for years. Protect your art, your food, and your investment by following these steps each time you finish a new piece.
The extra care you put in now will show every time you use your board.
Credit: en.chefstudio.vn