
Seasoning a Blackstone griddle press may seem like a small kitchen task, but it makes a big difference. A well-seasoned griddle press does more than just keep your food flat—it adds flavor, prevents sticking, and helps your press last for years.
Many people invest in a good Blackstone griddle press but overlook proper seasoning. If you want that perfect sear and easy cleanup, learning how to season your press is essential.
Let’s dig into everything you need to know. You’ll learn why seasoning matters, what tools to use, the best oils for the job, and each step you need to follow. You’ll also find answers to common questions and tips that even experienced grillers sometimes miss.
By the end, you’ll be able to season your Blackstone griddle press with confidence and keep it in top shape for every cookout.
What Is A Blackstone Griddle Press?
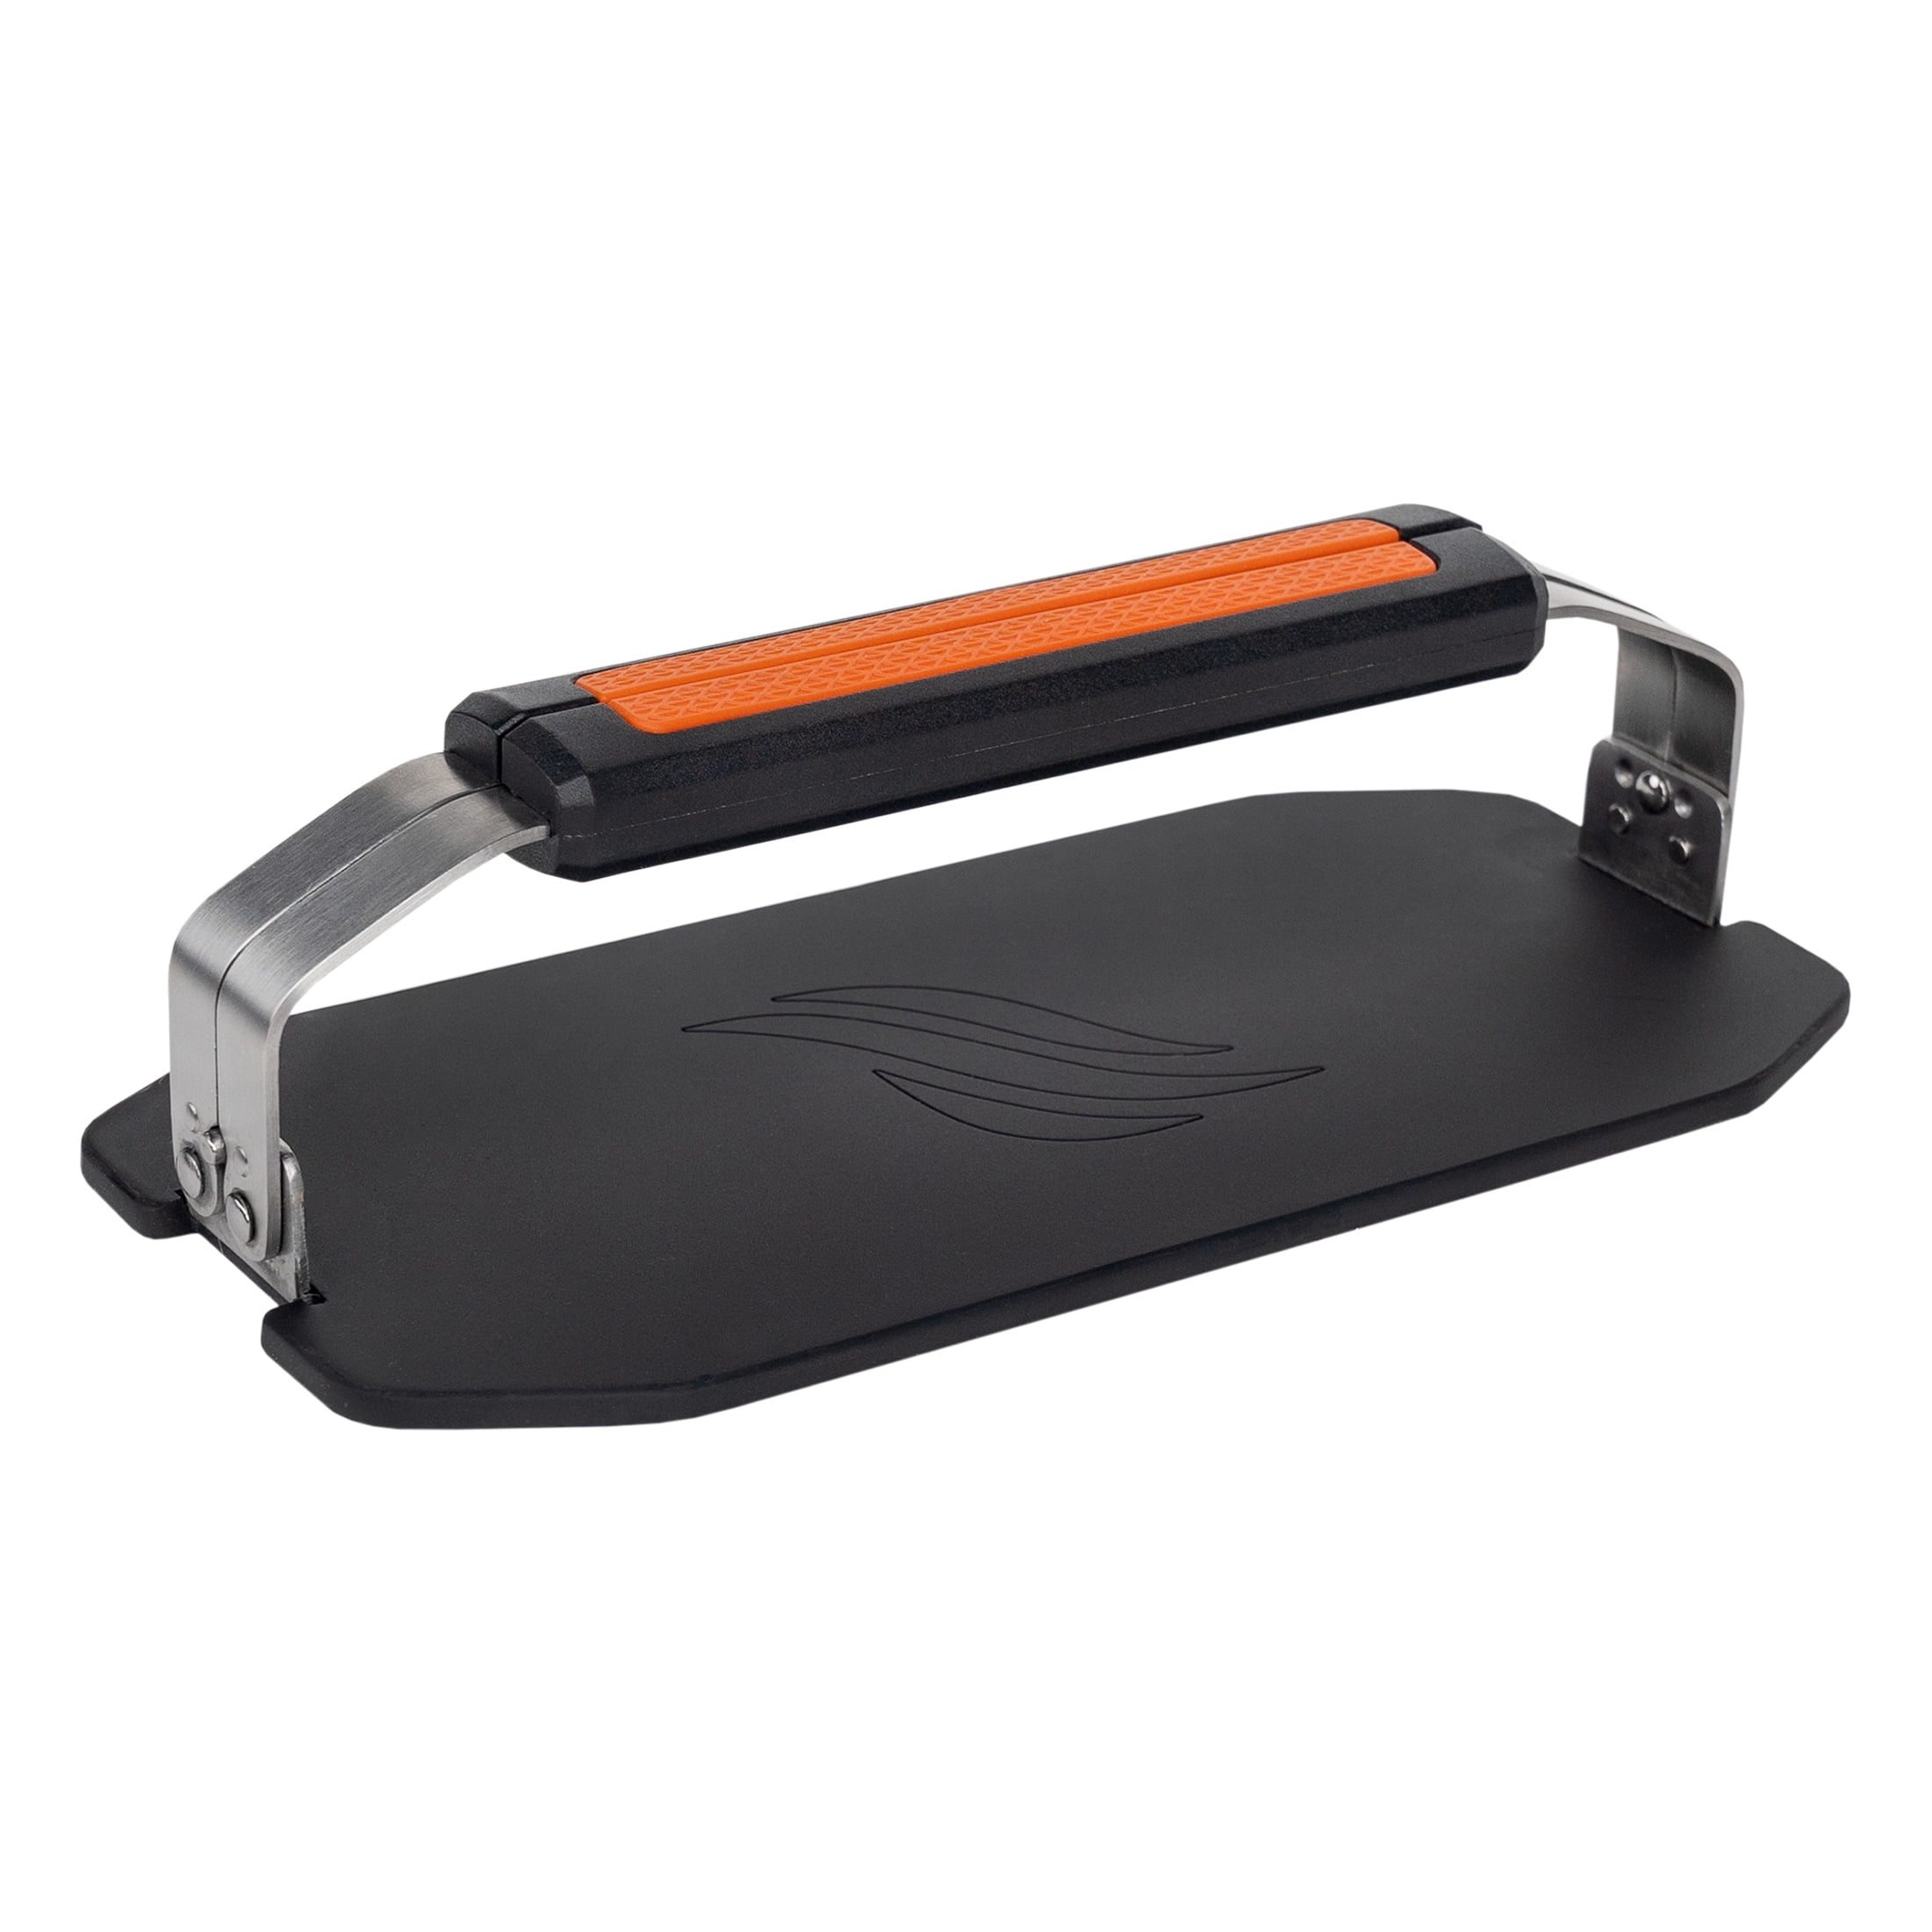
A Blackstone griddle press is a heavy, flat tool made from cast iron or stainless steel. It’s designed to press food items—like burgers, bacon, or sandwiches—against your griddle’s hot surface. This contact helps food cook evenly, creates a better sear, and often reduces cooking time. Blackstone is a popular brand known for their outdoor griddles and accessories.
Common Features Of A Blackstone Griddle Press
- Weight: Usually 1-3 pounds for effective pressing
- Material: Cast iron or stainless steel, sometimes with a non-stick coating
- Shape: Rectangular or round, often with a heat-resistant handle
- Size: Varies, but generally large enough to cover burger patties or sandwich halves
Why Use A Griddle Press?
Many cooks use a griddle press to:
- Achieve crispy bacon
- Make even, golden grilled cheese
- Get perfect smash burgers with a nice crust
- Reduce curling and uneven cooking
But to get these benefits every time, the press itself needs to be properly seasoned.
Why Season A Griddle Press?
Seasoning is more than just a tradition—it’s a science and a necessity. When you season your Blackstone griddle press, you create a thin layer of polymerized oil on its surface. This layer acts as a shield, giving you several advantages.
Key Benefits
- Prevents Rust: Raw cast iron rusts quickly. Seasoning keeps moisture away.
- Non-Stick Cooking: Food lifts off easily, which means less scraping and less mess.
- Enhances Flavor: Over time, seasoning adds a subtle, smoky taste.
- Easier Cleaning: Properly seasoned surfaces don’t hold onto stubborn food bits.
- Longer Life: Regular seasoning protects the metal, stopping corrosion and wear.
A Surprising Insight
Beginners often believe only the griddle needs seasoning. In reality, any cast iron tool that touches food should be seasoned—otherwise, you risk sticking, rust, and even off-flavors.

Credit: blackstoneproducts.com
What You Need Before Seasoning
Before you start, gather the right tools and supplies. Preparation is a big part of successful seasoning.
Essential Items
- Blackstone Griddle Press: Make sure it’s clean and dry.
- High Smoke Point Oil: Good options are canola, flaxseed, grapeseed, or vegetable oil.
- Paper Towels or Clean Cloth: For wiping and spreading oil.
- Oven or Grill: For heating the press evenly.
- Tongs or Heat-Resistant Gloves: To handle the hot press.
- Mild Dish Soap and Brush: For initial cleaning.
Optional Items
- Aluminum Foil or Baking Sheet: To catch oil drips in your oven.
- Spray Oil: For easier, even application.
- Scraper or Non-Metallic Brush: For cleaning before each re-seasoning.
Recommended Oils Comparison
Here’s a quick look at the best oils for seasoning:
| Oil Type | Smoke Point (°F) | Flavor Impact | Seasoning Quality |
|---|---|---|---|
| Flaxseed Oil | 225 | Neutral | Very Hard, Durable |
| Canola Oil | 400 | Mild | Reliable, Easy |
| Grapeseed Oil | 420 | Neutral | Durable |
| Vegetable Oil | 400 | Neutral | Good |
Non-obvious tip: Flaxseed oil creates the hardest seasoning but is more brittle—it can flake if you apply it too thick. Canola and grapeseed are easier for beginners.
How To Season Your Blackstone Griddle Press: Step-by-step
Let’s walk through the full process, from start to finish. Don’t rush—seasoning is about patience and even layers.
1. Wash And Dry The Press
New griddle presses often have a protective coating from the factory. This keeps them rust-free during shipping, but you don’t want it for cooking.
- Wash with warm water and mild dish soap.
- Scrub all surfaces, especially corners and the handle area.
- Rinse thoroughly.
- Dry with a towel, then air dry for 10-15 minutes.
Pro tip: Any leftover moisture can cause rust spots during seasoning. To be sure, place the press in a warm oven (200°F/90°C) for 5 minutes to evaporate hidden water.
2. Apply A Thin Layer Of Oil
Pour a small amount of oil (about one teaspoon) onto a folded paper towel. Wipe the entire press—top, bottom, sides, and even the handle if it’s metal.
- Spread the oil until the surface looks wet but not drippy.
- Wipe off any visible excess. The surface should look slightly shiny, not greasy.
Beginner’s mistake: Too much oil causes sticky, uneven seasoning. Less is more—multiple thin coats are better than one thick coat.
3. Heat The Press To Polymerize The Oil
You have two main options: use your oven, or place the press directly on your Blackstone griddle.
Oven Method
- Preheat the oven to 450°F (232°C).
- Put a sheet of foil or a baking pan on the lower rack to catch oil drips.
- Place the press upside down on the top rack.
- Bake for 1 hour.
- Turn off the oven and let the press cool inside for another hour.
Griddle Method
- Preheat the griddle to medium-high.
- Place the oiled press directly on the griddle.
- Heat for 30-45 minutes.
- Rotate occasionally for even seasoning.
- Remove with tongs and let cool.
Extra insight: The oven method seasons all sides evenly, but the griddle method is quicker. For best results, do the first seasoning in the oven, then maintain with the griddle.
4. Repeat For 2-3 More Coats
For a strong, reliable seasoning, repeat the oiling and heating process 2 to 3 times. Each coat builds up the protective layer.
- After each coat, let the press cool completely.
- Inspect for smoothness and even color (dark brown to black).
- If you see sticky spots, wipe with a dry towel and bake again.
Don’t rush: Rushing this step leads to uneven, sticky seasoning that flakes off later.
5. Final Inspection And Storage
When you’re done, the press should have a smooth, dark finish. It should not feel sticky or greasy. Store the press in a dry place—never in a damp area or directly on the griddle.
Advanced tip: If you live in a humid area, lightly oil the press before storing it to prevent rust.
Maintaining Your Seasoned Griddle Press
Seasoning is not a one-time job. Every time you use and clean your press, you affect its seasoning. With a few simple habits, you can keep your Blackstone griddle press in top shape.
Cleaning After Each Use
- Wipe the press with a paper towel while it’s still warm.
- If there’s stuck-on food, use a non-metallic brush and hot water—never soak in water.
- Dry thoroughly after cleaning.
- Avoid soap unless absolutely necessary (and re-season if you use it).
Re-oiling
If the seasoning looks thin or dull, wipe a light layer of oil on after cleaning. Heat on the griddle for 10-15 minutes to refresh the coating.
Handling Rust
If rust appears:
- Scrub with steel wool or a stiff brush until the rust is gone.
- Wash and dry thoroughly.
- Re-season as described above.
Real-world example: Even a well-seasoned press can rust if left wet overnight. Seasoning is tough, but not indestructible.
How To Use A Seasoned Blackstone Griddle Press
Once your press is seasoned, you’re ready for better cooking. Here’s how to get the most from it.
Smash Burgers
- Preheat the griddle and press.
- Place a ball of ground beef on the hot griddle.
- Use the press to flatten the burger for 10 seconds.
- Remove the press and let the burger cook until crispy.
- Flip and finish as usual.
Bacon
- Lay bacon strips on the griddle.
- Set the press on top to keep bacon flat and crispy.
- Rotate if needed for even browning.
Grilled Sandwiches
- Assemble your sandwich.
- Place on the griddle, press down with the seasoned griddle press.
- Hold for 1-2 minutes, then remove for a crispy, even crust.
Insider tip: Always preheat the press before using. A cold press can stick to food and pull off seasoning.
Credit: www.walmart.com
Common Mistakes And How To Avoid Them
Many beginners run into problems because they miss these key points. Fixing these early will save time and effort.
1. Using Too Much Oil
Extra oil doesn’t speed up seasoning—it makes it sticky and uneven. Always wipe away excess.
2. Skipping Multiple Coats
One coat isn’t enough. Two or three coats create a strong, lasting shield.
3. Ignoring The Handle
If the handle is metal, it also needs seasoning. Unseasoned handles rust and can transfer rust to your food.
4. Not Preheating
Applying oil to a cold press and heating slowly helps oil bond with the metal. Don’t skip this.
5. Using Low Smoke Point Oils
Olive oil and butter burn at low temperatures and create sticky surfaces. Stick to high smoke point oils.
6. Poor Storage
Leaving your press on a wet counter or outdoors causes rust, no matter how well you season it.
7. Not Cleaning After Use
Letting food harden on the press damages seasoning and makes cleaning harder.
Troubleshooting: Fixing Seasoning Problems
If your Blackstone griddle press isn’t looking or working right, here’s how to fix common issues.
Sticky Or Gummy Surface
- Cause: Too much oil, not enough heat.
- Solution: Scrub off sticky areas, reapply a thin coat, and bake at high heat.
Flaking Seasoning
- Cause: Thick, uneven layers or sudden temperature changes.
- Solution: Strip the seasoning with steel wool, start fresh with thin coats.
Rust Spots
- Cause: Moisture exposure or scratches in the seasoning.
- Solution: Scrub off rust, dry completely, re-season as needed.
Uneven Color
- Cause: Inconsistent oil application or heating.
- Solution: Repeat seasoning until color evens out.
Advanced tip: The more you cook with your press, the better the seasoning becomes. Use it often for best results.
Comparing Griddle Press Materials
Not all griddle presses are the same. Cast iron is the most common, but stainless steel and enameled versions exist. Here’s how they compare for seasoning.
| Material | Seasoning Required | Rust Risk | Durability |
|---|---|---|---|
| Cast Iron | Yes | High if unseasoned | Very High |
| Stainless Steel | No | Low | High |
| Enameled Cast Iron | No | Very Low | High |
Key takeaway: If you have a cast iron Blackstone griddle press, seasoning is not optional. Stainless steel is lower maintenance but doesn’t develop the same non-stick surface.
How Often Should You Re-season?
There’s no fixed schedule, but these signs mean it’s time to re-season:
- You see dull spots or rust
- Food starts sticking more
- The press loses its dark, shiny look
For most home cooks, a full re-seasoning every 2-3 months is enough if you cook regularly. If you only use your press occasionally, re-season every 6 months.
Pro tip: The more often you use and oil your press, the less often you’ll need full re-seasoning. Maintenance is easier than repair.
Storing Your Blackstone Griddle Press
Storing your press properly helps preserve the seasoning and prevents rust.
Best Practices
- Store in a dry place.
- If storing for a long time, wipe a thin coat of oil on before putting away.
- Avoid plastic bags or airtight containers—they can trap moisture.
- If possible, hang the press or keep it on a rack to allow airflow.
Non-obvious insight: Never store your press on the griddle itself, especially if you cover the griddle. Condensation under the cover can cause rust even on a well-seasoned press.
Deep Cleaning And Stripping Old Seasoning
Sometimes, seasoning gets damaged and needs to be removed and reapplied.
When To Strip Seasoning
- The surface feels rough or sticky, even after cleaning.
- Rust covers a large area.
- Old seasoning flakes off in chunks.
How To Strip
- Scrub with steel wool or a metal brush under running water.
- Wash with mild dish soap.
- Dry completely.
- Re-season as described earlier.
Real-world note: Stripping is rarely needed if you maintain your press, but it’s not a disaster if it happens.
Environmental Factors: How Humidity And Location Affect Seasoning
Where you live affects how you should care for your Blackstone griddle press.
- In humid climates, rust forms faster. Store with a light oil coat and check often.
- In dry climates, seasoning lasts longer, but dust can settle on your press—wipe before use.
- If you live near the ocean, salt in the air can accelerate rusting. Clean and oil your press after every use.
Advanced tip: Adding a small silica gel packet (the kind found in shoe boxes) near your stored press can help absorb moisture.
Safety And Health Considerations
Some people worry about the health aspects of seasoning and using cast iron.
- Food-safe oils are safe for seasoning. Don’t use motor oil or industrial oils.
- Properly seasoned cast iron does not add unhealthy fat to food.
- If your press is rusty, always clean thoroughly and re-season before using.
For more on the science of seasoning cast iron, see the research on the seasoning process.

Credit: www.reddit.com
Frequently Asked Questions
How Often Do I Need To Season My Blackstone Griddle Press?
There’s no strict rule, but most users find seasoning every 2–3 months keeps the press in top condition. If you notice food sticking or rust spots, re-season sooner. Regular cooking and oiling after each use will extend the time between full seasonings.
Can I Use Olive Oil Or Butter To Season My Griddle Press?
It’s best to use high smoke point oils like canola, grapeseed, or flaxseed oil. Olive oil and butter burn at lower temperatures and leave a sticky residue that doesn’t protect well. For the hardest, most durable seasoning, stick to oils designed for high heat.
What Should I Do If My Press Rusts?
Don’t panic. Scrub off the rust with steel wool or a stiff brush, wash and dry thoroughly, then repeat the seasoning process. Light rust is easy to fix; deep rust may need extra cleaning, but most presses can be restored.
Is Seasoning Necessary For Stainless Steel Presses?
No, stainless steel doesn’t rust as easily as cast iron and doesn’t absorb seasoning the same way. However, a thin oil coat after washing can help with sticking, but it’s not required.
Can I Season My Griddle Press On The Stovetop If I Don’t Have An Oven?
Yes, you can place the press on a hot stovetop burner or directly on your Blackstone griddle. Rotate and heat evenly for 30–45 minutes per coat. The oven is more even, but the stovetop works in a pinch.
Proper seasoning is the secret to a long-lasting, non-stick Blackstone griddle press. With a little care, you’ll enjoy better grilling, easier cleaning, and tastier results for years. Season well, cook often, and your press will reward you every time you fire up the griddle.