
Owning an Ember Mug can truly change how you enjoy hot drinks. This smart mug keeps your coffee, tea, or cocoa at the perfect temperature for hours. But many people, especially first-time users, struggle with one simple thing—how to set the right temperature on their Ember Mug.
If you’re reading this, you probably want step-by-step help. You might wonder about app vs. manual controls, temperature ranges, or what to do if your mug won’t hold the set heat. Maybe you want to know how to get the most from your Ember Mug, or you’re trying to decide if it’s worth buying.
This guide will answer all those questions and more. We’ll go deep into every way to set, adjust, and fine-tune your mug’s temperature. You’ll discover tips and details most people miss, so you can enjoy every sip exactly how you like it.
Whether you’re a gadget lover or just want your morning coffee to stay hot, this article will make sure you never face lukewarm disappointment again.
What Makes The Ember Mug Special?
Before we get into setting the temperature, let’s see what makes the Ember Mug so popular. The Ember Mug is not just a regular travel mug or thermos. It uses smart technology to let you pick your drink’s exact temperature. Unlike normal mugs, which lose heat fast, Ember’s built-in heating element keeps your beverage at the temperature you choose, usually between 120°F and 145°F (49°C to 62.5°C).
You control it through a button on the mug or, more commonly, through the Ember app on your phone. This means your coffee can stay hot all morning, or your tea can stay warm while you work. The Ember Mug is a favorite for people who drink slowly, work at desks, or get distracted often.
Some even use it for baby bottles or special drinks, thanks to its precise control.
Types Of Ember Mugs And Their Features
Ember offers several mug models, each with unique features. Knowing your mug type helps you set and adjust temperature more easily. Here’s a quick summary:
| Model | Capacity | Temperature Range | Controls | Battery Life |
|---|---|---|---|---|
| Ember Mug² 10 oz | 10 oz (295 ml) | 120-145°F | App + Mug Base | ~1.5 hours |
| Ember Mug² 14 oz | 14 oz (414 ml) | 120-145°F | App + Mug Base | ~80 min |
| Ember Travel Mug² | 12 oz (355 ml) | 120-145°F | App + Touch Display | ~3 hours |
| Ember Cup | 6 oz (177 ml) | 120-145°F | App + Mug Base | ~90 min |
Most people use the Ember Mug² (second generation), available in 10 oz and 14 oz sizes. The Ember Travel Mug adds a digital display for direct control, while the Ember Cup is designed for espresso and smaller drinks.
How The Ember Mug Controls Temperature
Ember Mugs use a built-in heating plate and sensors to keep your drink at your chosen temperature. The mug connects to your phone via Bluetooth, letting you set the temperature through the Ember app. Once you pick a temperature, the mug’s technology checks the drink’s heat and keeps it steady.
Unlike regular mugs, which only slow down cooling, the Ember Mug adds heat as needed. This means your coffee can start hot and stay hot, or your tea can be kept just warm—never too hot or too cold.
Setting Temperature Using The Ember App
The Ember app is the main way most people control their mug. If you want the most features and easiest control, the app is the best option. Here’s how to set the temperature step-by-step:
1. Download And Install The Ember App
First, download the Ember app on your smartphone. It’s free for both iOS and Android. Search “Ember” in the App Store or Google Play Store.
2. Pair Your Ember Mug
When you open the app, you’ll be guided to connect (pair) your mug to your phone:
- Turn on Bluetooth on your phone.
- Make sure your mug is on its charging coaster and powered.
- Open the app and follow the instructions to pair.
- You may need to press the mug’s power button or wait for a blinking light.
The app will show a confirmation when pairing is successful.
3. Set Your Preferred Temperature
After pairing, you’ll see your mug’s current temperature. To set your drink’s temperature:
- Tap the temperature number or “Set Temp” in the app.
- Use the slider or up/down buttons to pick your desired Fahrenheit or Celsius temperature.
- The app will show your selection and the mug will heat or cool to that level.
The Ember Mug can be set anywhere from 120°F (49°C) to 145°F (62.5°C). The default is usually 135°F (57°C), which suits most coffee drinkers.
4. Wait For Your Mug To Reach The Set Temperature
The mug’s heating system will bring your drink to the set temperature. The app displays the progress, and you may hear a soft beep or get a notification when it’s ready.
5. Enjoy And Adjust As Needed
If you want your drink hotter or cooler, just adjust the setting in the app. The mug will automatically react and keep it steady.
Non-obvious insight: If your drink starts out cooler than your set temperature, the mug will actively heat it up. If it’s hotter, the mug can only let it cool down—it can’t chill drinks, only heat.
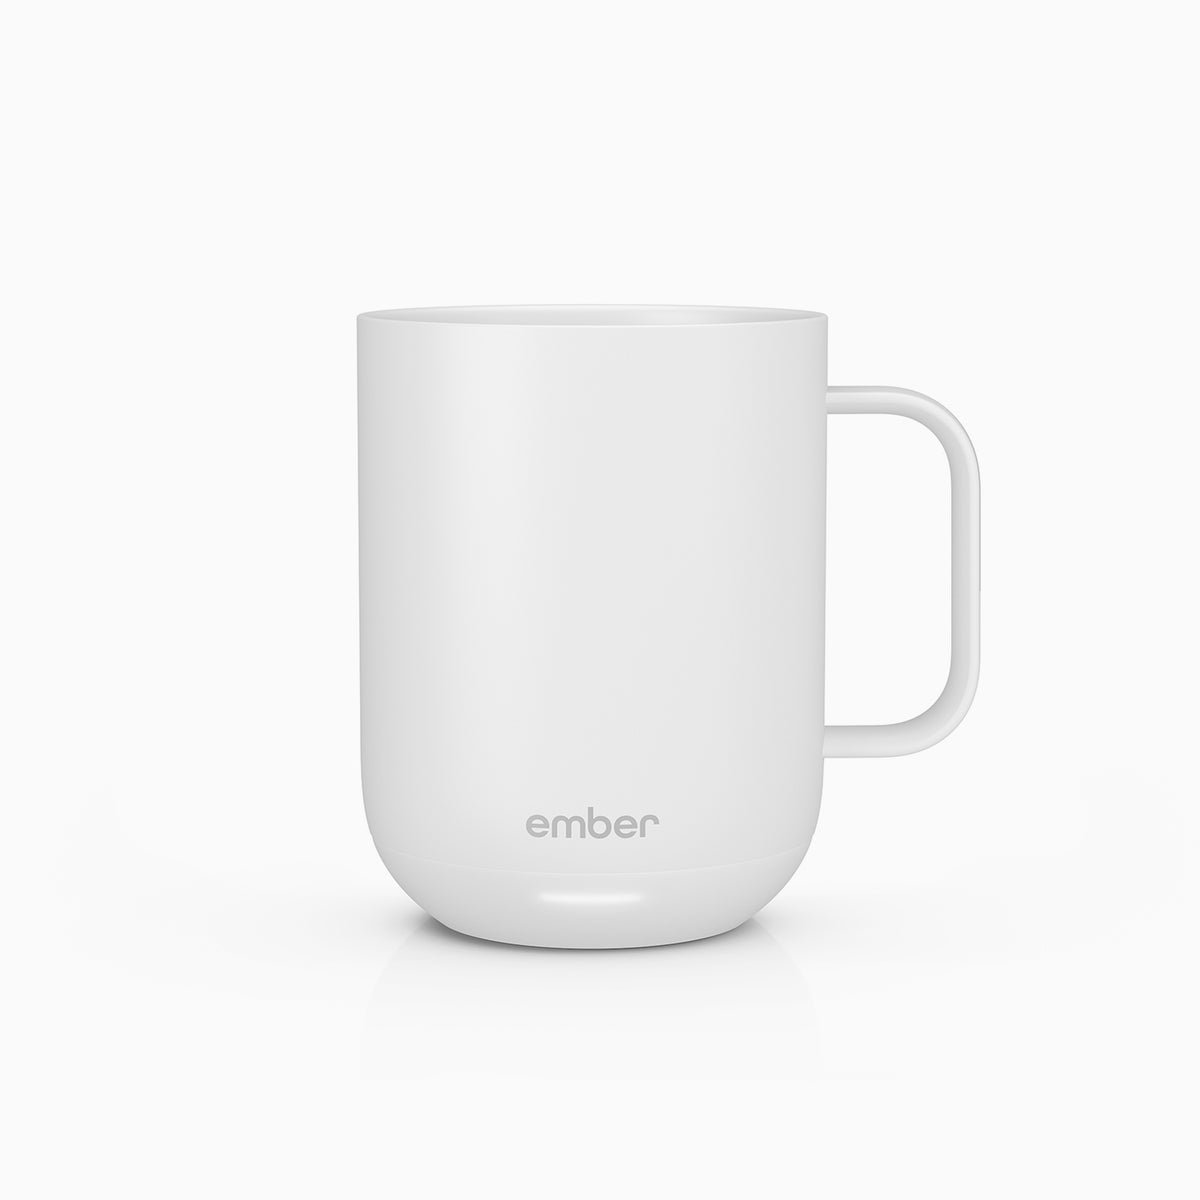
Credit: ember.com
Setting Temperature Without The App (manual Controls)
Some users want to control the mug without a phone. Maybe your phone is charging, or you prefer not to install another app. The Ember Mug² and Ember Travel Mug offer limited manual controls.
For Ember Mug² (10 Oz, 14 Oz, And Cup)
- Place the mug on its charging base.
- When powered, press and hold the power button at the mug’s bottom for about 3 seconds.
- A white LED light will pulse to show it’s on.
- The default temperature is 135°F (57°C). Without the app, the mug will keep your drink at this preset temperature.
- You cannot change the default without the app, but you can still enjoy steady heat.
Pro tip: If you want to change the default temperature, you must use the app at least once. After that, the mug will remember your last set temperature—even if you disconnect from the app.
For Ember Travel Mug²
This model includes a touch display on the mug:
- Tap the Ember logo button on the mug’s display.
- Use the up or down arrows to select your preferred temperature.
- Confirm by tapping the check mark.
You can set temperature in 1-degree increments between 120°F and 145°F directly from the mug, no app required. This is a key advantage of the Travel Mug.
Using Presets And Custom Settings
The Ember app lets you save presets for different drinks. For example, you can set a preset for coffee at 135°F and one for green tea at 130°F. Here’s how:
- In the app, tap “Presets.”
- Add a new preset and name it (e.g., “Morning Coffee”).
- Choose the temperature and save.
When you use the mug later, just select your preset for fast setup.
Non-obvious insight: Many people don’t realize they can set different temperatures for different times of day or drinks. For example, you might want hotter coffee in the morning and cooler tea in the afternoon. Presets make this simple.
Understanding Ideal Temperatures For Different Drinks
Not all drinks are best at the same temperature. Here’s a practical guide to common beverages and their ideal serving ranges:
| Beverage | Ideal Temperature (°F) | Notes |
|---|---|---|
| Black Coffee | 135-140 | Full flavor, not too hot |
| Green Tea | 130-135 | Preserves delicate taste |
| Herbal Tea | 135-140 | Brings out aroma |
| Hot Chocolate | 135-140 | Rich and creamy |
| Espresso | 130-135 | Best for small cups |
| Baby Formula | 120-125 | Safe for babies (always check with a thermometer) |
Tip: Never set your mug above 145°F, even if you like hot drinks. Temperatures above this can burn your mouth or damage delicate flavors.
How To Change Between Fahrenheit And Celsius
If you prefer Celsius over Fahrenheit, you can change the setting in the Ember app:
- Open the Ember app.
- Go to “Settings.”
- Find the option for “Temperature Units.”
- Select Celsius or Fahrenheit as you like.
The mug will now show and hold temperatures in your chosen unit.
Troubleshooting Common Temperature-setting Problems
Sometimes, users face issues when trying to set or hold temperatures. Here are some common problems and solutions:
1. Mug Doesn’t Heat Up
- Make sure the mug is charged. Place it on the charging coaster.
- Check the app for battery status.
- If the mug isn’t heating, reset it by turning it off and back on.
- Clean the charging contacts at the base—they may be dirty.
2. Mug Disconnects From App
- Ensure Bluetooth is on.
- Move your phone closer to the mug.
- Restart the app and mug.
- If problems continue, delete and reinstall the app.
3. Temperature Won’t Change
- The mug only heats up; it cannot cool drinks. If your drink is hotter than the set temperature, wait for it to cool naturally.
- If the mug ignores new settings, check for firmware updates in the app.
4. Mug Only Holds Default Temperature
- If you never used the app, the mug will stay at the default (135°F).
- Set your preferred temperature in the app. The mug will remember this for future use.
5. App Doesn’t Find Mug
- Place the mug on the charging base.
- Press and hold the power button for 6 seconds to reset Bluetooth.
- Try pairing again.
Expert tip: Ember mugs hold the last set temperature in memory. If you travel with your mug, set your favorite temperature at home. Even without the app, the mug will remember your choice.
Optimizing Battery Life While Using Temperature Control
Battery life varies by model and how hot you set the temperature. The hotter the setting, the faster the battery drains. Here’s how to make your mug last longer:
- Set the temperature at the lowest comfortable level. 130°F (54°C) uses less power than 145°F (63°C).
- Use the charging coaster as much as possible, especially at your desk.
- Keep the lid on (Travel Mug) to retain heat and reduce energy use.
- Don’t leave the mug empty and powered on; this wastes battery.
- Update your mug’s firmware through the app for best performance.
Did you know? Using the mug on the charging base gives you unlimited heating—perfect for long work days.
Cleaning And Care For Consistent Temperature Performance
A dirty mug can affect heating. Residue or minerals on the heating plate or contacts can cause uneven temperature or poor battery charging. Here’s how to keep your Ember Mug working perfectly:
- Wash by hand with warm, soapy water. The mug is not dishwasher-safe.
- Clean the charging contacts at the base with a soft cloth.
- Rinse the interior well to avoid build-up.
- Dry thoroughly before charging.
Caution: Never submerge the mug in water. Only the top part is water-resistant.
Firmware Updates And Why They Matter
Ember releases firmware updates to fix bugs and improve temperature accuracy. Always check for updates in the app:
- Open the Ember app and connect your mug.
- Go to “Settings” and look for “Firmware Update.”
- Follow prompts to update.
New firmware can help with Bluetooth, battery life, and temperature control.
Accessibility: Setting Temperature For Different Needs
People with vision issues or physical challenges might find the app difficult. The Ember Travel Mug’s display is easier for those who want tactile controls. For others, using voice assistants (like Siri Shortcuts or Google Assistant) through the app may help set temperatures hands-free.
Advanced tip: If you have a smart home system, explore integrations to set temperature with a voice command or automation.
Comparing Ember Mug To Other Smart Mugs
How does the Ember Mug compare with similar products? Here’s a side-by-side look:
| Feature | Ember Mug² | Cauldryn Mug | OHOM Ui Mug |
|---|---|---|---|
| Temperature Range | 120-145°F | 78-212°F | 135°F only |
| Control Method | App + Button | App + Button | Button |
| Battery Life | 1.5 hours | 2 hours | Always on coaster |
| Price Range | $$$ | $$$$ | $$ |
| Presets | Yes | Yes | No |
Ember stands out for its precise control, smart design, and easy-to-use app. Some competitors offer higher heat but may lack app controls or presets.

Credit: ember.com
When Should You Adjust The Temperature?
Setting the right temperature depends on your drink, environment, and taste. Here are situations when you might want to adjust:
- Hot Day: Try a lower temperature to avoid overheating.
- Cold Office: Set a higher temperature to keep your drink hot longer.
- Switching Drinks: Change presets for tea, coffee, or cocoa.
- Baby Formula: Use the lowest safe setting and always test first.
Real-world example: Many users find 135°F perfect for black coffee, but only 125°F for baby bottles or sensitive teas.
Common Mistakes When Setting Temperature
New users often make these mistakes:
- Setting the mug above 145°F and burning their mouth.
- Expecting the mug to cool drinks—it only heats, not chills.
- Forgetting to update the app, missing new features.
- Leaving the mug empty and turned on, wasting battery.
- Not cleaning the base, which can cause poor heating.
Safety Tips When Using Ember Mug
- Always check the drink’s temperature before sipping, especially for children.
- Never put the mug in the microwave or dishwasher.
- Don’t overfill—leave at least 1 cm at the top.
- Keep the mug dry at the base to avoid damage.
Good to know: The mug turns off automatically if empty for several minutes, but always check before carrying it in a bag.
Using Ember Mug For Specialty Drinks
You can use the Ember Mug for more than coffee or tea:
- Baby bottles: Set to 120°F, but always test with a thermometer.
- Hot lemon water: Try 130°F for comfort.
- Herbal infusions: Use lower heat to preserve flavor.
- Soup or broth: Use the app to keep small servings warm.
Traveling With Your Ember Mug
The Ember Mug² is designed for home or office, while the Travel Mug is spill-proof. When traveling:
- Charge fully before leaving.
- Carry the charging coaster if possible.
- Remember: Battery life is 1.5–3 hours, depending on model and setting.
Pro tip: The mug works as a regular cup if the battery runs out—it just won’t heat.
Advanced Tips For Power Users
- Use “wake” and “sleep” features in the app to save battery.
- Set up “auto-off” for longer life.
- Pair with multiple devices if you want to control from different phones.
- Experiment with temperatures to find your perfect flavor.
Who Should (and Shouldn’t) Use Ember Mug?
The Ember Mug is perfect for:
- People who drink slowly or get distracted
- Office workers or students
- Parents needing precise baby bottle temperatures
- Tea or coffee lovers who want control
It’s less ideal for:
- People who want to keep drinks cold
- Anyone who prefers dishwasher-safe mugs
- People who rarely use apps or smart devices
Why Temperature Matters For Taste
Research shows that coffee and tea taste best at certain temperatures. Flavors change as drinks cool or heat. For coffee, 135°F unlocks sweetness and aroma without burning your mouth. For green tea, lower heat preserves delicate notes. The Ember Mug helps you enjoy every sip at the peak of flavor.
If you’re interested in the science behind taste and temperature, check out this Wikipedia article on coffee preparation.
:max_bytes(150000):strip_icc()/sea-tier-3-primary-best-temperature-control-mugs-ebrockob-001-562e834b44b4486bae981c3df59f8ea1.jpeg)
Credit: www.seriouseats.com
Frequently Asked Questions
How Do I Set The Temperature On My Ember Mug Without The App?
For the Ember Mug² (10 oz or 14 oz), you cannot change the default temperature without the app. The default is 135°F (57°C). Once you set a new temperature using the app, the mug will remember your last choice, even without the app.
The Ember Travel Mug² lets you set temperature directly with its touch display.
Why Is My Ember Mug Not Heating To The Set Temperature?
Make sure the mug is charged and the drink is not hotter than your set temperature. The mug can heat but cannot cool drinks. Clean the base and contacts, and check for firmware updates in the app.
Can I Use The Ember Mug For Cold Drinks?
No. The Ember Mug is designed only to heat and maintain hot drinks. It cannot cool drinks or keep them cold.
How Do I Switch Between Fahrenheit And Celsius?
Open the Ember app, go to “Settings,” and choose your preferred temperature unit (Fahrenheit or Celsius). The mug will now display and hold temperatures in your selected unit.
Is The Ember Mug Safe For Baby Bottles?
The Ember Mug can hold baby formula at low temperatures (120-125°F), but always test with a separate thermometer before feeding. Never rely solely on the mug’s reading for infant safety.
Enjoying your hot drink at the perfect temperature is now easy with the Ember Mug. With these tips and tricks, you can make the most of your smart mug every day—never settle for lukewarm coffee or scalded tea again.