
Sharpening a filet knife is a skill every home cook, fisherman, or kitchen enthusiast should learn. A sharp filet knife is not just about making clean cuts; it’s about safety, efficiency, and getting the most out of your meat or fish.
Many people think sharpening is complicated, but with the right approach, anyone can keep their filet knife razor-sharp for years. This guide will walk you through every step, explain why each method matters, and cover both the basics and small details that make a real difference.
Why Filet Knives Need Special Attention
A filet knife is different from a chef’s knife or a regular kitchen knife. It’s thinner, more flexible, and designed for delicate work like removing bones and skin from fish or slicing thin cuts of meat. Because the blade is so fine, it dulls quickly if not handled and sharpened correctly. Using a dull filet knife is frustrating—it tears, slips, and increases your chance of an accident. Keeping the edge sharp means better results and safer cooking.
Many beginners overlook how fast a filet knife can lose its sharpness with regular use, especially on tougher fish or if cutting against bones. Sharpening is not just about restoring the edge but also about maintaining the unique flexibility and shape of the blade.
Understanding Filet Knife Blade Types
Not all filet knives are created equal. Some are made from high-carbon stainless steel, while others use softer metals. The length usually ranges from 6 to 9 inches, and the flexibility can vary too.
- Flexible Blades: These bend easily and are best for soft, delicate fish.
- Semi-Flexible Blades: More rigid, good for larger fish or when you need more control.
- Stainless Steel: Resists rust, holds an edge well, but can be harder to sharpen.
- High-Carbon Steel: Easier to sharpen but requires more maintenance to prevent rust.
Knowing your knife’s material and flexibility helps you choose the right sharpening tools and methods. For example, a very flexible blade can be damaged if you press too hard on a coarse stone.
Tools You Need To Sharpen A Filet Knife
You don’t need a fancy setup, but using the right tools makes sharpening easier and safer. Here are the most common options:
- Sharpening Stones (Whetstones): The classic method. Available in different grits (coarse, medium, fine). They offer control but require practice.
- Honing Rods: Great for quick touch-ups. Ceramic or steel rods help keep the edge aligned between sharpening sessions.
- Manual Sharpeners: Usually have preset angles. Fast but less precise for delicate blades.
- Electric Sharpeners: Convenient but can remove too much metal if not used carefully.
- Leather Strop: For final polishing and removing the smallest burrs.
Some people use sandpaper or even specialty systems, but the five tools above cover most needs. If you’re just starting, a medium-grit whetstone and a ceramic honing rod are enough.
How To Sharpen A Filet Knife: Step-by-step Guide
Let’s break down the process. These steps work for any sharpening method, but details may change based on your chosen tool.
1. Assess The Knife’s Condition
Before sharpening, check if your knife needs it. Run your finger (carefully, perpendicular to the blade) to feel for dullness or nicks. Try slicing a sheet of paper—if it tears or snags, it’s time to sharpen.
2. Clean The Knife
Wash and dry your knife. Any food residue or moisture can interfere with sharpening and even damage your stone.
3. Choose The Right Sharpening Angle
Filet knives need a narrow edge—usually between 12° and 17° per side. This is sharper than most kitchen knives (which use 18–22°). Holding the correct angle is essential. If you’re unsure, start at 15°, which works for most filet knives.
4. Prepare Your Sharpening Tool
If using a whetstone, soak it in water for 10–15 minutes (unless it’s an oil stone). Secure the stone on a non-slip surface.
5. Sharpen The Blade
Using A Whetstone
- Hold the knife at the correct angle.
- Starting at the heel, draw the blade across the stone toward you, finishing at the tip. Use gentle, consistent pressure.
- Repeat this motion 6–8 times per side.
- Use the same number of strokes on each side to keep the edge even.
Using A Honing Rod
- Hold the rod vertically.
- Place the blade at the top of the rod at your chosen angle.
- Draw the blade down the rod, moving from heel to tip in a smooth arc.
- Repeat 5–6 times per side.
Using A Manual Or Electric Sharpener
- Follow the instructions for your tool. Most manual sharpeners have guides to keep the angle consistent.
- Pull the knife through slowly and evenly.
6. Test The Edge
After sharpening, carefully wipe the blade and test it on paper or by gently slicing a tomato. A properly sharpened filet knife should glide through without resistance.
7. Polish On A Leather Strop
Finishing with a leather strop removes tiny burrs and gives a mirror-like edge. Run the blade gently along the strop, always trailing the edge (opposite the cutting direction).
8. Clean And Store
Wash the blade to remove any metal particles. Dry completely and store in a knife block, sheath, or magnetic strip to protect the edge.
Comparing Sharpening Methods For Filet Knives
Different methods suit different needs and skill levels. Here’s a side-by-side look:
| Method | Precision | Difficulty | Best For | Downsides |
|---|---|---|---|---|
| Whetstone | Very High | Medium | Experienced users | Requires practice |
| Honing Rod | Moderate | Easy | Quick touch-ups | Doesn’t fix a truly dull edge |
| Manual Sharpener | Moderate | Easy | Beginners | Less control over angle |
| Electric Sharpener | Low–Medium | Very Easy | Speed/Convenience | Can remove too much metal |
| Leather Strop | High (for polish) | Easy | Final polish | Doesn’t sharpen, just polishes |
Common Mistakes When Sharpening Filet Knives
Even experienced cooks can make errors that damage the blade or reduce sharpness.
- Using Too Much Pressure: Filet knives are thin and flexible. Pressing hard can bend or even chip the edge.
- Wrong Angle: Sharpening at too wide an angle makes the blade thick and clumsy.
- Uneven Strokes: Doing more passes on one side creates an uneven edge. Always count your strokes.
- Skipping Honing: Honing keeps the edge aligned. Skipping this step means you’ll need to sharpen more often.
- Not Cleaning the Blade: Metal filings and grit can scratch or corrode the blade if not cleaned off.
- Dry Stoning: Using a whetstone dry can cause it to wear unevenly and damage your knife.
- Incorrect Storage: Throwing a sharp knife in a drawer dulls it quickly.
A less obvious mistake is using an electric sharpener with a preset angle that’s not suitable for your filet knife. Many electric sharpeners are set for 20°, which is too wide for delicate blades.

Credit: www.aftco.com
How Often Should You Sharpen A Filet Knife?
How frequently you sharpen your filet knife depends on how much you use it and what you cut. For home cooks who use the knife weekly, a full sharpening every 1–2 months is enough, with honing after every use.
If you fish or process meat regularly, you may need to sharpen more often. Professional fishmongers sometimes hone their knives several times a day.
A key insight: Don’t wait until the knife is completely dull. Regular maintenance with a honing rod means you can sharpen less often and the blade will last longer.
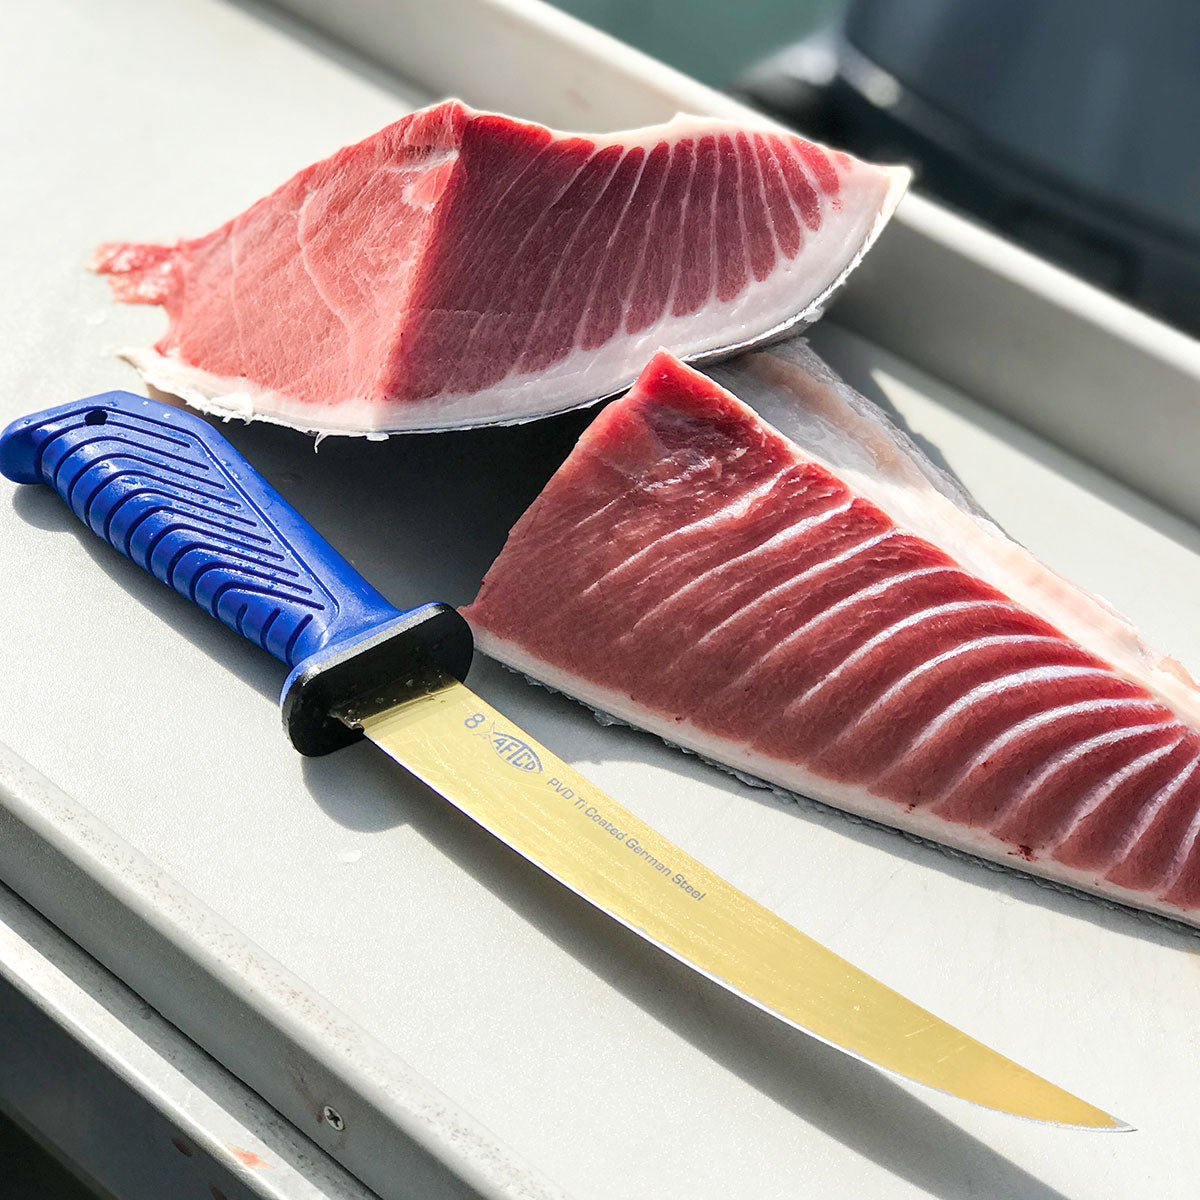
Signs Your Filet Knife Needs Sharpening
- The knife slips instead of biting into the skin or flesh.
- You feel resistance when slicing fish or meat.
- Cuts are ragged or torn, not clean.
- It takes more effort to start a cut.
- The blade won’t easily slice a sheet of paper.
If you notice any of these, it’s time to sharpen.
Credit: www.aftco.com
Best Practices For Maintaining A Sharp Edge
Keeping your filet knife sharp is not just about sharpening. Here’s how to help the edge last longer:
- Use the Right Cutting Surface: Always cut on wood or soft plastic, not glass or stone.
- Clean and Dry Immediately: Water and acids from food can corrode the edge.
- Store Properly: Use a sheath, knife block, or magnetic strip. Never toss a sharp knife in a drawer.
- Hone Regularly: A few strokes on a honing rod after each use keeps the edge aligned.
- Avoid Hard Materials: Don’t use your filet knife on bones, frozen food, or shells.
Many beginners miss how much the cutting board material affects edge life. Using glass or ceramic boards can dull a sharp edge in minutes.
Advanced Tips For Perfecting Your Sharpening Technique
Once you have the basics, a few extra details can make your filet knife even sharper:
- Use Multiple Grits: Start with a coarse stone (1000 grit) for dull knives, then finish with a fine stone (3000–8000 grit).
- Check for Burrs: After sharpening one side, a tiny wire edge (“burr”) should form on the other. Feel for it with your finger, then switch sides.
- Angle Guides: If you struggle to hold a consistent angle, use a guide clip that attaches to your blade.
- Light Pressure for Finishing: The final strokes should use almost no pressure for a razor edge.
- Polish with Compound: Some leather strops work better with a bit of polishing compound.
Many people don’t realize that skipping fine-grit stones or the strop leaves the edge rougher than it should be. Polishing makes slicing smoother and helps the knife stay sharp longer.
Comparing Grits For Filet Knife Sharpening
Choosing the right grit is important for both restoring and maintaining your knife. Here’s a quick comparison:
| Grit Level | Purpose | When to Use |
|---|---|---|
| 200–400 (Coarse) | Repair chips, reshape edge | Very dull or damaged blades |
| 800–1000 (Medium) | General sharpening | Most regular sharpening jobs |
| 3000–8000 (Fine/Polish) | Polish, refine edge | Final steps for razor sharpness |
Filet Knife Sharpening For Left- And Right-handed Users
Most filet knives are double-beveled, meaning both sides are sharpened equally. But some specialty knives have an asymmetric edge, favoring right- or left-handed users. If you have a single-bevel filet knife, always sharpen only the beveled side and just lightly remove the burr from the flat side.
A less-known tip: Even on double-bevel knives, your sharpening hand can affect the edge. Try to keep your angle and pressure consistent on both sides.
Diy Knife Sharpening Vs. Professional Services
Should you sharpen your filet knife yourself or pay a professional? Here’s what to consider:
- DIY Sharpening: Cheaper, convenient, and gives you control. With practice, you can get professional results.
- Professional Services: Good for badly damaged knives or if you’re not confident. Expect to pay $5–15 per knife.
A professional can reshape the blade if it’s chipped or bent, but for regular sharpening, most home cooks do just as well with a little practice.
How To Sharpen A Curved Filet Knife
Some filet knives have a slight curve. For these, adjust your motion:
- Use a sweeping arc as you move the blade across the stone or rod.
- Keep the angle steady, especially at the tip.
- Check the edge along the curve for even sharpness.
A curved blade can be harder for beginners, but the same basic steps apply.
Using Pull-through Sharpeners On Filet Knives
Manual pull-through sharpeners are popular for quick results. But most are designed for thicker kitchen knives, not thin filet blades. If you use one:
- Check the sharpener’s angle (it should be 15° or lower).
- Use gentle pressure—pull-through sharpeners can remove more metal than needed.
- Don’t use if your knife is very flexible, as it can bend and damage the blade.
If you’re unsure, stick with a stone or rod for better control.
Electric Sharpeners: Pros And Cons
Electric sharpeners are fast and easy. But they have drawbacks:
- Most use preset angles, often too wide for filet knives.
- They can overheat and damage the temper of the blade.
- They remove a lot of metal with each use.
If you use an electric sharpener, choose one with adjustable angles (12–15°) and use the finest setting. Never force the blade through quickly—let the machine do the work.
Safety Tips When Sharpening Filet Knives
Sharp knives are safer than dull ones, but sharpening them carries some risk. Here’s how to stay safe:
- Secure Your Tools: Make sure your stone or sharpener doesn’t slip.
- Keep Fingers Clear: Always know where your non-dominant hand is.
- Work Slowly: Rushing leads to mistakes.
- Wipe Blades Carefully: Metal filings are sharp.
- Store Safely: Don’t leave sharp knives or stones within reach of children.
A detail many miss: always dry your hands before sharpening. Wet hands can slip, leading to accidents.
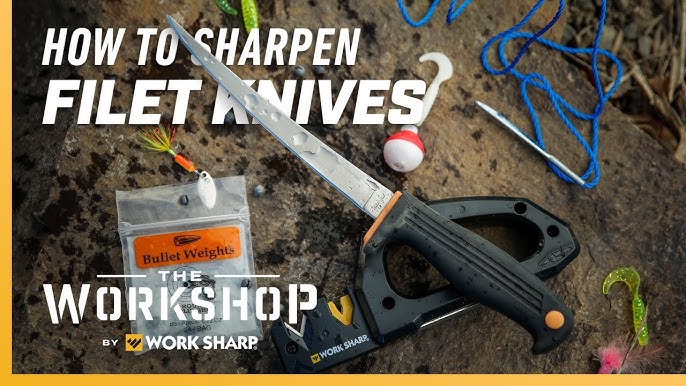
How To Sharpen A Filet Knife In The Field
If you’re fishing or camping, you might not have your usual setup. Here’s a quick field method:
- Use a Small Pocket Stone: These are portable and work well for touch-ups.
- Angle: Estimate about 15°. Focus on maintaining the angle more than speed.
- Short, Gentle Strokes: Don’t rush—use 5–10 strokes per side.
- Clean with Water: Rinse the blade after sharpening to remove filings.
You can also use fine-grit sandpaper wrapped around a flat stick as an emergency sharpener.
Sharpening Ceramic Filet Knives
Ceramic filet knives are rare, but they do exist. They keep an edge longer but are much harder to sharpen. You’ll need a diamond stone (regular stones won’t work). Use light pressure and avoid dropping ceramic knives—they chip easily.
Myths And Misconceptions About Sharpening Filet Knives
Many people believe:
- “Honing is the same as sharpening.” (False—honing aligns, sharpening removes metal.)
- “Any sharpener will work.” (False—wrong tools can damage thin blades.)
- “A sharper knife is more dangerous.” (False—a dull knife is harder to control and more likely to slip.)
Another myth: using oil or water is optional. Most stones need lubrication to work properly and avoid clogging.
Signs Of Over-sharpening
It’s possible to sharpen a knife too often or too aggressively. Signs include:
- The blade gets noticeably thinner.
- The tip becomes rounded instead of pointed.
- The edge chips easily.
To avoid this, use light pressure, sharpen only when needed, and finish with polishing instead of repeated sharpening.
Environmental Considerations
Sharpening produces metal filings and uses water or oil. Dispose of filings in the trash, not the sink, to avoid clogs. Use just enough water or oil to keep your stone wet, and wipe down surfaces after sharpening.
Credit: www.youtube.com
When To Replace Your Filet Knife
No knife lasts forever. If your blade is deeply pitted, cracked, or worn thin from years of sharpening, it’s time for a new one. Some high-end filet knives can be professionally re-ground, but for most users, replacement is the best option after years of use.
Additional Resources
For more detailed sharpening guides and reviews on the best tools, consider visiting America’s Test Kitchen.
Frequently Asked Questions
How Do I Know If My Filet Knife Is Sharp Enough?
Try slicing a piece of paper or a tomato. If the knife glides through without tearing or crushing, it’s sharp enough for most tasks.
What’s The Best Angle To Sharpen A Filet Knife?
Most filet knives perform best at a 12–17 degree angle per side. Fifteen degrees is a safe average for both durability and sharpness.
Can I Use A Chef’s Knife Sharpener For My Filet Knife?
You can, but most chef’s knife sharpeners are set for a wider angle (18–22°). This can make your filet knife less effective. Use a sharpener with an adjustable angle if possible.
How Often Should I Hone My Filet Knife?
Hone your knife after every use, or at least every few uses. This keeps the edge aligned and reduces the need for frequent sharpening.
Is It Safe To Sharpen A Filet Knife Myself?
Yes, with the right tools and care. Always keep your hands dry, work slowly, and use a non-slip surface. Beginners should start with a honing rod or manual sharpener before moving to whetstones.
A sharp filet knife is one of the most rewarding tools in the kitchen or on a fishing trip. With regular care and the right sharpening technique, your knife will deliver clean, safe cuts every time. Remember, practice and patience pay off—each sharpening session improves both your knife and your skill.