
Many people are excited to try their new Dash Air Fryer, but find the first use a little confusing. The promise of quick, crispy food with less oil is appealing, but only if you can get your air fryer started the right way. Whether you are unboxing your Dash Air Fryer for the first time, or you simply want to make sure you’re using it correctly, understanding each step is important for safety and the best cooking results.
Unlike a traditional oven, an air fryer uses hot air circulation and needs a few specific steps before it’s ready to cook. If you skip or misunderstand these steps, you might end up with unevenly cooked food, or even damage your appliance.
Many beginners accidentally miss small details—like how to insert the basket properly, or how to set the temperature dial. These mistakes can be frustrating, but they are easy to avoid with the right guidance.
This article will walk you through how to turn on your Dash Air Fryer, from the first unboxing to cooking your first batch of food. You’ll learn how the controls work, what each setting does, and how to avoid common errors. You’ll also get tips for cleaning, maintenance, and troubleshooting. By the end, you’ll feel confident using your Dash Air Fryer for any recipe.
Understanding Your Dash Air Fryer
Before you start, it’s important to know the basic parts of your Dash Air Fryer. Most models share a similar design, but there can be slight differences. A typical Dash Air Fryer includes:
- Main unit: The body that contains the heating element and fan.
- Removable basket: Where you place your food.
- Crisper tray: Sits inside the basket to allow air to flow underneath the food.
- Control panel or dial: Used to set the cooking temperature and time.
- Power cord: The electrical cord that plugs into the wall.
Some larger Dash models may include digital controls or extra presets, but the core steps are the same. Always check your specific model’s manual for diagrams and details.
Why Learn The Correct Steps?
Many people think an air fryer is as simple as plugging it in and pressing “Start.” However, using the wrong steps can cause problems like:
- Food that is undercooked or overcooked
- The air fryer not turning on
- Safety risks, such as touching hot surfaces or using the appliance near water
Learning the right way to turn on your Dash Air Fryer saves time, prevents mistakes, and keeps your kitchen safe.
Unboxing And Setting Up Your Dash Air Fryer
When you first open your Dash Air Fryer box, there are a few things you should do before cooking.
- Remove all packaging materials. Look for plastic wraps, stickers, or cardboard inserts. Check inside the basket as well.
- Place your air fryer on a flat, heat-resistant surface. Leave at least 5 inches of space on all sides for proper air flow.
- Do not block the air vents. The vents are usually at the back or sides. Blocking them can cause overheating.
- Check the removable basket and crisper tray. Take these out, wash them with warm, soapy water, and dry them completely before first use.
- Plug in the power cord. Make sure your hands are dry and the cord is fully inserted into a grounded outlet.
Choosing The Right Location
Place your air fryer away from walls, curtains, or anything flammable. The appliance gets hot during use, and good ventilation is crucial. Never use your Dash Air Fryer in a closed cabinet or near the sink.
Inspecting The Appliance
Before using any new appliance, look for:
- Cracks or damage to the main unit
- Loose parts or screws
- Frayed power cord
If you find any problems, do not use the air fryer. Contact Dash customer service or the retailer for a replacement.
How To Turn On Dash Air Fryer: Step-by-step Guide
Now that your Dash Air Fryer is ready, it’s time to turn it on for the first time. Follow these steps closely for safe and successful cooking.
1. Insert The Basket And Tray Properly
Slide the clean, dry basket into the main unit. Make sure the crisper tray is fitted snugly inside the basket. You should hear a gentle click when the basket is fully inserted. If the basket is not in place, the air fryer will not start.
Common Mistake
Some users force the basket or forget the crisper tray. This can lead to uneven cooking or damage the appliance.
2. Connect To Power
Plug the air fryer into a standard wall outlet. Most Dash Air Fryers have no “On/Off” switch—you control power through the time/temperature dials.
3. Preheat (if Needed)
Some recipes recommend preheating the air fryer. To preheat:
- Turn the temperature dial to the desired setting (for example, 400°F).
- Turn the timer dial for 2-3 minutes.
- Wait for the air fryer to heat up. You may hear the fan and feel warm air.
Not all recipes need preheating, but it can help food cook more evenly. If you skip this, add 2-3 minutes to your cooking time.
4. Add Food To The Basket
Take out the basket, place your food in a single layer (do not overcrowd), and slide it back into the unit. Overfilling can block air flow and cause uneven results.
5. Set Time And Temperature
Use the dials or digital controls to set:
- Temperature: Most Dash Air Fryers have a range from 170°F to 400°F.
- Time: Set based on your recipe, usually between 5 and 30 minutes.
Some models have digital displays, while others use analog dials. Always double-check you’ve set both correctly.
6. Start Cooking
Once the time and temperature are set, the air fryer will begin running. You will hear a fan noise and may smell the heat.
- There is usually no separate “Start” button.
- The timer will count down automatically.
- Some models have indicator lights that turn on during cooking.
7. Monitor Progress
About halfway through cooking, it’s a good idea to remove the basket and shake or turn the food for even crisping. The air fryer will pause automatically when the basket is removed, and resume when reinserted.
Non-obvious tip: If you shake the food, always use oven mitts or a thick cloth. The basket and handle can get very hot.
8. End Of Cooking
When the timer reaches zero, most Dash Air Fryers will “ding” or make a sound. The heating element turns off automatically, but the fan may run for a few seconds to cool down.
- Carefully remove the basket.
- Place it on a heat-safe surface before taking out your food.
9. Turn Off And Unplug
After cooking, turn the time and temperature dials to zero (if not already there). Unplug the appliance if you are finished using it for the day.
Dash Air Fryer Control Panel: Analog Vs Digital
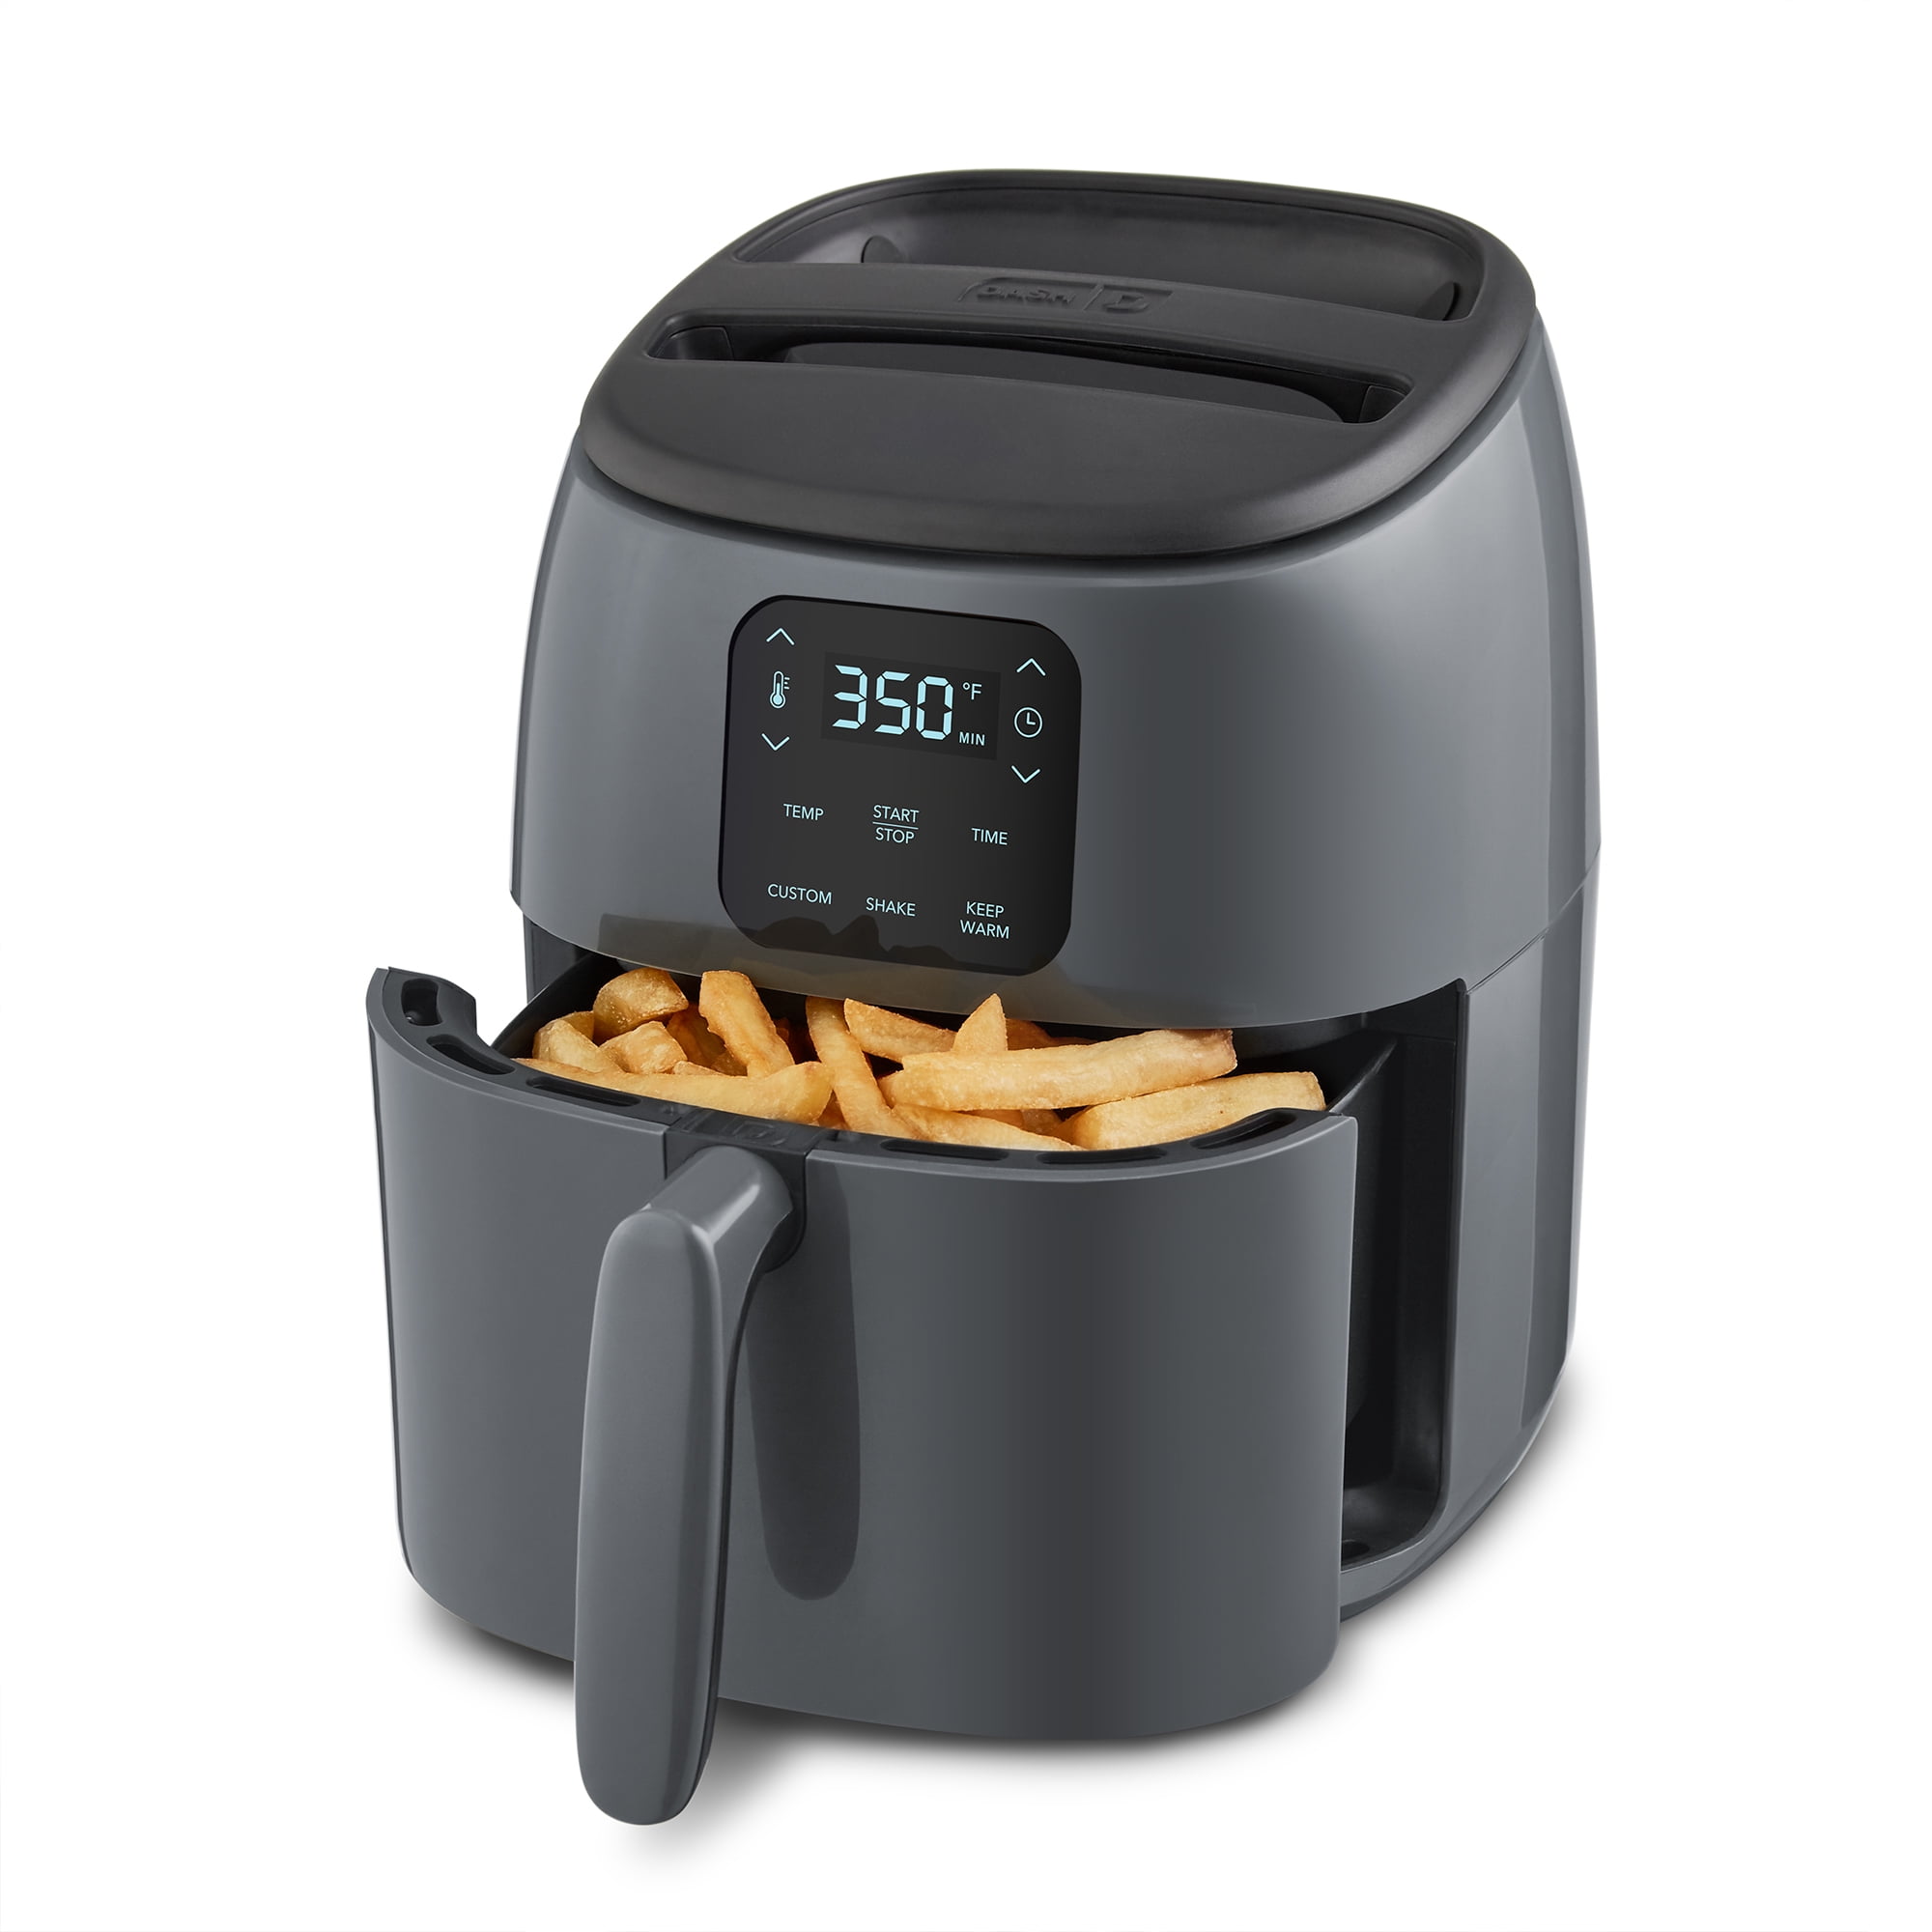
Dash Air Fryers come in both analog (manual dial) and digital (touchscreen or button) versions. Knowing the difference helps you use the controls properly.
| Feature | Analog | Digital |
|---|---|---|
| Controls | Rotary dials for time and temperature | Buttons or touchscreen for presets |
| Display | No display; relies on dial markings | LED or LCD screen |
| Presets | Usually none | Common (chicken, fries, etc.) |
| Ease of Use | Very simple; fewer features | More options, sometimes more complex |
Tip: Beginners often find analog models easier to use at first, as there are fewer settings to manage.
Safety Checks Before Turning On
Air fryers reach very high temperatures. To avoid injury or accidents, always follow these safety steps:
- Make sure the basket is fully inserted before starting.
- Never put your hand or face near the air vents during cooking.
- Do not place anything on top of the air fryer.
- Keep the appliance away from water or wet surfaces.
- Do not use metal utensils inside the basket—they can scratch the coating.
Non-obvious insight: The outside of the air fryer can become hot during use, especially the back and sides. Keep children and pets away.
Troubleshooting: Dash Air Fryer Will Not Turn On
Sometimes, your Dash Air Fryer might not turn on, even after following all the steps. Here’s how to fix common issues.
1. Check The Power Source
- Try a different outlet.
- Make sure the circuit breaker is not tripped.
2. Ensure Basket Is Inserted
Most Dash Air Fryers have a safety switch that prevents operation if the basket is not fully in place. Remove and reinsert it.
3. Timer And Temperature Dials
If the dials are set to “zero,” the air fryer will not start. Set both dials to your desired settings.
4. Overheating Protection
If the air fryer was used for a long time, it might shut off to cool down. Wait 20 minutes and try again.
5. Internal Fuse
If the air fryer still does not start, the internal fuse may have blown. This requires professional repair—contact Dash support.
First-time Use: Burn-in Cycle
Many manufacturers, including Dash, recommend running the air fryer empty for 10-15 minutes before the first use. This “burn-in” removes factory residues and odors.
- Set the air fryer to 400°F for 10-15 minutes with an empty basket.
- You may notice a slight smell—this is normal and will fade.
Tip: Open a window or use a fan during this cycle to help clear any odors.
Key Features Of Dash Air Fryers
Knowing the main features helps you use your air fryer more effectively.
| Feature | Benefit |
|---|---|
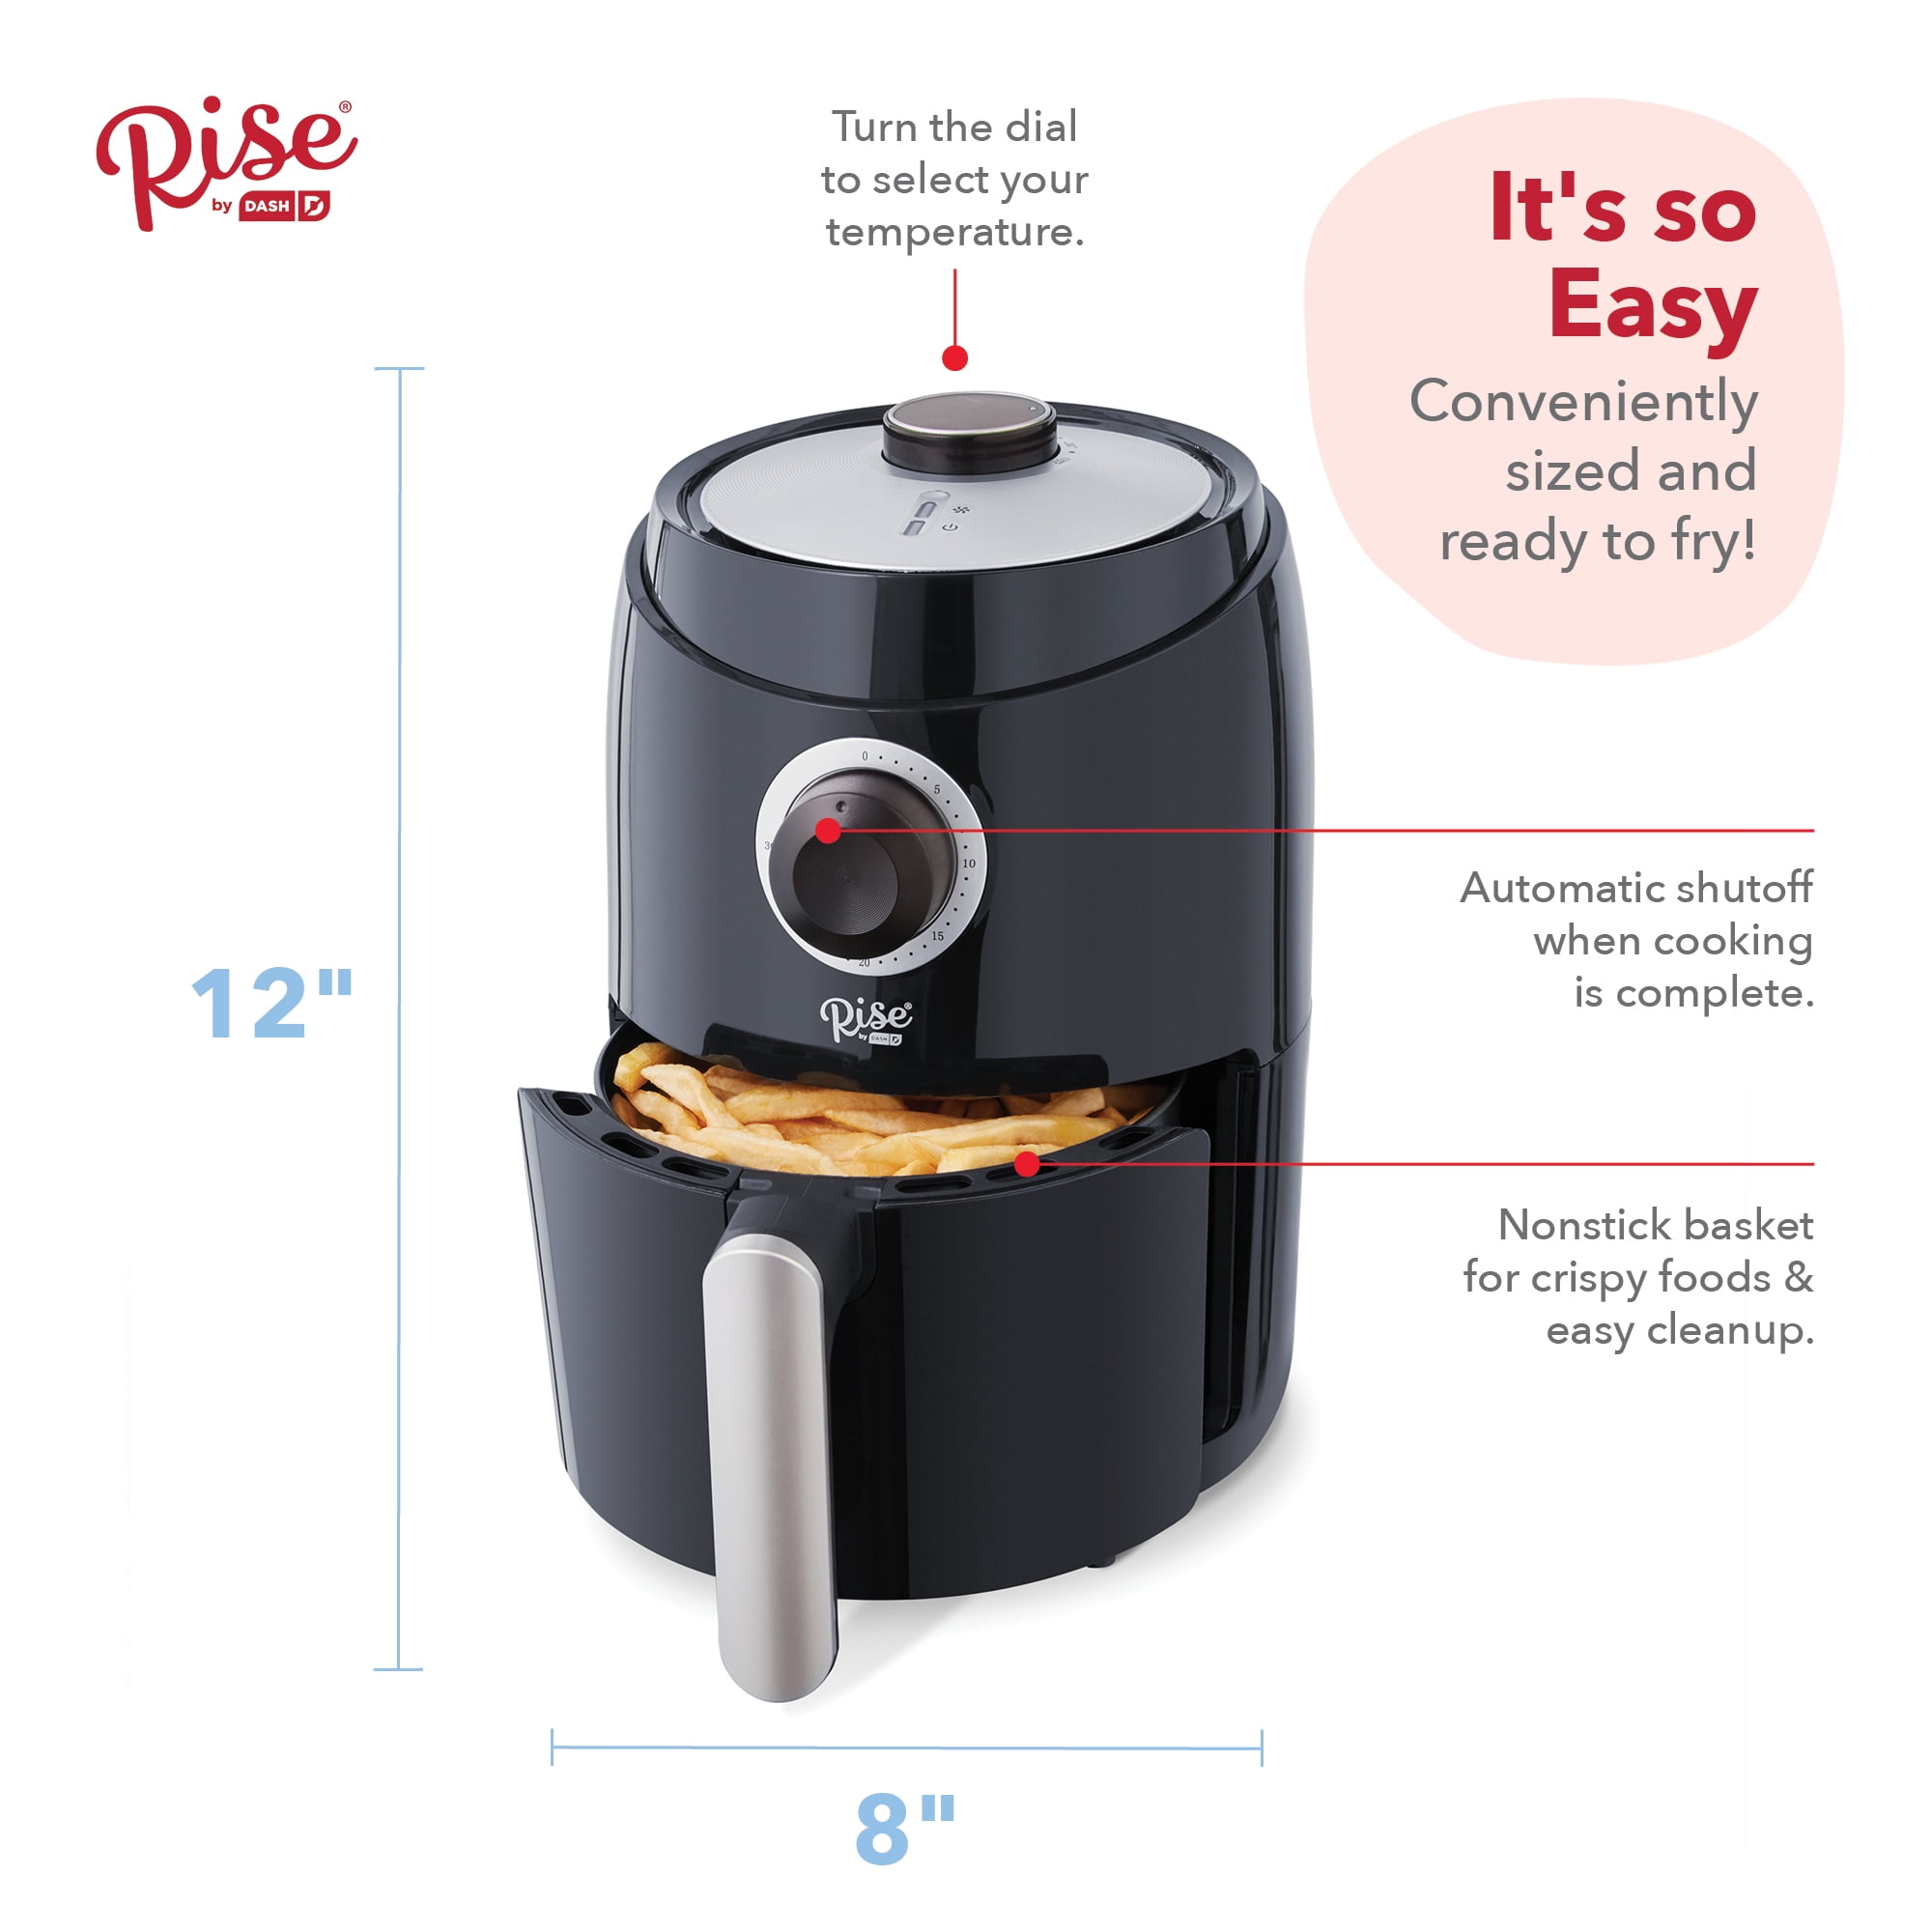
| Rapid Air Circulation | Cooks food evenly with little to no oil |
| Temperature Range | Adjustable between 170°F and 400°F for different recipes |
| Auto Shut-Off | Prevents overcooking and burns |
| Nonstick Basket | Easy to clean and reduces sticking |
| Compact Size | Fits small kitchens or dorm rooms |
Credit: www.walmart.com
Tips For Best Results With Your Dash Air Fryer
To get the most from your air fryer, keep these expert tips in mind:
- Do not overcrowd the basket. Leave space for air to circulate.
- Shake or turn food halfway. This helps everything crisp up evenly.
- Pat food dry before cooking. Wet food steams instead of crisps.
- Use a little oil spray. For extra crunch, lightly spray food with oil before air frying.
- Check food early. Air fryers cook faster than ovens, so check 2-3 minutes before the recipe time ends.
- Experiment with small batches first. Learn how your air fryer cooks before making big meals.
Cleaning And Maintenance
Keeping your Dash Air Fryer clean will extend its life and keep food tasting good.
After Every Use
- Unplug the air fryer and let it cool completely.
- Remove the basket and crisper tray.
- Wash both with warm, soapy water. Use a soft sponge—never steel wool.
- Wipe the main unit with a damp cloth. Do not immerse in water.
- Dry all parts thoroughly before reassembling.
Weekly Care
- Check the air vents for dust or food crumbs.
- Wipe the heating element with a dry brush (only when cool and unplugged).
Deep Cleaning (monthly)
- Soak the basket and tray in hot, soapy water for 30 minutes if there’s buildup.
- Use a non-abrasive brush for stubborn stains.
Non-obvious insight: If you notice white spots on the basket, it’s often just dried oil. Clean with a little vinegar and rinse well.
Credit: www.walmart.com
Common Mistakes When Using Dash Air Fryer
Many beginners make small errors that affect results. Avoid these mistakes:
- Skipping preheating when the recipe asks for it.
- Overfilling the basket, which blocks air flow.
- Not shaking or turning food halfway through.
- Using too much oil, which can cause smoke.
- Not cleaning after each use, leading to burnt smells.
If you fix these issues, your air-fried food will taste much better.
How To Use Presets (if Available)
Some Dash Air Fryers come with cooking presets. These are pre-programmed settings for common foods like fries, chicken, or fish.
- Choose your food and place it in the basket.
- Press the preset button for your food type.
- The air fryer will set the time and temperature automatically.
You can always adjust the time or temperature manually if needed.
Tip: Presets are a great starting point, but check your food early, as thickness and quantity can change cooking time.
Troubleshooting Cooking Problems
Even with the right steps, you might have issues like soggy fries or burnt edges. Here’s how to fix them:
- Soggy food: Pat dry before cooking, do not overcrowd, and use a little oil spray.
- Burnt food: Lower the temperature or reduce cooking time. Check food early.
- Uneven cooking: Shake or turn food halfway, and cut pieces to even sizes.
- Food sticking: Make sure the basket is clean and lightly oiled.
Comparing Dash Air Fryer Models
Dash offers several air fryer models, from the basic Tasti-Crisp to the larger Deluxe versions. Here’s a quick comparison:
| Model | Capacity | Controls | Best For |
|---|---|---|---|
| Tasti-Crisp (2.6 qt) | 2-3 servings | Analog dials | Singles, couples, small kitchens |
| Deluxe (6 qt) | 4-6 servings | Digital controls | Families, meal prep |
| Express (2 qt) | 1-2 servings | Analog dials | Dorms, quick snacks |
Choose a model based on your kitchen size and how many people you usually cook for.
When To Reset Your Dash Air Fryer
If your air fryer stops working or acts strangely (for example, the timer won’t move), you may need to reset it:
- Unplug the unit for 5 minutes.
- Plug it back in and try again.
- If problems continue, contact Dash support for advice.
Storing Your Dash Air Fryer
When not in use, store your Dash Air Fryer in a dry, cool place. Make sure it’s clean and dry to prevent mold or smells.
- Avoid wrapping the cord tightly; a loose coil is better.
- Do not stack heavy items on top of the air fryer.
Recipes To Try With Your Dash Air Fryer
Once you’ve learned how to turn on and use your Dash Air Fryer, try these easy recipes:
- Crispy French Fries: Cut potatoes, pat dry, spray with oil, air fry at 400°F for 15 minutes, shake halfway.
- Chicken Tenders: Coat in breadcrumbs, air fry at 375°F for 10-12 minutes.
- Roasted Vegetables: Toss with oil and herbs, air fry at 390°F for 12 minutes.
Tip: Start with simple recipes to build confidence, then try more advanced dishes.
Accessories For Dash Air Fryer
There are several accessories that can make air frying easier:
- Silicone liners: Protect the basket and make cleanup simple.
- Grill racks: Cook two layers at once (if your model allows).
- Oil sprayer: For controlled, even oil application.
Check that any accessory is marked as air fryer safe and fits your Dash model.
Credit: www.youtube.com
Environmental Benefits Of Air Frying
Air fryers use up to 70-80% less oil than traditional frying, which is healthier and produces less waste. They also use less energy than a regular oven, saving electricity and lowering your kitchen’s carbon footprint.
For more details on air fryer technology, see Wikipedia: Air Fryer.
Frequently Asked Questions
How Do I Know If My Dash Air Fryer Is Working?
You should hear a fan noise and see indicator lights (if your model has them) when the air fryer is running. The basket will get hot, and you may smell food cooking.
Can I Open The Basket During Cooking?
Yes, you can remove the basket anytime to check or shake your food. The air fryer will pause and resume when the basket is replaced.
What Should I Do If The Air Fryer Smokes?
If you see smoke, turn off and unplug the air fryer. Let it cool, then clean the basket and tray. Avoid using too much oil or cooking fatty foods at high temperatures.
Is It Safe To Put Aluminum Foil In My Dash Air Fryer?
You can use aluminum foil in the basket, but leave space for air to circulate. Never cover the entire basket or block vents.
How Often Should I Clean My Dash Air Fryer?
Clean the basket and tray after every use. Wipe the main unit weekly, and do a deep clean monthly for best results.
Turning on your Dash Air Fryer the right way gives you a great start for healthier, faster meals. With the steps and tips above, you’ll avoid common mistakes and enjoy perfectly cooked food every time. Whether you’re a beginner or a regular user, following these guidelines helps you get the most from your Dash Air Fryer for years to come.