
If you have an Intex pool, you probably know how much fun and relaxation it brings to your backyard. But nothing ruins a perfect summer day faster than finding a leak at the seam. Many pool owners discover this problem after noticing water loss, a soggy patch on the ground, or a bubble forming near the seam. Suddenly, you are searching for solutions and wondering if your pool is ruined or if you can fix it yourself. The truth is, seam leaks in Intex pools are common, but with the right knowledge and tools, you can handle the situation confidently.
In this guide, you’ll learn how to detect, repair, and prevent seam leaks in your Intex pool. We’ll cover why these leaks happen, what steps to take immediately, how to choose the best repair methods, and how to avoid mistakes that could make things worse.
You’ll also see how seam leaks compare to other pool problems, how to maintain your pool after a repair, and get answers to the most common questions pool owners have. Even if you’re new to pool care, this article will give you the clear guidance you need to keep your Intex pool in great shape.
Why Seam Leaks Happen In Intex Pools
A seam leak is different from a puncture or a hole in the middle of your pool wall or floor. The seam is where two pieces of vinyl are joined together during manufacturing. These seams are meant to be watertight and strong, but sometimes things go wrong.
Seam leaks often happen because of one or more of the following reasons:
- Manufacturing defects: Sometimes, the bonding process fails and leaves a weak spot.
- Aging and UV exposure: Sunlight and chemicals slowly break down the material and glue.
- Improper installation: Stretching the pool or placing it on uneven ground can stress the seams.
- Water pressure changes: Overfilling or draining the pool too quickly can pull at the seams.
- Accidental impact: Moving the pool, hitting it with sharp objects, or shifting the liner can cause tears.
Unlike small pinholes or punctures, seam leaks may start small but can quickly get worse as water pressure pushes against the weak spot. Catching them early is key to an easy repair.
How To Identify A Seam Leak
Finding the exact location of a leak is sometimes harder than fixing it. Many pool owners waste time patching the wrong spot because the water can travel under the liner before showing up elsewhere. Here’s how you can accurately detect a seam leak:
Signs Of A Seam Leak
- Unexplained water loss: If your pool is losing more than 1/4 inch of water per day (not due to evaporation), suspect a leak.
- Wet ground near the pool: Especially close to where the seam runs.
- Visible bubbles or raised seams: The vinyl may look puffed up or separated.
- Mold or algae: Wet spots encourage growth near the seam.
Leak Detection Steps
- Clean the pool wall: Remove dirt and debris for a clear view.
- Mark the water level: Use tape and check after 24 hours.
- Inspect seams closely: Use your fingers to feel for soft or lifted areas.
- Food coloring test: With the pool still, squirt colored liquid near the seam. If it gets sucked in, you’ve found the leak.
- Listen for hissing: In a quiet environment, you might hear air or water escaping.
Tip: If you can’t find the leak, let the pool drain naturally. The water will stop at the level of the hole, often revealing the location.

Credit: www.reddit.com
Immediate Steps To Take When You Find A Seam Leak
Once you spot a seam leak, quick action can prevent a small problem from becoming a disaster.
- Stop using the pool: Avoid swimming or moving water, which can make the leak bigger.
- Lower the water level: Drain water until it’s at least 2 inches below the leak.
- Dry the area: Use towels to get the seam as dry as possible.
- Gather repair supplies: Pool patch kit, scissors, vinyl patch, and cleaning materials.
Important Insight: Many beginners wait too long, hoping the leak will stop on its own. Intex pool seams almost never “self-heal,” and delaying repairs can lead to liner separation or even pool collapse.
Repair Methods For Intex Pool Seam Leaks
You have several options for fixing a seam leak. Choosing the right method depends on the size of the leak, your budget, and how permanent you want the solution to be.
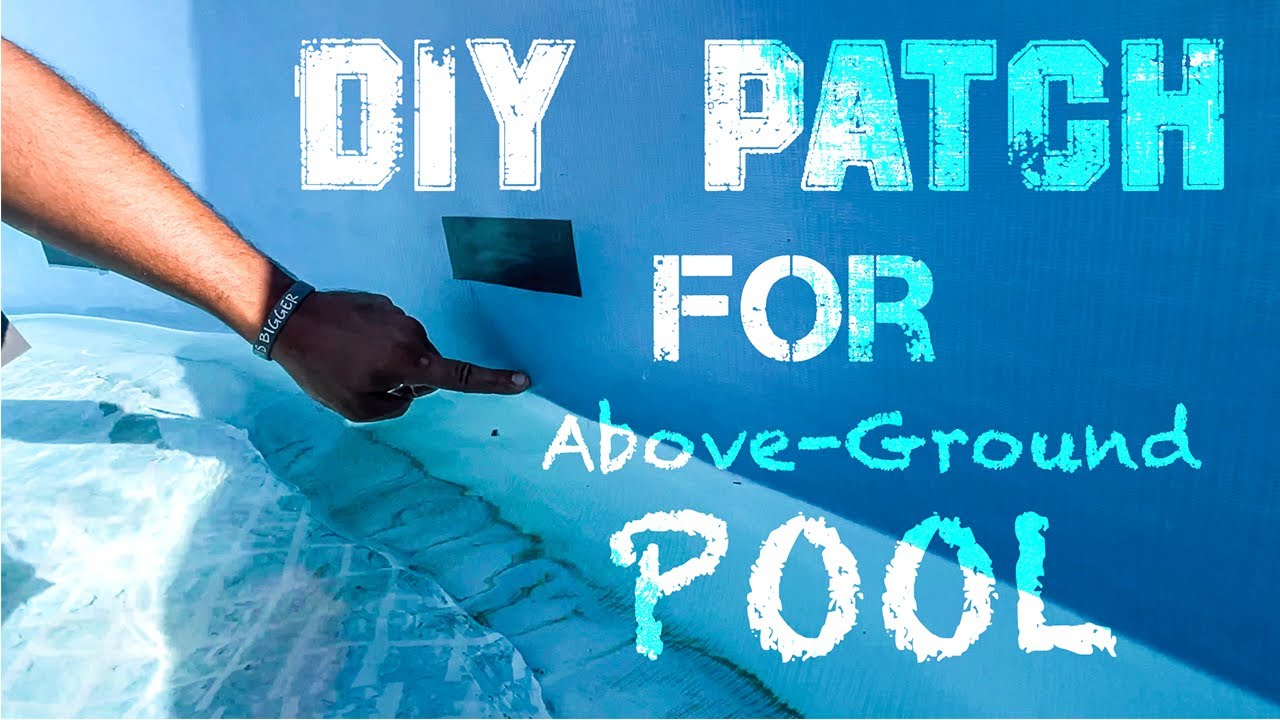
1. Intex Vinyl Patch Kits
These are the go-to solution for most seam leaks. A typical kit includes:
- Clear or blue vinyl patches
- Waterproof adhesive
- Applicator or brush
How to use:
- Cut a patch at least 2 inches larger than the leak.
- Apply adhesive to the patch and the seam.
- Press firmly onto the leak, smoothing out air bubbles.
- Hold for 2-3 minutes and allow 24 hours to cure.
Pro Tip: Round the corners of the patch to prevent peeling.
2. Underwater Patching
If you can’t drain the water, use a patch kit made for underwater application. These adhesives work even when wet, but the patch may not last as long as a dry repair.
- Clean the area with a cloth.
- Cut and coat the patch.
- Fold the patch, swim underwater, and open it directly over the leak.
- Press and smooth for a minute.
3. Vinyl Repair Tape
This is a quick fix for small leaks. It’s like a waterproof sticker you press directly onto the seam.
- Clean and dry the area.
- Cut a piece of tape to cover the seam.
- Press firmly and smooth out bubbles.
Caution: Tape repairs are usually temporary. They’re best as an emergency measure until you can do a full patch.
4. Professional Pool Repair Glue
Some products are designed for high-pressure or difficult seam leaks. These glues can bond even when there is a slight leak, but always follow the manufacturer’s instructions.
5. Heat Sealing (advanced)
Rarely used by DIYers, this involves using a special tool to weld the vinyl together. It’s best for large, straight tears along the seam and requires experience.
Repair Comparison
Here’s how these options compare for seam leaks:
| Repair Method | Best For | Longevity | Ease of Use | Cost |
|---|---|---|---|---|
| Vinyl Patch Kit (Dry) | Most seam leaks | 1-3 years | Easy | Low |
| Underwater Patch | No-drain situations | 6-12 months | Medium | Low |
| Vinyl Repair Tape | Emergency fix | Weeks to months | Very easy | Low |
| Professional Glue | High-pressure leaks | 1-2 years | Medium | Medium |
| Heat Sealing | Large/complex tears | 3+ years | Difficult | High |
Insight: Many pool owners use cheap household glues or tapes, but these almost always fail in days or weeks. Always use products made for pool vinyl.

Credit: www.reddit.com
Step-by-step Guide To Patching A Seam Leak
Even with the right materials, the way you do the repair affects how long it will last. Here’s a detailed process for a strong, lasting patch:
Step 1: Prepare The Area
- Lower the water if possible.
- Dry the seam completely.
- Clean the area with rubbing alcohol (not soap, which leaves residue).
- Mark the leak with a waterproof marker.
Step 2: Cut The Patch
- Make it at least 2 inches bigger than the leak in all directions.
- Round the corners.
Step 3: Apply Adhesive
- Spread a thin, even layer on both the patch and the seam.
- Wait about 30 seconds for the glue to become tacky.
Step 4: Place The Patch
- Press the patch directly over the leak.
- Smooth from the center out, pushing out bubbles.
- Hold firmly for a few minutes.
Step 5: Allow To Cure
- Wait at least 24 hours before refilling the pool.
- Check for leaks by gently pressing on the seam.
- If it peels, repeat the process with a larger patch.
Non-obvious tip: Double patching (placing a second patch over the first after 24 hours) can add extra strength at high-pressure seams.
Mistakes To Avoid When Repairing Seam Leaks
Even experienced DIYers sometimes make errors that lead to repeated leaks or bigger problems. Watch out for these common mistakes:
- Not cleaning the surface: Dirt or algae under the patch stops glue from sticking.
- Patching when wet: Unless using underwater glue, water weakens the bond.
- Using too little adhesive: Skimping on glue leaves edges unsealed.
- Not removing air bubbles: Trapped air lets water in over time.
- Cutting sharp corners: Square patches peel faster.
Expert Insight: If you use the pool before the patch is fully cured, water pressure can force the patch off, making the leak worse.
When To Replace Your Intex Pool Liner
Not all seam leaks can be fixed. Sometimes, repeated leaks or very large tears mean the liner is at the end of its life.
Signs You Need Replacement
- Multiple leaks along different seams.
- The seam is separating for more than 6 inches.
- The liner is brittle, faded, or sticky to the touch.
- Repairs last less than a month.
Data: Most Intex pool liners last 3-7 years, depending on sun exposure, chemicals, and care. After this time, the material breaks down and becomes hard to repair.
What to do: If you need a new liner, always measure your pool carefully and buy the correct model. Installing a new liner can often be done in one afternoon.
Preventing Seam Leaks In The Future
Prevention is easier and cheaper than repair. Here’s how to protect your Intex pool seams:
- Choose a flat, smooth site: Never install on rocks, roots, or uneven ground.
- Use a ground cloth: It adds protection from below.
- Do not overfill: Keep the water level below the maximum line.
- Avoid harsh chemicals: Too much chlorine or shock damages vinyl.
- Cover the pool when not in use: Protects from UV and debris.
- Inspect seams monthly: Catch small problems early.
- Winterize properly: In cold climates, drain and store the pool as directed.
Non-obvious advice: After heavy storms or strong winds, always check the seams for small tears. Branches and flying debris often cause hidden damage that grows over time.
Seam Leaks Vs. Other Types Of Pool Leaks
It’s important to know how seam leaks differ from other problems:
| Leak Type | Location | Repair Difficulty | Long-Term Risk |
|---|---|---|---|
| Seam Leak | Where two vinyl pieces join | Medium | High (can split further) |
| Puncture | Anywhere on liner | Easy | Low |
| Valve Leak | At drain or inlet/outlet | Easy to medium | Medium (water loss) |
| Frame Damage | Pool structure, not liner | Difficult | High (collapse risk) |
Key takeaway: Seam leaks should be addressed quickly because they can grow into major failures, while small punctures are usually simple to patch.
How To Maintain Your Pool After A Seam Repair
A good repair can last months or even years, but only if you take care of your pool afterward.
- Avoid heavy use for 2 days: Let the patch bond fully.
- Check the patch every week: Look for edges lifting or new bubbles.
- Keep the water balanced: Too much chlorine weakens patches.
- Don’t drag or move the pool: Shifting can stress the repaired seam.
- Store repair records: Note the repair date and product used.
Insight: Many pool owners forget to check old patches, leading to surprise leaks the next season. Regular maintenance is your best defense.
Credit: www.youtube.com
Cost Breakdown: Diy Vs. Professional Seam Leak Repair
Seam leaks can be repaired by most pool owners, but sometimes you might consider hiring a pro. Here’s how the costs compare:
| Option | Average Cost | Time Required | Success Rate |
|---|---|---|---|
| DIY Vinyl Patch Kit | $10 – $25 | 1 hour | High (for small leaks) |
| Professional Repair | $100 – $250 | 2-4 hours | Very high |
| Liner Replacement | $100 – $500+ | 2-6 hours | Permanent |
Advice: For most seam leaks, a DIY kit is enough. Only hire a pro if the tear is long, the liner is old, or you can’t stop the leak.
When To Contact Intex Customer Support
If your pool is under warranty (usually 90 days to 1 year), and you suspect a manufacturing defect, contact Intex support before trying to repair the seam. Document the leak with photos and your purchase details. Making your own repairs may void the warranty, so always read the terms first.
For more information on Intex pool warranties, you can check their official site or see this helpful resource from Intex Support.
Frequently Asked Questions
What Is The Most Common Cause Of Seam Leaks In Intex Pools?
Seam leaks are usually caused by either manufacturing defects or long-term stress on the pool, such as UV damage, overfilling, or placing the pool on uneven ground. Over time, the glue holding the seam can weaken, letting water escape.
Can I Repair A Seam Leak While The Pool Is Full?
Yes, with underwater patch kits, you can make temporary repairs without draining the pool. However, a dry patch done after lowering the water gives a stronger, longer-lasting fix.
How Do I Know If My Patch Has Failed?
If you see the water level dropping again, bubbles forming under the patch, or the patch peeling at the edges, it has likely failed. Always check the repair after 24 hours and again in a week.
Will A Seam Leak Get Worse If I Keep Using The Pool?
Yes. Water pressure and movement can quickly turn a small seam leak into a large tear. Always repair leaks before using the pool.
Is A Seam Leak Covered By The Intex Warranty?
If your pool is new and the leak is clearly due to a manufacturing defect, it may be covered. Contact Intex before attempting repairs, as fixing it yourself might void the warranty.
—
Dealing with an Intex pool leak at the seam can be stressful, but with a clear plan, you can fix most leaks yourself and enjoy your pool for years to come. Careful inspection, quick repair, and regular maintenance are the keys to avoiding major problems. Don’t let a seam leak ruin your summer—take action early, use the right materials, and keep your pool in top shape.