
Fitting a one piece shower through a standard doorway can be both a puzzle and a physical challenge. Many homeowners and contractors face this struggle during bathroom renovations or new installations. The large, rigid shape of a one piece shower stall often seems impossible to maneuver through narrow halls, tight corners, or small doors.
But with the right plan, the right tools, and a bit of patience, you can make it work—without damaging your walls, the shower, or your nerves.
This guide will walk you through every step, from planning and preparation to moving and installing. Whether you are a DIYer or a professional installer, you’ll find practical advice and solutions to common problems. You’ll also discover little-known tips that can save you hours of frustration and costly mistakes.
Let’s start with understanding the challenge and work our way through every detail you need to know.
Why One Piece Showers Are Difficult To Fit Through Doors
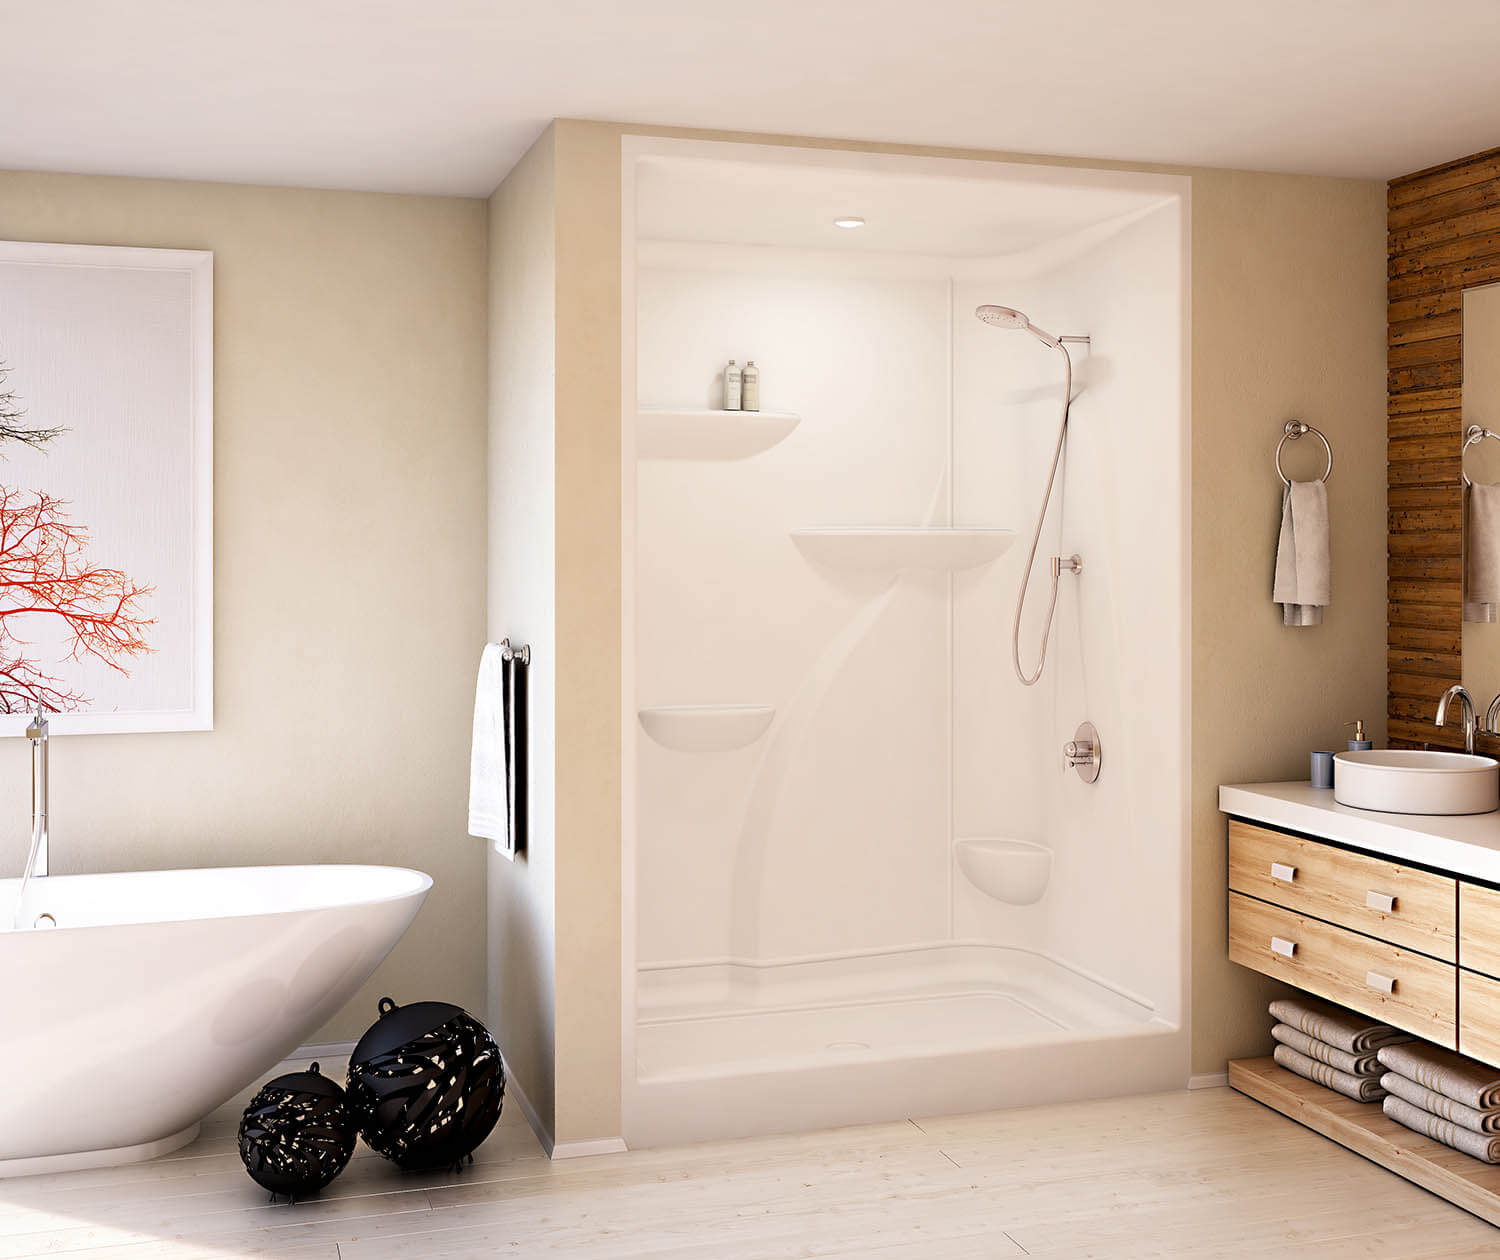
One piece showers are popular because they are seamless, easy to clean, and resistant to leaks. However, their size and rigid structure make them hard to move. Most standard interior doors are 28 to 32 inches wide, while a typical one piece shower measures between 32 and 36 inches in width, 72 to 80 inches in height, and 34 to 48 inches in depth.
This size mismatch is the root of the problem. Even if your doorway is wide, turns in hallways or narrow staircases can make things worse. Many people underestimate how much space is needed—not just width, but also height and maneuvering room.
In some homes, especially those built before the 1980s, you may find even narrower doors or unusual layouts. Some doors may have thick frames or decorative trim, which can steal precious inches you need for moving a large object. If you live in a mobile home or a house with non-standard construction, check all openings carefully.
Key Dimensions To Know
Before you even start moving, grab a tape measure. Measure:
- The shower stall’s width, depth, and height
- The doorway width and height
- The width of hallways and stairwells
- Any tight corners or obstacles
Write these numbers down. You’ll use them throughout the process. It’s surprising how often people forget to measure corners or overhead clearances, leading to last-minute surprises.
Also, remember to check for things like light switches, thermostat controls, or handrails near the doorway. Even small protrusions can block a tight fit. Sometimes, removing or protecting these items in advance prevents accidental breakage. Measure overhead clearances too—many people focus only on width and forget that the shower may need to be tipped, which can require extra vertical space.
Planning And Preparation
Proper planning is the most important part of fitting a one piece shower through a door. The more you plan, the fewer problems you’ll face later.
Assessing The Space
Walk the entire path from where the shower currently is to where it needs to go. Look for:
- Narrow spots in hallways
- Low ceilings or hanging light fixtures
- Tight stairwells
- Sharp corners
- Furniture or appliances in the way
If you find any trouble spots, consider if they can be temporarily removed or adjusted.
A useful trick is to use painter’s tape on the floor to mark the shower’s path. This makes it easier to see where things get narrow. In some cases, you may realize a closet door or even a railing is removable, giving you a few more inches of space.
Also, check if doors along the path can be opened wider or taken off their hinges. If you have pets or children, plan for someone to watch them during the move to keep everyone safe.
Tools And Materials Needed
To move a one piece shower safely, you’ll need:
- Furniture dollies or hand trucks
- Moving straps or lifting harnesses
- Protective blankets or thick towels
- Tape measure and pencil
- Level (to check placement at the end)
- Screwdrivers or drill
- Utility knife (for trimming drywall if necessary)
- Gloves and protective eyewear
Having these ready avoids delays and reduces the risk of injury.
If you’re moving the shower over tile or hardwood, consider using soft wheels or laying down plywood to protect the floor. For very heavy units, a four-wheel dolly with locking brakes can make the job safer. Some people also use painter’s tape to mark “danger zones” where walls or trim are at risk.
Preparing The Doorway
If your measurements show the shower is a tight fit, you might need to:
- Remove the door from its hinges
- Remove door trim or casing
- Take out the stop molding (the thin strip inside the door frame)
- Temporarily widen the opening by removing drywall (as a last resort)
Removing the door and trim can add 2–3 inches of extra space. It’s an easy, reversible change and often enough to make the difference.
Be sure to label and store all hardware, screws, and trim pieces in a bag or box. This makes it much easier to reinstall everything later. If you remove drywall, cut clean lines so patching is easier. Take photos before and after for reference.
Protecting The House And The Shower
Before moving, protect both the shower and your home:
- Lay blankets or cardboard along walls and floors to prevent scratches.
- Cover the shower’s edges with bubble wrap or towels.
- Clear a path—move furniture, rugs, and anything that might trip you.
Many people forget this step and end up with scuffed walls or cracked shower corners.
If you’re working in a home with painted or wallpapered walls, remember that even a gentle bump can leave marks. Old plaster walls can crack more easily than newer drywall. When wrapping the shower, focus on the corners and edges—these are most likely to take a hit during tight turns.
Maneuvering Techniques For Tight Spaces
Now comes the physical part: getting the shower through the door and into the bathroom. This step needs both muscle and brainpower.
The Tilt-and-twist Method
The most common technique is the tilt-and-twist. Here’s how it works:
- Stand the shower upright near the door.
- Tilt the top of the shower toward the opening.
- As the top enters, gently twist or rotate the shower so the base follows.
This method works because the diagonal measurement through the door is larger than the straight width. But be careful not to force the shower—fiberglass can crack if bent too much.
If the shower has a lip or flange, watch those points carefully. Sometimes, having one person inside the room and another outside helps to guide the shower safely. Always move slowly. If you feel strong resistance, stop and check your angles.
Sometimes shifting just a few inches in either direction makes a big difference.
Carrying Flat Vs. Upright
Depending on your space, you might need to carry the shower flat (horizontal) or upright (vertical).
- Upright is safer for narrow doors but can hit low ceilings.
- Flat can be easier in wide halls but risks scuffing floors or walls.
Check your path and decide which way works best. Use moving straps or a dolly for support.
If you carry the shower flat, pad the floor well. Fiberglass can scratch easily, and even a small gouge can be noticeable later. For very tight spots, try raising one end slightly to “walk” the shower around obstacles. Communicate with your helpers—one person should always watch the most vulnerable spot.
Navigating Corners And Stairs
Corners and stairs are often the hardest part. Here’s what helps:
- Have at least two people—one to guide, one to lift.
- Go slowly and communicate. Use short phrases like “up,” “down,” “pause.”
- For stairs, keep the shower base lower than the top to control movement.
- At corners, pivot the shower on its edge while watching for wall contact.
If you hit a spot that seems impossible, back up and rethink. Sometimes flipping the shower 180 degrees or changing its angle is the answer.
On stairs, clear the entire area first. Remove any pictures, shelves, or loose rugs. If the stairs are very narrow, consider removing the handrail temporarily. This can give you an extra inch or two and prevent damage. For outside stairs or steps, check for loose boards or slippery surfaces before starting.
When The Fit Is Too Tight
If you’ve removed the door and trim and the shower still doesn’t fit, you have two main options:
- Remove more material: Take out a small section of drywall next to the door. This can add another inch or two. You can patch it later.
- Go through a window or other opening: Sometimes, a first-floor window or even an exterior door is a better path.
Cutting the shower is not recommended—one piece showers are designed to be watertight. Any cuts can lead to leaks.
If you must remove drywall, cut carefully and avoid damaging any wiring or plumbing behind the wall. After installation, patching with a drywall repair kit is usually straightforward. If using a window, check that the opening is large enough and remove any screens or sashes.
Always have extra help when lifting the shower from outside to inside—a slip can mean disaster.
Comparing Door Widening Options
If the shower is just a bit too big, you may need to widen the doorway. Here’s a quick comparison of common options:
| Method | Extra Width Gained | Effort Level | Reversibility | Risk |
|---|---|---|---|---|
| Remove Door | 1–1.5 inches | Low | Easy | Minimal |
| Remove Trim | 0.5–1 inch | Low | Easy | Minimal |
| Remove Stop Molding | 0.5 inch | Medium | Moderate | Minor repair needed |
| Remove Drywall | 1–2 inches | High | Harder | Patching required |
Many people skip removing trim or stop molding, but these easy steps often give you just enough room.
If you have a classic wood door frame, use a pry bar gently to avoid splintering. Always score caulk lines first with a utility knife so the trim comes off cleanly. Mark the trim pieces so you know exactly where they go when reinstalling.
For painted surfaces, expect to touch up paint after reinstalling trim or molding.

Credit: maax.com
Real-world Example: A Common Scenario
Imagine you have a 34-inch wide shower and a 32-inch doorway. You remove the door (gains 1. 5 inches) and trim (gains 1 inch). Now you have 34. 5 inches—just enough for the shower. If needed, you can also remove the stop molding for another half inch.
This process is typical in older homes, where doors are narrow. Being systematic helps you avoid panic and unnecessary damage.
Suppose there’s still a tight spot in the hallway. Using a cardboard template first, you discover the hallway narrows by another inch near a baseboard heater. In this case, temporarily removing the heater grill or even loosening a section of baseboard can provide the space you need.
The key is to be flexible and look for every small adjustment that can add up to success.
Safety Tips And Common Mistakes
Moving a one piece shower is heavy work. The average unit weighs 120–180 pounds. Here are safety tips:
- Lift with your legs, not your back.
- Wear gloves for grip and to prevent cuts.
- Use help—never try to move a shower alone.
- Take breaks if you get tired.
Common mistakes to avoid:
- Not measuring all dimensions, including corners.
- Forgetting to protect walls and floors.
- Forcing the shower, causing cracks.
- Rushing through corners or stairs.
Remember, a broken shower costs more than taking your time.
For extra safety, wear shoes with good grip and avoid loose clothing that could catch on handles or trim. If you feel unsure at any point, stop and ask for more help. Many injuries and accidents happen because people rush or try to move something heavy alone.
Installing The Shower Once Inside
Getting the shower through the door is only half the job. Here’s what to do next:
Positioning
Slide the shower into place. Use a level to check that it sits flat. If your floor is uneven, use shims to adjust.
For best results, position the shower so the drain lines up with the plumbing. Minor adjustments now save time and frustration later. If the shower has adjustable feet or leveling pads, use them for precise placement.
Securing
Most one piece showers have flanges that attach to wall studs. Use screws or nails as directed by the manufacturer. Do not overtighten—fiberglass can crack.
It’s smart to predrill holes for screws to avoid splitting the material. Some showers use clips or brackets—install these as shown in the instructions. Double-check that all flanges are flush with the studs before securing.
Sealing
Apply waterproof caulk around the edges. This prevents leaks and protects against mold.
Be generous but neat with the caulk. Smooth it with your finger or a special tool to create a watertight seal. If your shower base meets a tile or vinyl floor, make sure the joint is completely sealed. Allow the caulk to cure fully before using the shower.
Plumbing Hookups
Connect the drain, faucet, and shower head. Check for leaks before closing up walls.
It’s wise to use plumber’s tape on all threaded connections to prevent drips. Run water through the system for several minutes to be sure there are no leaks. Fix any issues before you close up the wall or add final finishes.
Final Touches
Replace the door, trim, and any drywall you removed. Paint or touch up as needed.
If you had to remove a window or baseboard, reinstall these carefully. Do a final clean-up of all dust and debris. Open windows or use a fan to help the caulk and any fresh paint cure.
When To Consider A Multi-piece Shower Instead
Sometimes, fitting a one piece shower is just too difficult. In these cases, a multi-piece shower might be the answer. These come in two, three, or four pieces that snap together inside the bathroom.
Here’s a quick comparison:
| Type | Ease of Installation | Leak Risk | Seam Visibility | Cleaning |
|---|---|---|---|---|
| One Piece | Harder to move | Very low | None | Easy |
| Multi-Piece | Easier to move | Low to moderate | Visible seams | More effort |
If your home has very narrow doors or tight stairs, a multi-piece unit may be safer and easier. But one piece showers are still the best for leak prevention and easy maintenance.
A multi-piece shower also allows for easier future repairs. If one wall gets damaged, you can sometimes replace just that section. However, always follow the manufacturer’s instructions for sealing the seams—improper sealing is the main cause of leaks in these units.
Unique Challenges In Older Homes
Houses built before 1970 often have smaller doorways and tighter halls. In these homes:
- Doorways can be as narrow as 28 inches.
- Hallways may be less than 36 inches wide.
- Plaster walls are harder to patch than drywall.
If you live in an older house, plan for extra time. You may need to hire a carpenter or use creative solutions, like going through a window. Sometimes, it’s easier to widen a doorway permanently, which also makes moving furniture easier in the future.
In some cases, you may find pipes, radiators, or other built-in features blocking your path. Always check for these before you start moving the shower. If you need to remove or relocate plumbing or heating elements, consider hiring a professional.
Also, remember that old houses may have electrical wiring closer to the surface—be careful when removing any wall material.
Two Non-obvious Tips Most Beginners Miss
- Check the bathroom window: In some cases, it is easier to bring the shower in through a large bathroom window. Removing a window sash is often simpler than widening a door, and the opening can be temporarily covered for privacy.
- Use a “dry run” with cardboard: Cut a piece of cardboard the same size as the shower’s footprint. Practice moving it through the house. This helps spot tight turns or obstacles before you’re committed with the heavy, expensive shower.
These steps save time and help you plan better.
Another hidden tip: If you have access to the attic or crawlspace above the bathroom, sometimes plumbing adjustments can be made from above, giving you more flexibility with shower placement. Also, check if your shower base has removable panels for easier access during installation.

Credit: www.youtube.com
Frequently Asked Questions
How Heavy Is A One Piece Shower?
A typical one piece shower weighs between 120 and 180 pounds, depending on the size and material. Fiberglass units are lighter, while acrylic or composite showers can be heavier. Always have at least two people for safe moving.
If you’re moving the shower upstairs, plan for extra help or even a third person. Using a shoulder dolly can make heavy lifting safer and more comfortable.
Can I Cut A One Piece Shower To Fit Through A Door?
Cutting a one piece shower is not recommended. The seams and structure are designed to be watertight. Any cuts can cause leaks, void the warranty, and weaken the unit. If it truly won’t fit, consider a multi-piece shower or widening the doorway instead.
In rare cases, a professional may be able to modify the shower and reseal it, but this should only be a last resort and may not be approved by the manufacturer.
Is It Possible To Remove A Window To Fit A Shower?
Yes, in some cases you can remove a window sash and bring the shower in through the opening. This is a common solution for first-floor bathrooms with large windows. Make sure to protect the window frame and reinstall it properly after moving the shower.
Be sure to secure the window opening during the process to prevent drafts, rain, or unauthorized entry. Have all tools and helpers ready before you start.
What If My Hallway Has A Sharp Turn?
Sharp turns are one of the hardest challenges. Try the tilt-and-twist method, and use moving straps for better control. If the turn is too tight, remove door trim or consider removing a small section of wall. Use a cardboard template first to check the fit.
Another idea is to remove a section of banister or railing if the turn is at the top of a staircase. Be sure to reinstall it securely after the job.
Where Can I Find More Information About Shower Installation?
For more details on shower installation and bathroom remodeling, visit the Wikipedia Shower Page for diagrams, technical specs, and best practices.
Fitting a one piece shower through a door is a test of patience, planning, and teamwork. With careful measurement, the right tools, and a clear plan, you can succeed without damaging your home or your new shower. Remember to protect your investment—and yourself—every step of the way.
With these tips and insights, your bathroom upgrade will go much smoother and last for years to come.
Credit: aquaticbath.com