Replacing kitchen drawers can give your whole kitchen a fresh new look and fix problems like sticky slides or broken handles. Many homeowners think this job is only for professionals, but with the right guidance, you can do it yourself.
Whether you want to swap out a single drawer or replace a whole set, understanding the process helps you avoid mistakes and get a result that feels brand new. This guide walks you through each step, explains what you need, and helps you understand the choices you’ll make along the way.
Even if you don’t have much experience with tools, this article will show you that replacing kitchen drawers is a project you can tackle with confidence.
Why Replace Kitchen Drawers?
Old kitchen drawers can cause a lot of small frustrations. Maybe they stick, wobble, or the bottoms sag because of heavy pots and pans. Sometimes you just want a new style to match a kitchen update. Replacing drawers can solve these problems and even add value to your home.
New drawers often glide smoothly, carry more weight, and fit better with modern kitchen designs.
Many people don’t realize that you don’t always have to replace the entire cabinet—just the drawers themselves. This can save both money and time. Updating old drawers can also reduce dust and dirt that gets trapped in cracks or worn-out joints.
Tools And Materials You’ll Need
Before you start, gather all your supplies. Having everything ready will help you avoid delays and mistakes. Here’s what you’ll need:
- Screwdriver set (Phillips and flathead)
- Measuring tape (metric and inches)
- Drill with drill bits
- Level (for alignment)
- Pencil or marker
- Clamps (optional, but helpful)
- Replacement drawers (pre-built or custom)
- Drawer slides (side-mount, under-mount, or center-mount)
- Screws (usually come with slides)
- Wood glue (for assembling drawer boxes)
- Sandpaper (for smoothing edges)
- Safety glasses and gloves
- Vacuum or brush (for cleaning debris)
You may also need a square or saw if you’re building your own drawer boxes. For most replacements, though, pre-built drawers from a hardware store work well.
Measuring For New Drawers
Accurate measurement is key to getting drawers that fit perfectly. Many beginners make mistakes here, so go slowly and double-check your work.
How To Measure Old Drawers
- Remove the old drawer: Pull the drawer out and lift it to remove from the slides.
- Measure the width: Measure the front edge from side to side. Write down the measurement in millimeters and inches.
- Measure the height: Place the tape on the bottom and measure up the side.
- Measure the depth: Measure from the back to the front, excluding the drawer front if it’s a separate piece.
- Measure the opening: Check the cabinet opening width, height, and depth to ensure the new drawer will slide in easily.
Common mistake: Measuring only the drawer box, not the opening. Always check both, because the opening may be tighter than the box itself.
Allowing For Drawer Slides
Drawer slides take up space. Most side-mount slides need about 1/2 inch (12 mm) on each side. Under-mount slides may require a different clearance. Always check the slide manufacturer’s instructions.
| Slide Type | Side Clearance Needed | Common Use |
|---|---|---|
| Side-mount | 1/2″ (12 mm) each side | Standard kitchen drawers |
| Under-mount | 3/16″ (5 mm) each side | High-end, soft-close drawers |
| Center-mount | None on sides (uses middle) | Older or custom cabinets |
If you measure wrong, your new drawer may not fit, or it may be loose and rattle. Measure twice, cut once.
Choosing The Right Replacement Drawers
There are three main ways to get replacement drawers:
- Pre-made drawers: These are sold in standard sizes at most home stores. They’re fast and easy but may not fit custom cabinets.
- Custom drawers: Ordered to your exact size. More expensive, but perfect fit.
- DIY drawers: Build your own if you have woodworking skills. This gives full control over size and style.
Drawer Materials
Most drawers are made from:
- Solid wood: Durable and classic. Heavier and more expensive.
- Plywood: Strong, resists warping. Lighter than solid wood.
- MDF or particleboard: Cheap and smooth, but can swell if wet.
- Metal: Modern kitchens sometimes use these.
If you want drawers that last, avoid particleboard bottoms—these often sag or break under heavy loads.
Drawer Fronts
You can reuse your old drawer fronts if you like the look, or choose new ones to match your kitchen style.
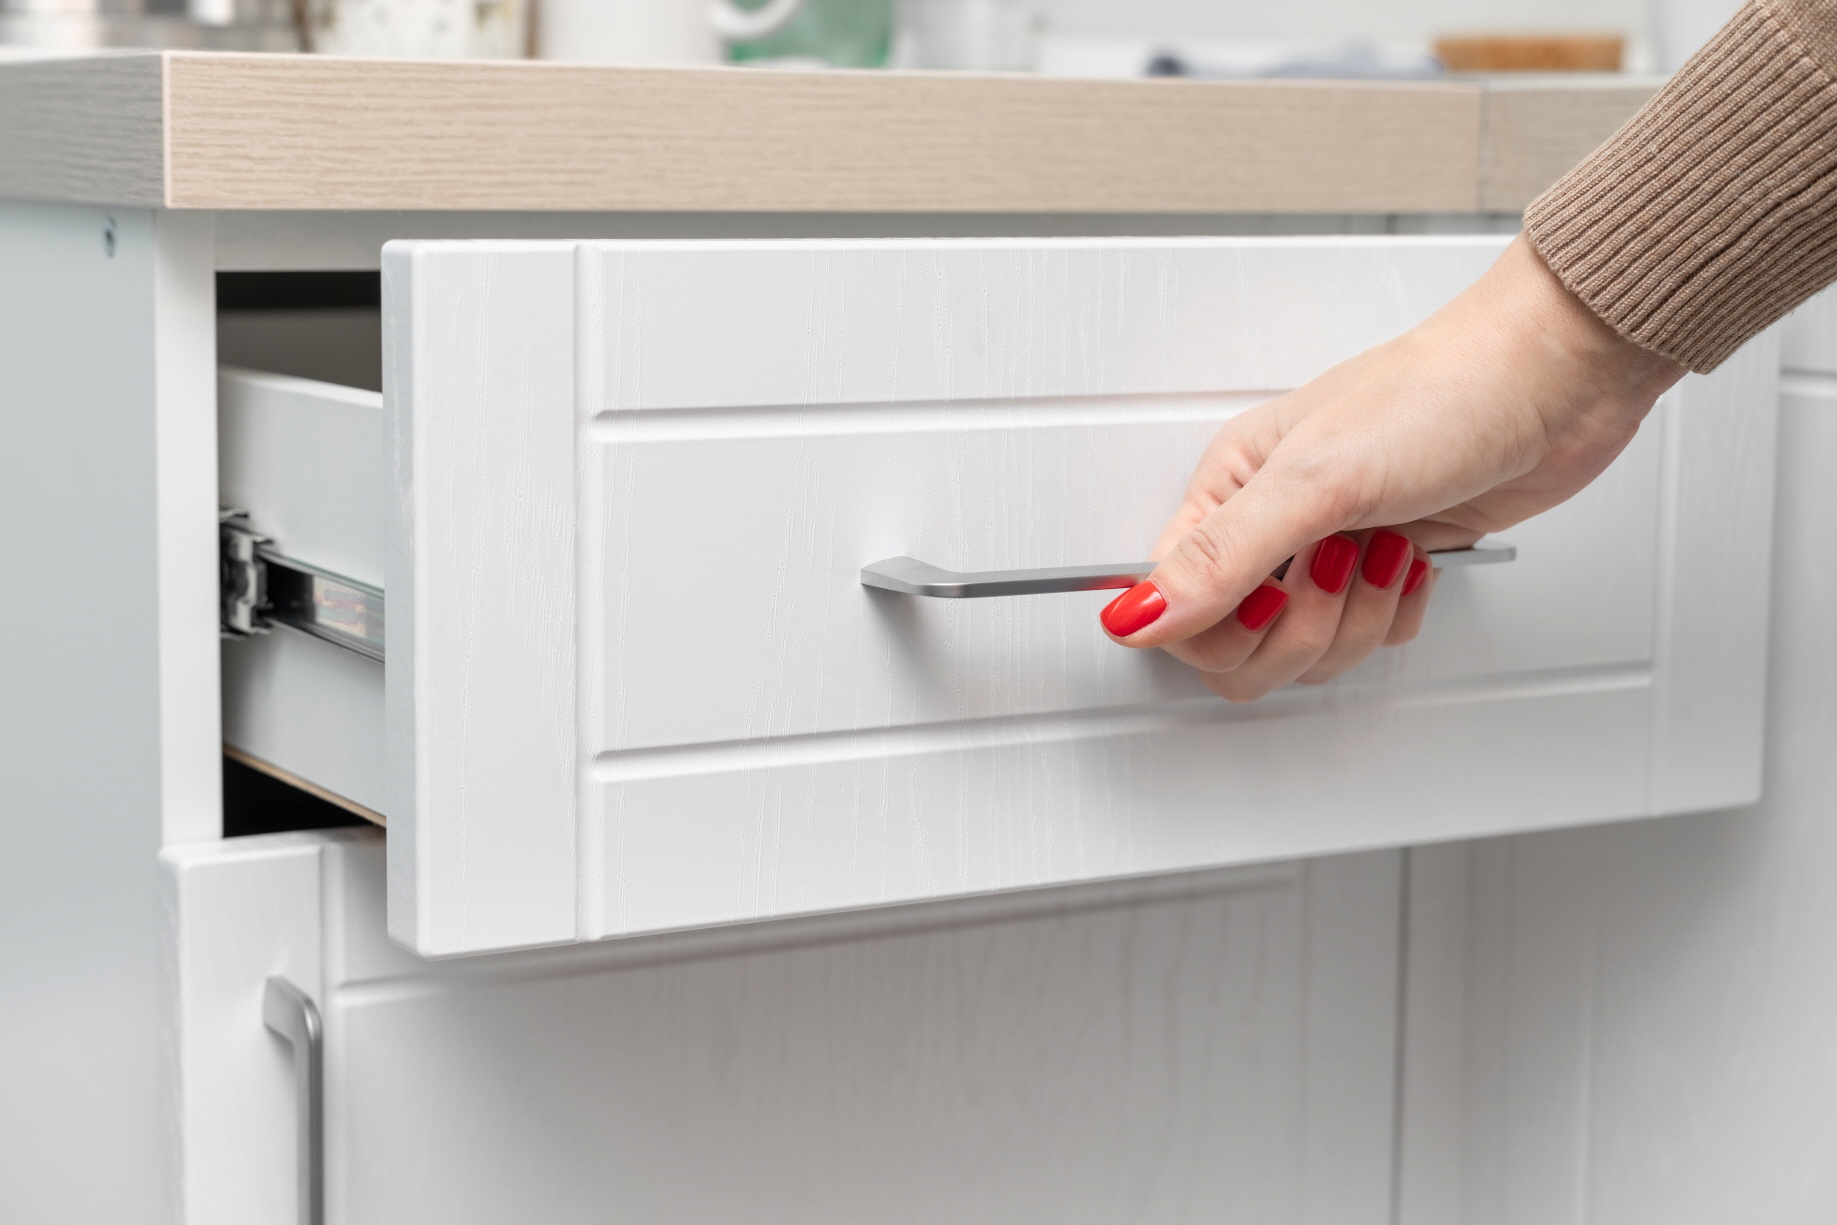
Removing Old Drawers
Taking out old drawers is usually simple, but some have hidden catches or screws. Here’s how to remove them safely:
- Empty the drawers: Take out everything inside to prevent spills.
- Pull out the drawer: Extend it as far as it goes.
- Lift or press release tabs: Many slides have small levers or tabs on the sides. Press or lift these to free the drawer.
- Remove the drawer: Pull it all the way out, lifting slightly if needed.
- Check for screws: Some drawers are screwed to the slides. If you see screws, remove them with a screwdriver.
For older cabinets, you may need to wiggle or tip the drawer slightly to free it. Take your time to avoid damaging the slides or the cabinet.
Non-obvious tip: Take a photo before removing the drawer. This helps you remember how the hardware was attached.
Inspecting And Preparing The Cabinet
With the drawers out, inspect the cabinet for damage or wear. Look for:
- Loose screws or cracked wood: Tighten or repair as needed.
- Old slide marks or glue: Clean these areas with a damp cloth.
- Debris or dust: Vacuum or wipe clean so your new drawers glide smoothly.
If you see rot or water damage, repair it before installing new drawers. Ignoring this step can cause problems later.
Installing New Drawer Slides
Drawer slides are the key to smooth, quiet movement. Here’s how to install them:
Side-mount Slides
- Mark the position: Measure from the bottom of the opening. Use a level to draw a line for each slide.
- Attach slides to the cabinet: Hold the slide against the line and screw it into place. Most slides have 2-3 screw holes.
- Attach slides to the drawer: Line up the slide on the side of the drawer box. Make sure the front edge is even with the drawer front.
- Check for level: Use your level to make sure slides are straight. Crooked slides cause sticking or jamming.
Under-mount Slides
- Mark the centerline: Under-mount slides attach under the drawer, not the sides. Mark the centerline on the drawer bottom.
- Install slide brackets in the cabinet: Attach the mounting clips or brackets to the back of the cabinet.
- Attach slides to the drawer: Screw the slides underneath, following the manufacturer’s instructions.
Under-mount slides are quieter and more hidden but need very precise installation.
Common Slide Installation Mistakes
- Slides not level: Leads to sticking or uneven movement.
- Wrong position: Causes the drawer to hit or not close fully.
- Using the wrong screws: Can split the wood or strip holes.
If in doubt, test-fit the slides before tightening all the screws.
Assembling And Installing Drawer Boxes
If you bought pre-assembled drawers, skip to the next section. If you need to build your own, follow these steps:
Building Drawer Boxes
- Cut the sides, front, back, and bottom: Use your measurements, and remember to subtract space for slides.
- Dry fit: Assemble the pieces without glue or screws to check fit.
- Glue and clamp: Apply wood glue to the joints and clamp together.
- Screw or nail: Use screws or finishing nails to secure the corners.
- Attach the bottom: Slide the bottom panel into its groove, then secure it with glue or screws.
Allow glue to dry fully before installing slides.
Non-obvious Insight
Many beginners forget to sand the edges. Smooth edges prevent splinters and help drawers open quietly.
Attaching Drawer Fronts
If your drawer fronts are separate, here’s how to attach them evenly:
- Position the drawer box: Slide the box into the cabinet, but don’t attach the front yet.
- Hold the front in place: Use double-sided tape or clamps to hold the front on the box.
- Check alignment: Make sure the gaps are even on all sides.
- Screw from inside: Drill pilot holes from inside the drawer box, then drive screws into the front.
- Test the drawer: Open and close to check for rubbing or uneven gaps.
If the gaps aren’t even, loosen the screws and adjust before tightening.
Inserting And Testing New Drawers
Slide the drawer boxes into the cabinet. Most slides have a “catch” that locks the drawer in place.
- Open and close: Test several times to make sure the movement is smooth.
- Check the gaps: Look for even spacing around the drawer fronts.
- Adjust as needed: If the drawer sticks, check for level or move the slides slightly.
Pro tip: If the drawer wobbles, add a thin shim behind the slides.

Credit: www.youtube.com
Reattaching Handles And Hardware
Attach your old handles, or install new ones for a fresh look. Here’s how:
- Measure for placement: Mark the center of the drawer front.
- Drill pilot holes: Use a small drill bit to avoid splitting the wood.
- Screw on handles: Tighten firmly, but don’t overtighten.
If you want to switch from knobs to pulls, fill old holes with wood filler, sand smooth, and drill new holes.
Cleaning Up And Final Checks
After installation, clean the area and check your work:
- Vacuum sawdust or debris
- Wipe drawers and cabinet with a damp cloth
- Test each drawer fully loaded (put some pots, pans, or utensils inside to check strength)
- Listen for squeaks or sticking
If you hear noise, add a drop of paraffin wax or silicone spray to the slides.
Credit: www.homedepot.com
Cost Of Replacing Kitchen Drawers
The cost depends on how many drawers you replace and the materials you choose. Here’s a general comparison:
| Drawer Type | Estimated Cost (per drawer) | Pros | Cons |
|---|---|---|---|
| Pre-made | $30–$60 | Fast, easy | Limited sizes |
| Custom | $60–$150 | Perfect fit, any style | More expensive |
| DIY | $20–$50 (materials) | Full control, budget-friendly | Needs tools, time |
Extra costs: Quality slides ($10–$30 per pair), handles ($2–$10 each), and finishing supplies.
Mistakes To Avoid When Replacing Drawers
- Forgetting to measure the opening: The drawer box and opening can be different sizes.
- Not checking slide compatibility: Some slides fit only certain drawer styles.
- Rushing alignment: Crooked slides make drawers hard to use.
- Using the wrong screws: Can split wood or make slides loose.
- Skipping cabinet repairs: Weak or damaged cabinets won’t support new drawers well.
One insight many beginners miss: Always test-fit everything before final assembly. This saves time and frustration.
Upgrades And Modern Features To Consider
When replacing drawers, you can add features to make your kitchen more functional.
- Soft-close slides: Prevent drawers from slamming shut.
- Full-extension slides: Let you pull the drawer out all the way, so you can reach the back.
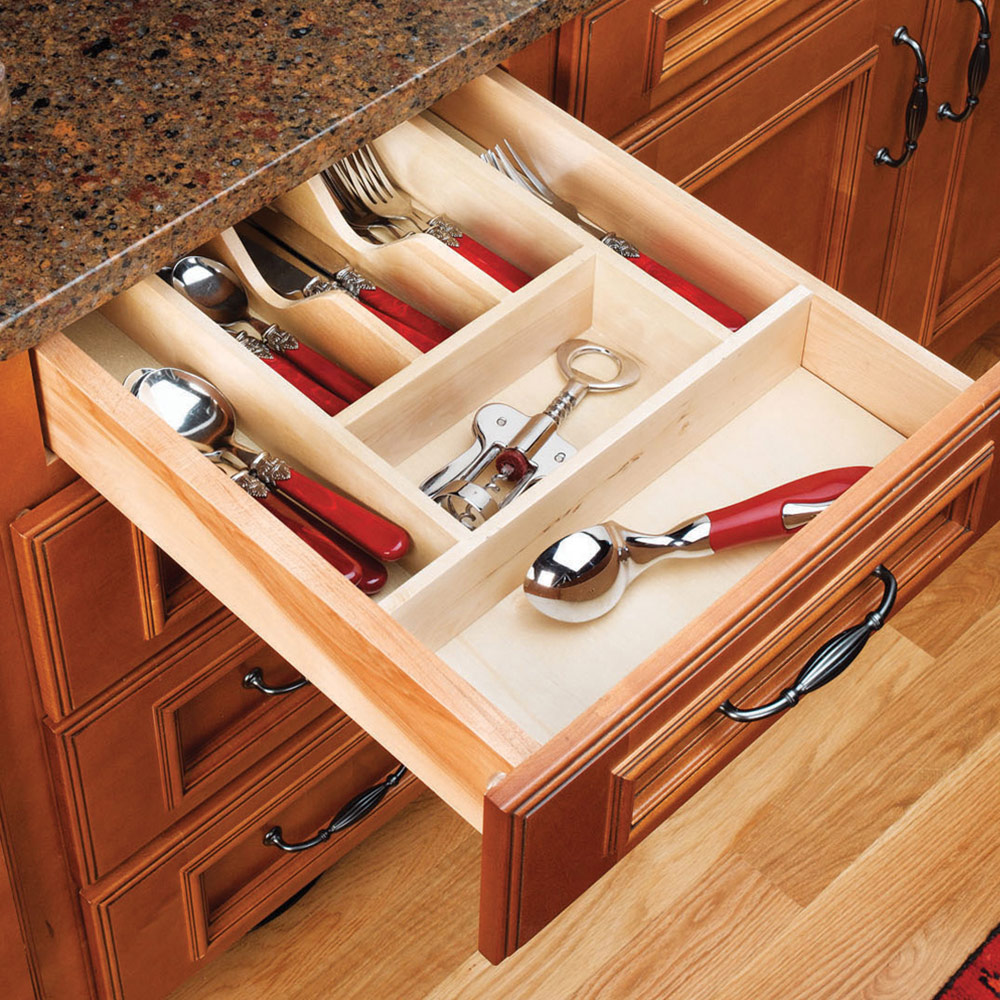
- Drawer organizers: Built-in dividers for utensils or spices.
- Pull-out trash bins: Replace a drawer with a hidden trash can.
- Deep pot drawers: Perfect for heavy pots and pans.
These upgrades can make everyday kitchen tasks easier and more enjoyable.
Safety Tips For Diy Drawer Replacement
Working with tools and wood can be safe if you follow simple rules:
- Wear safety glasses and gloves
- Unplug power tools when changing bits or blades
- Work in a well-lit area
- Keep children and pets away from the work area
- Lift drawers carefully (some can be heavy, especially with solid wood)
Never force a drawer or slide into place—if it doesn’t fit, check your measurements.
How To Refinish Or Paint Drawer Fronts
Replacing drawers is a good time to refinish or paint fronts for a new look:
- Remove old finish: Sand with medium-grit sandpaper.
- Clean surface: Wipe with a damp cloth to remove dust.
- Apply primer: Helps paint stick and covers old colors.
- Paint or stain: Use a brush or roller for even coats. Let each coat dry fully.
- Protect with clear coat: For long-lasting shine and durability.
Painting is a budget-friendly way to match new drawers to your kitchen style.
When To Call A Professional
Most homeowners can replace drawers with basic tools, but some situations need expert help:
- Custom cabinets with odd sizes
- Broken or water-damaged cabinets
- High-end soft-close or hidden hardware
- If you don’t have the right tools or time
A professional will have the tools and experience to get perfect results. If your project feels overwhelming, don’t be afraid to ask for help.
Credit: www.lxhausys.com
Disposal And Recycling Of Old Drawers
Don’t just throw old drawers in the trash. Here’s what you can do:
- Reuse for storage: Old drawers make good organizers in garages or closets.
- Recycle wood: Many recycling centers accept clean wood.
- Donate: If still in good shape, donate to a building supply charity.
Check local rules for wood disposal, as some areas have specific recycling requirements.
Environmental Considerations
Kitchen renovations create waste, but you can reduce your impact:
- Choose FSC-certified wood for new drawers.
- Reuse hardware when possible.
- Buy from local suppliers to cut shipping emissions.
- Recycle old metal slides at a scrap center.
Small choices add up to a more eco-friendly project.
Signs You Need To Replace (not Just Repair) Drawers
Sometimes, fixing old drawers isn’t enough. Here’s when replacement is the best choice:
- Drawer box is cracked or warped
- Bottom sags or falls out
- Slides are damaged and can’t be replaced
- Drawers no longer fit the opening
- You want a completely new style
If more than one of these signs applies, full replacement is often easier and longer-lasting than repeated repairs.
Realistic Timeline For A Diy Project
Replacing one or two drawers takes about 1–2 hours each if you have all the materials. A full kitchen (5–8 drawers) may take a weekend.
- Measuring and shopping: 1–2 hours
- Removing old drawers: 30 minutes
- Installing slides and drawers: 2–4 hours (more for custom fits)
- Finishing touches: 1–2 hours
Allow extra time if you are building boxes yourself or painting fronts.
Maintenance For Long-lasting Drawers
After replacement, keep your drawers in top shape:
- Clean slides every few months with a dry cloth.
- Lubricate metal slides with silicone spray if they squeak.
- Check screws and handles once a year and tighten if needed.
- Don’t overload drawers—especially wide or deep ones.
Simple care can make your new drawers last for many years.
Example: Replacing Drawers In A 1990s Kitchen
Imagine a 1990s kitchen with sagging particleboard drawers and sticky slides. The owner measures each drawer and buys pre-made plywood boxes with new side-mount slides. The whole process—removal, cleaning, installation—takes one Saturday. The finished kitchen looks modern, and the drawers work better than ever.
This shows that even older kitchens can get a major upgrade with a weekend project.
Where To Find Replacement Drawers
You can buy replacement drawers at:
- Home improvement stores: Like Home Depot or Lowe’s, with pre-made and custom options.
- Online retailers: Many offer custom sizes shipped to your door.
- Cabinet makers: For high-end or unusual sizes.
- Local woodworking shops: Good for custom work and repairs.
Always check return policies in case a drawer doesn’t fit.
For more technical details about drawer slides and hardware, check the Wikipedia page on drawers.
Frequently Asked Questions
How Do I Know If My Cabinet Can Accept New Drawers?
Most cabinets can accept new drawers if the openings are square and the structure is sound. Measure carefully and check that you have enough space for new slides. If the cabinet is warped or damaged, repair it first.
Can I Reuse My Old Drawer Fronts With New Boxes?
Yes, in most cases you can reuse the fronts. Remove them carefully from the old box and attach to the new one. You may need to fill and drill new holes for screws if the sizes differ.
What’s The Difference Between Side-mount And Under-mount Slides?
Side-mount slides attach to the sides of the drawer and cabinet and are visible when the drawer is open. Under-mount slides attach underneath, are hidden, and often give a smoother, quieter motion.
How Do I Adjust A Crooked Drawer?
Loosen the screws on the slide (cabinet or drawer side) and gently move it up, down, or sideways. Tighten screws and check alignment. Repeat until the drawer moves smoothly and sits evenly.
Is It Cheaper To Replace Just The Slides Instead Of The Whole Drawer?
If your drawer boxes are strong and not damaged, replacing just the slides is cheaper and faster. Only replace the full drawer if the box is warped, cracked, or doesn’t fit the opening anymore.
Replacing kitchen drawers is a project that can change both the look and feel of your kitchen. With the right tools, careful measurements, and a bit of patience, you can create a space that’s more functional and attractive. Take your time, follow each step, and enjoy the satisfaction of a successful DIY upgrade.